


At this point is has been about 9 years since I last removed the body – So I didn’t know exactly how the mounts should go back – Some mounts I knew for sure about – others I kind of guessed but still should work fine – It also doesn’t help that the only mounts sold is more of a universal kit – So they really aren’t the same – I reused some of the original mounts – Nobody sells the nuts or bolts for this – So you will need to reuse all your old ones, buy old ones from someone else or try to fabricate some
The hardtop has a total of 12 mounts (not counting core support) – 8 of those mounts bolt directly to the body & frame – 4 of those mounts only sit on top of frame & act as a spacer / isolator


Sandblasted the rubber mount that goes @ the firewall – The rubber mount kit they sell does not include this one – May be able to use one out of the kit but it doesn’t have that upward section that goes thought the body

This is showing the new mounts I was going to use compared to the old ones – But I decided against this option – However, I left it on here to because it is still a option for someone else – All the metal parts (cage nut, bolt, washer & nut were all sandblasted, painted and reused)
 Front body mount cage nuts for firewall mounts – behind front tire


Sandblasted the rubber mount that goes @ the firewall – The rubber mount kit they sell does not include this one – May be able to use one out of the kit but it doesn’t have that upward section that goes thought the body

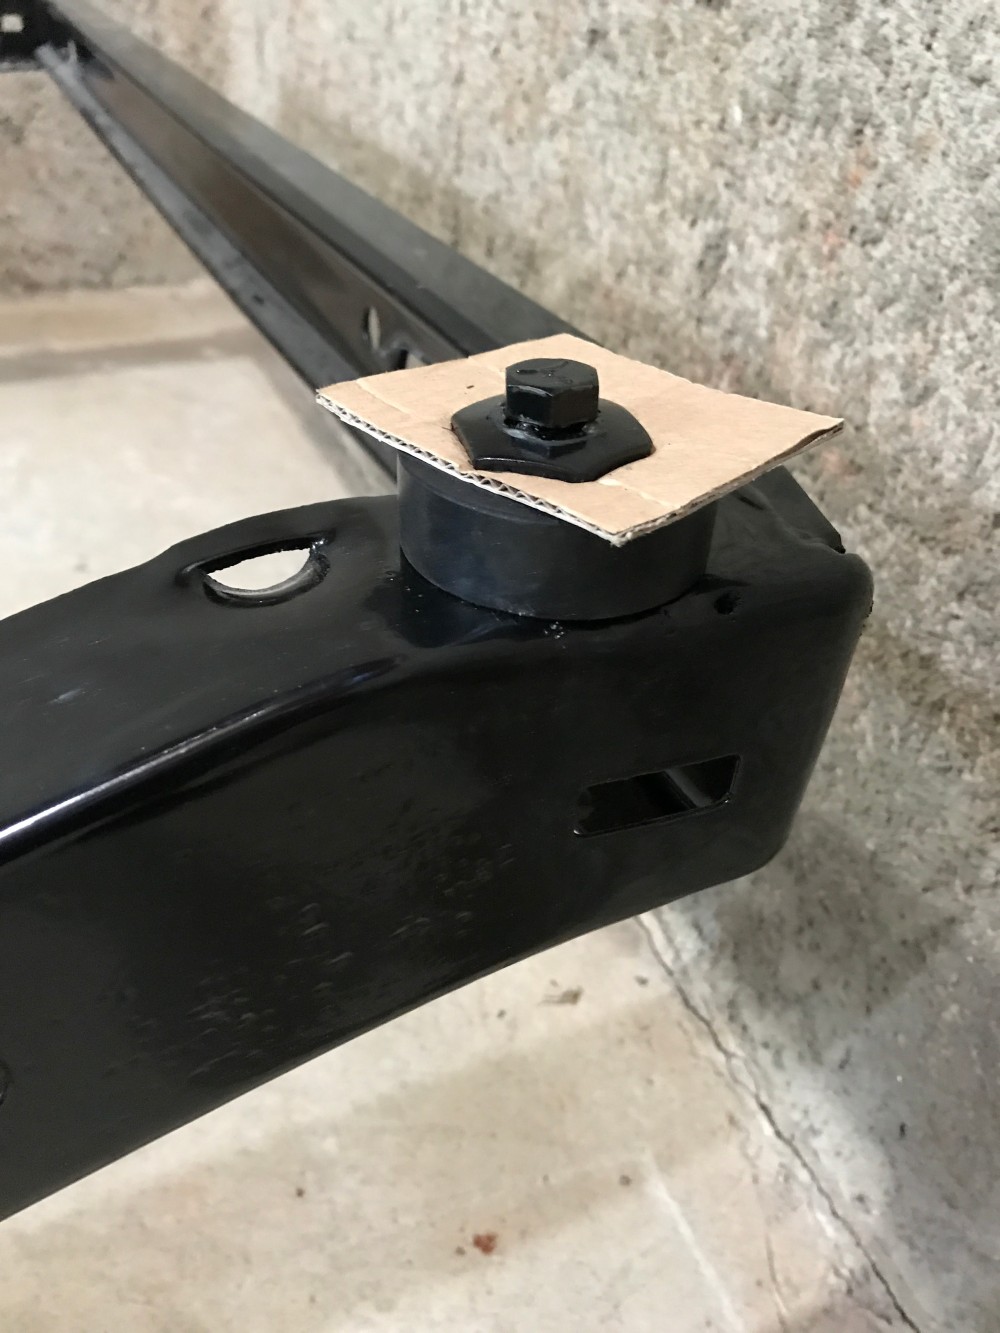
 cardboard represents the body – and the rubber coming up through it
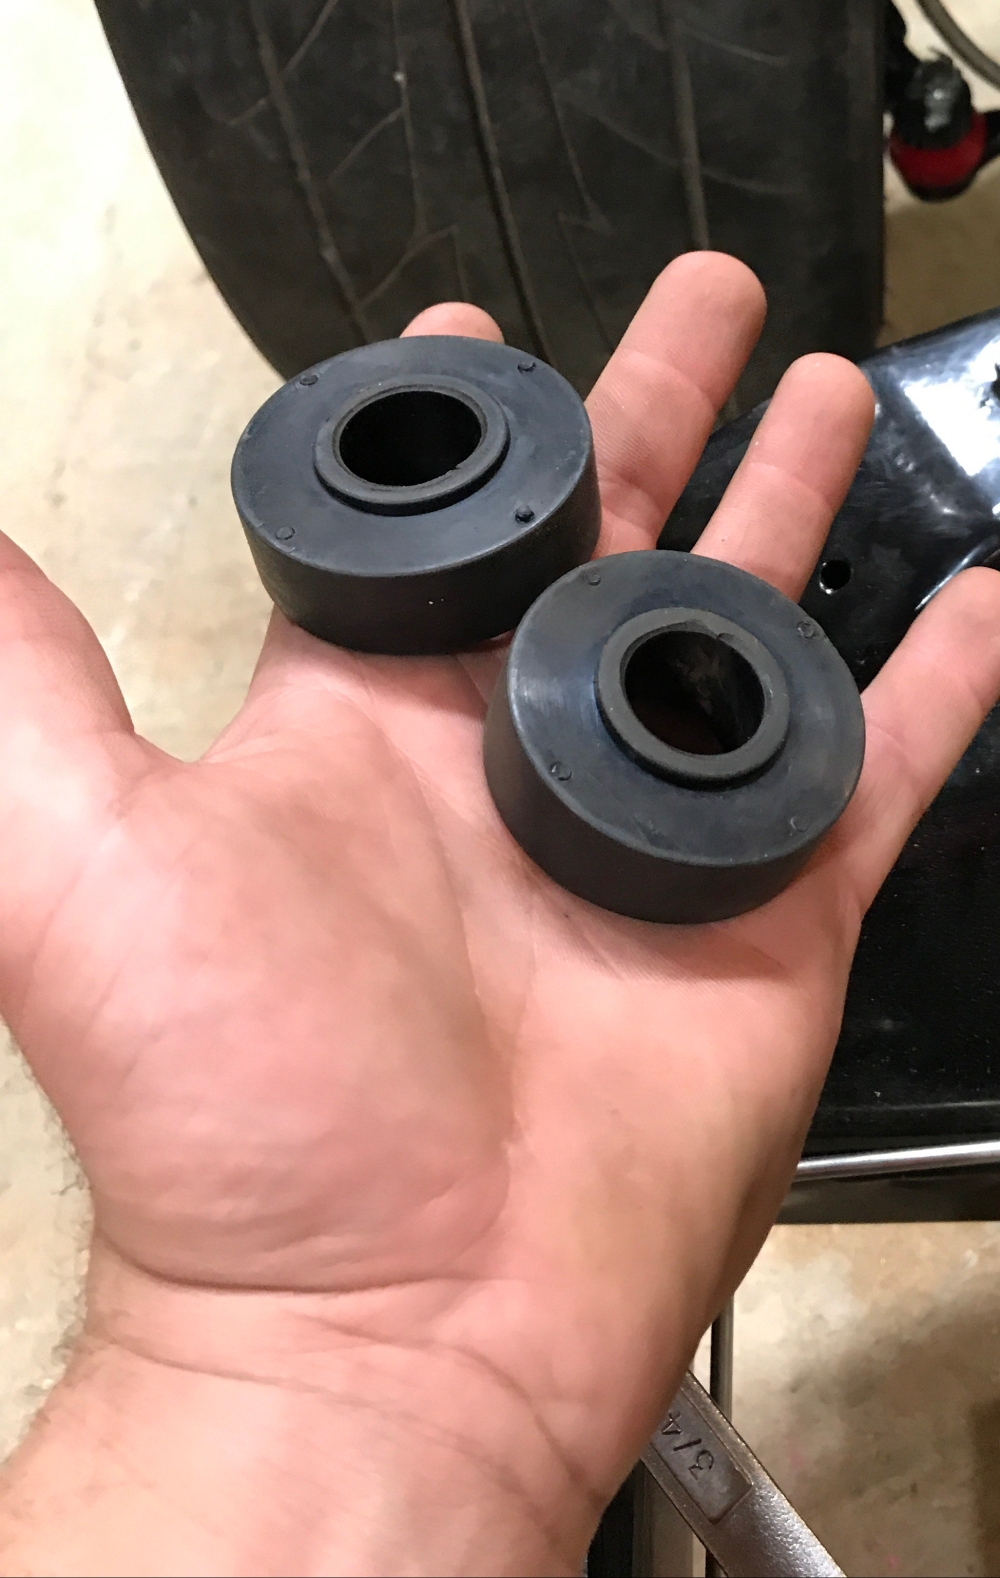 these are the upper mounts – see the lip around the center hole? That will be faced downward on install
 new upper rubbers mounts on – see how the fit over the lower rubber mount
 washer installed
 nut intalled
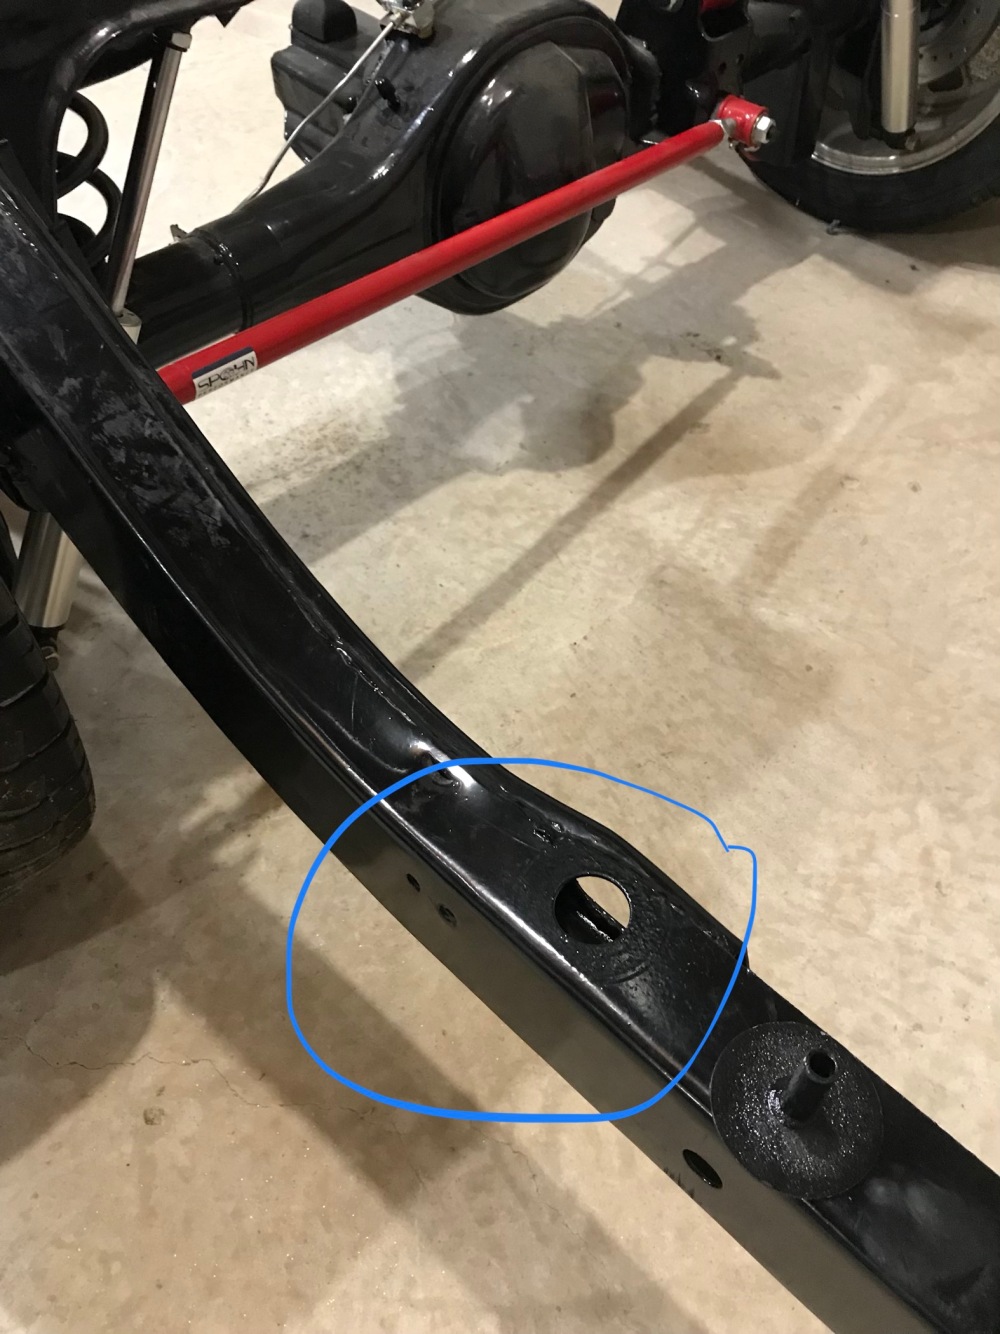
 next mount will be in front of the rear tire where the frame turns 90 degrees inward
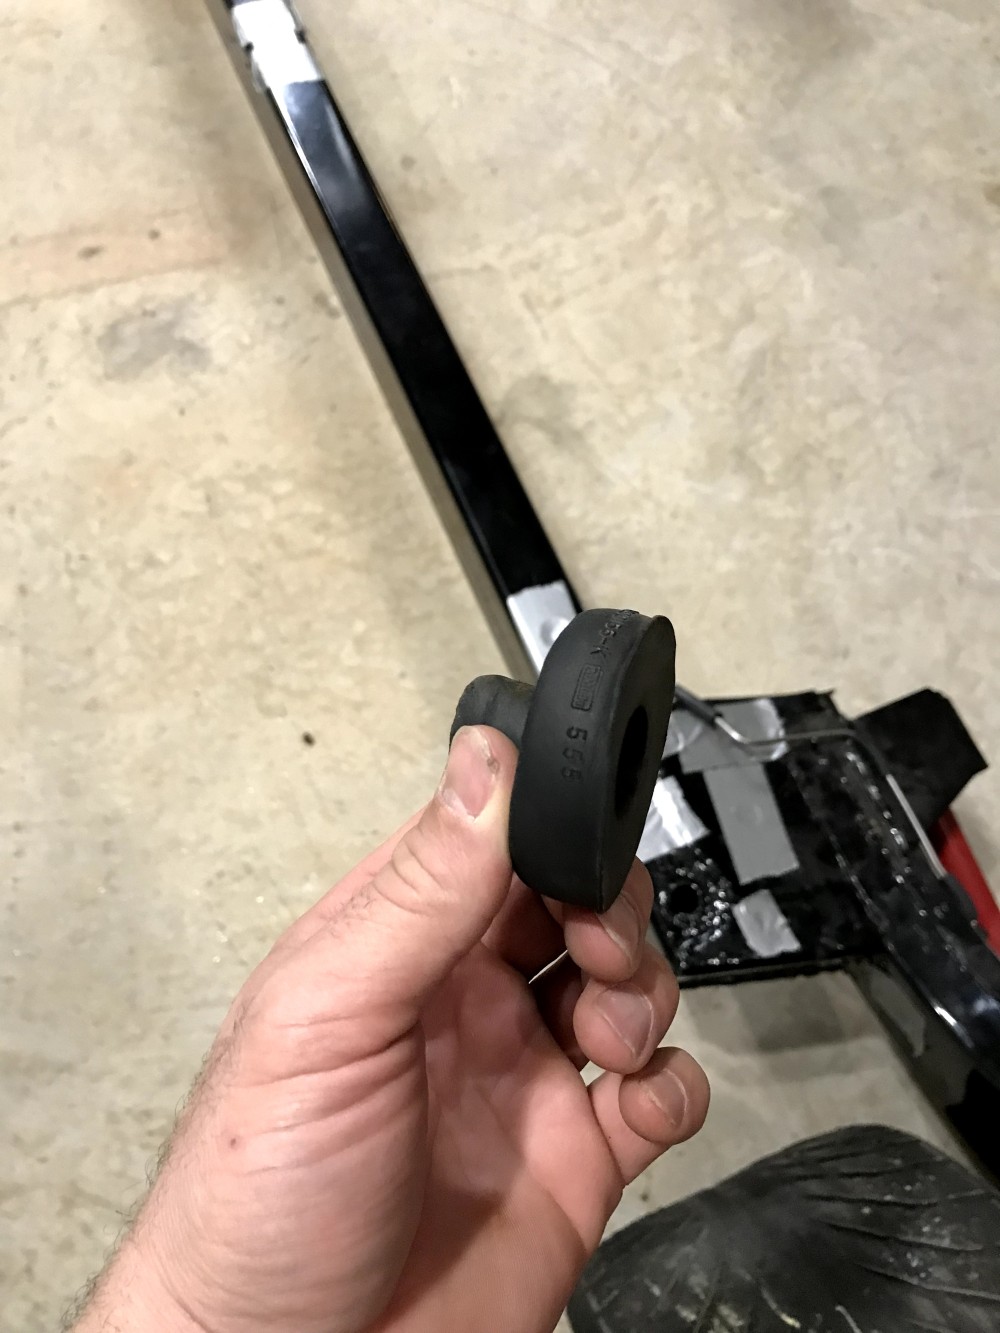 This rubber was not used on this area – But the one that I think goes here would not fit – This rubber is another original that came from the firewall mount on a parts car I have


Something I made with a washer & bolt – It will serve as a insert and metal pad on top of the rubber mount
 primed & painted black
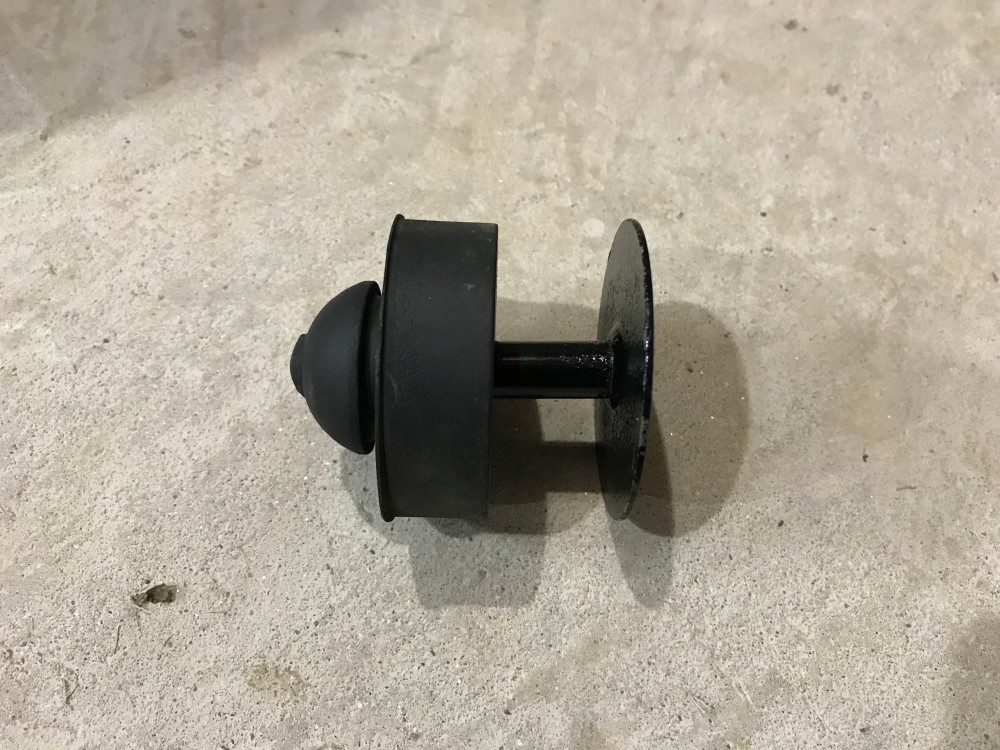
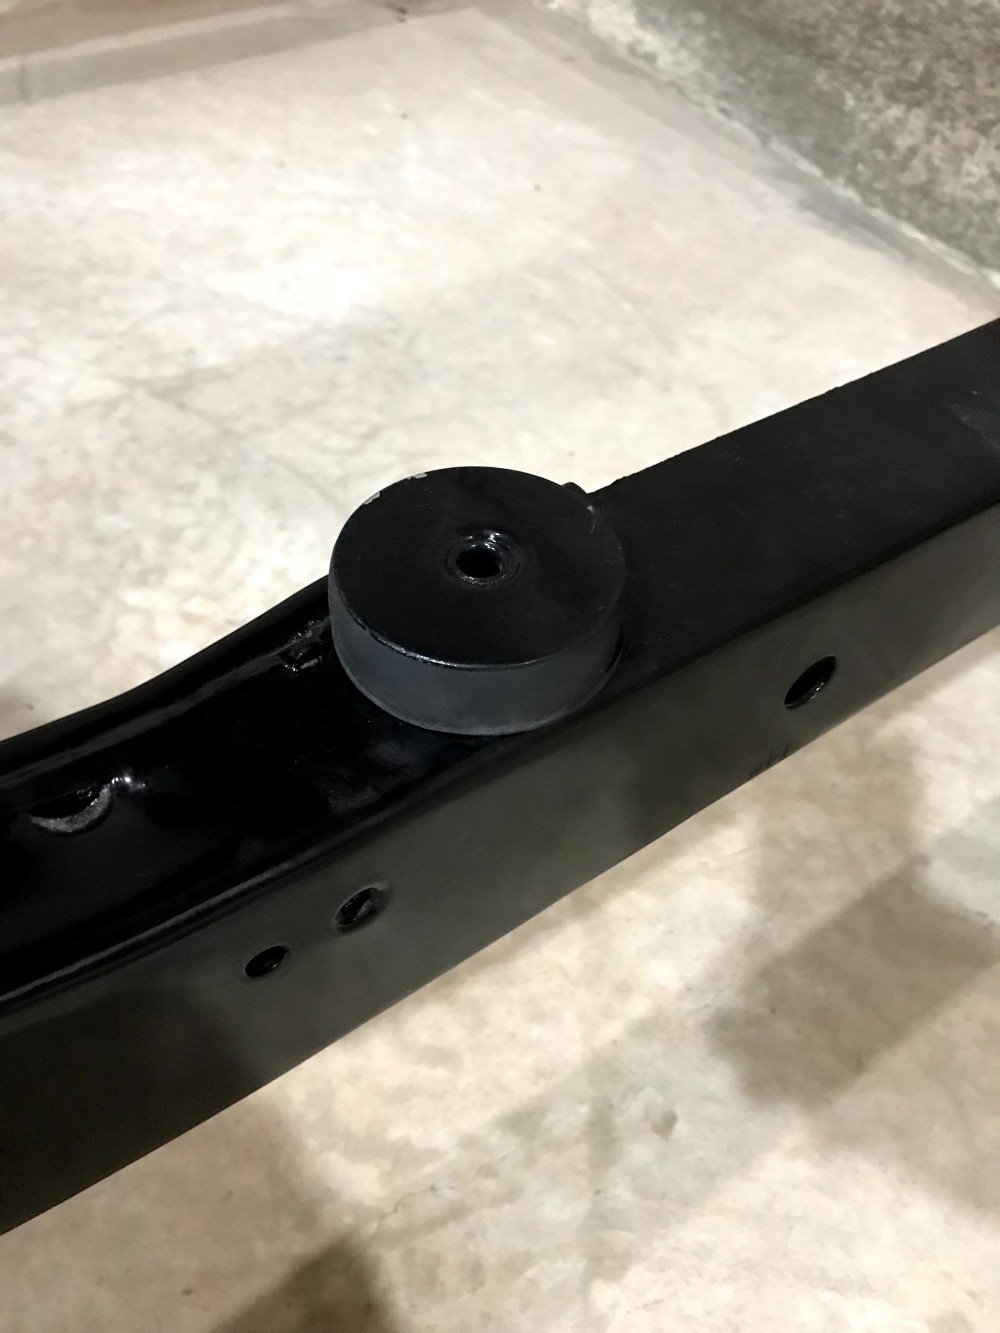
 This mount does not directly bolt to the body – it just sits on top of the frame (1 of 4 like this – 2 on each side)
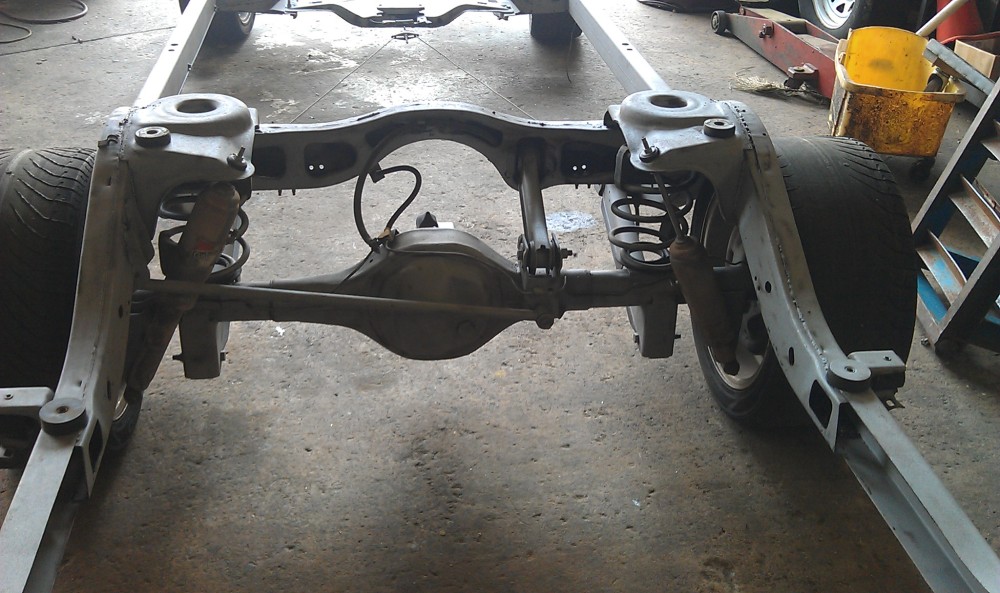
 next mount will be the one above the axle – Right beside the shock mount

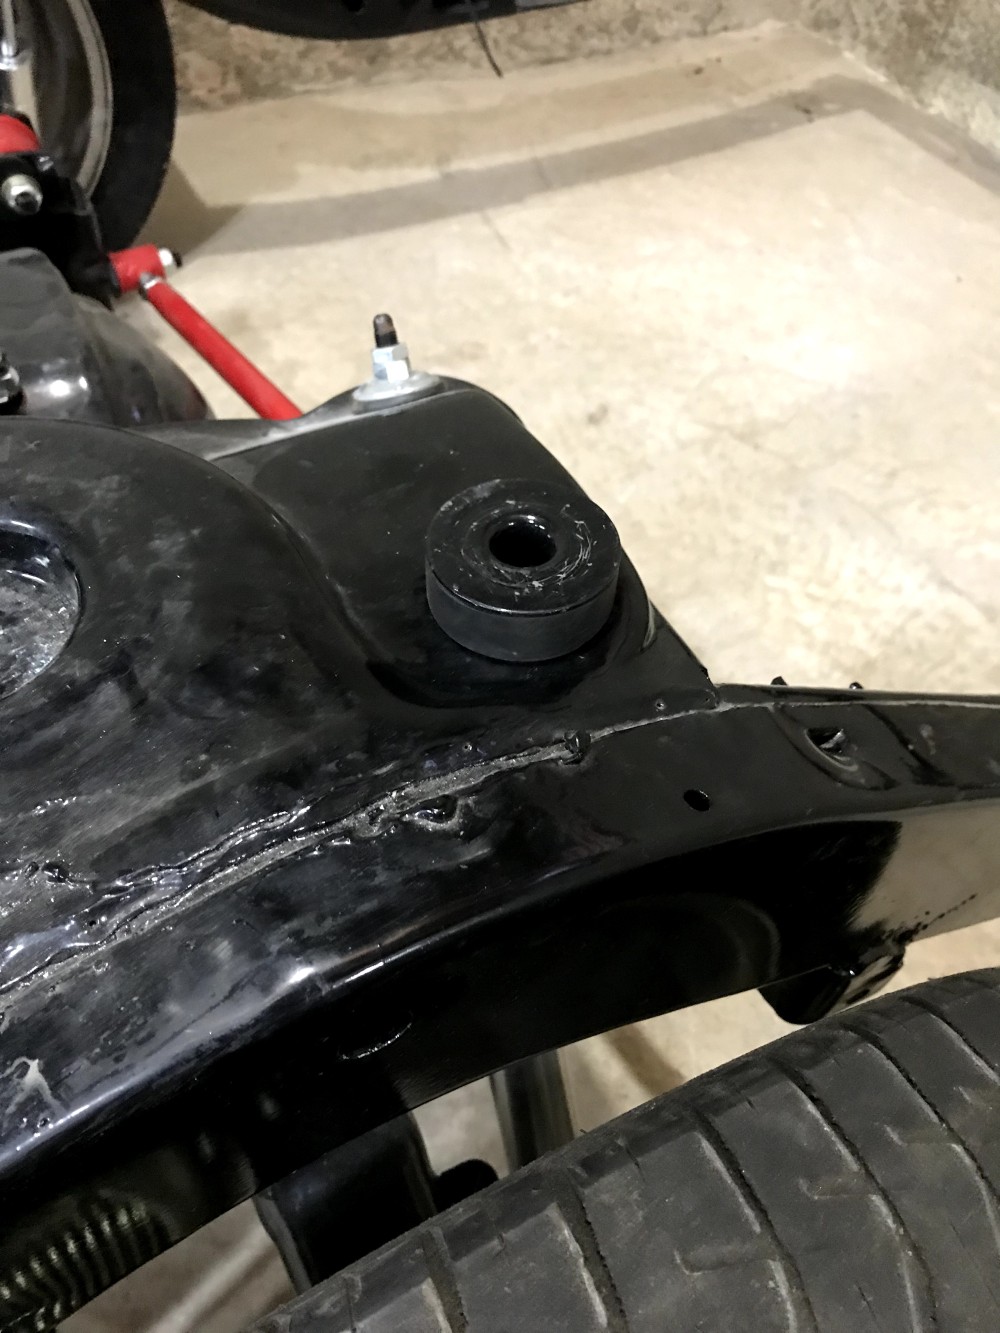 top mount & metal insert / pad installed – it goes inside & on top of rubber mount
 The cardboard once again represents the body – The diameter inside of the mount is larger than the diameter of the bolt – So I found a rubber piece to go over the bolt that worked perfect to work as a bushing and fill the area

 underside mount, washer & nut installed
 next mount is behind the axle – it is the other one that does not bolt directly to the body
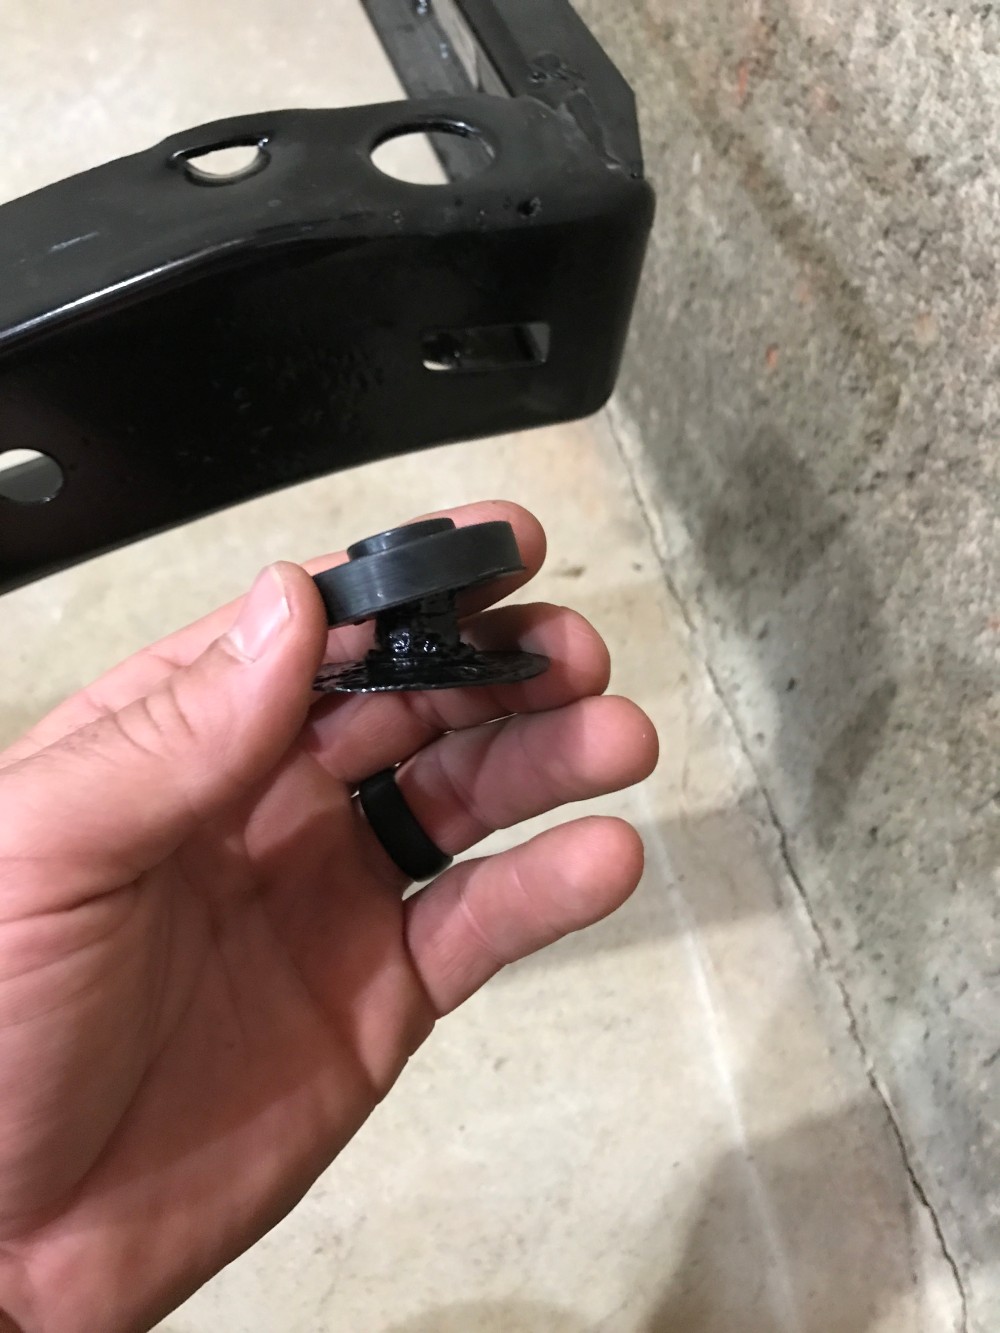
 mushroom looking rubber mount with hole in the middle & metal insert – both are cleaned up originals

 last mount is at the very rear – rubber mounts are new & metal pieces are reused


I have question for removing front mounts behind front tires do these have caged nots on them and how do you hold if turning entire bolt ?
LikeLike
Hey Richard,
for those mounts the bolt bolt passes all the way though and has a nut on underside. I have a picture of it on this page. You can email me for more details at 521galaxie@gmail.com
LikeLike
Your remarks were very helpful as I am doing the same to a 65 galaxie
LikeLike
Thank you for taking the time to make this very informative Post.
LikeLiked by 1 person
you’re welcome – I am glad you found it useful
LikeLike
This is incredible. This has been the major holdup for me putting my Gal back together. Much appreciated. I think I can get this project rolling again.
LikeLike
Dale, info detailed here is fantastic, other galaxie enthuast will be impresses and ahead of the game with your presentation
LikeLiked by 1 person
I have noticed you don’t monetize your website, don’t waste your traffic,
you can earn extra cash every month because you’ve got hi quality content.
If you want to know how to make extra bucks, search for:
Boorfe’s tips best adsense alternative
LikeLike
Man I’ve literally have just been doing this but on my 66 mercury monterey. Arguable the same car. I really wish I had sandblasted it however; I(foolishly in retrospect) chose to use a sander and various wire wheels. Definitely worked well but the entire inside of the frame i couldn’t reach. I ended up just using a 2 ft long flexible nozzle with some rust encapsulator paint to coat the inside. I also had to weld together one of those cage nuts that held in the stud on the front body mount. Very interesting seeing these pictures as I can relate almost perfectly. The only question I have at this point, which has nothing to do with frame restoration, would be a question on sandblastimg the body (which I have successfully remounted). What kind of setup am i looking for for the body? I’m definitely wanting to go with a soft media and low PSI as to not damage the body. But what media and what PSI would be the correct choice.
Thank you
LikeLike
Hey Vladimir…. yes, pretty much same cars. I wish WordPress allowed others to post pictures. Because I’d love to see yours. Anyway, the guy who blasted mine used crushed walnut shells. But I’m not sure what psi he used
LikeLike
66ltd,
I’m just about done with the major portion of the engine reassembly. I’ll still need to work on the trottle linkage and transmission kickdown linkage as I’m switching from the stock 1 barrel car/intake/exhaust to a Offenhauser intake/Holley carb/Hedman Hedders so I getting closer to making the frame/body separation decision.
My frame and body have some surface rust, but little to no (in my opinion) severe rust. I had some rust thru on the rear quarter panels, rear of the rear tires, and some around the trunk “lip”. Other than those areas, I think I’m OK.
I’m viewing your frame pictures to help convince myself that there are only 8 body mount “bolts” or fasteners to deal with.
2 on each side at the front torque boxes (total of 4)
2 on each rear section of the frame, aft of the rear axle, accessable thru the trunk (total of 4)
I’m told the rest of the “mounts” are really just insulators that are “sandwiched” between the body and frame.
Does this sound consistent with what you found during your disassembly?
Have you begun reassembling the body onto the frame yet?
As for pictures, I could email them to you but I generally don’t subscribe to any photo sharing sites or facebook stuff.
Steve in Flat Rock, MI
LikeLike
Yes, that sounds correct with the mounts. Unfortunately I haven’t got far enough to put the body back on yet.
Even though it may not be to hard to remove the body, it does open up so many more unforeseen projects.
you can email the pics to mustco94@aol.com. Its good to see other peoples galaxie projects
Dale – Atlanta, GA
LikeLike
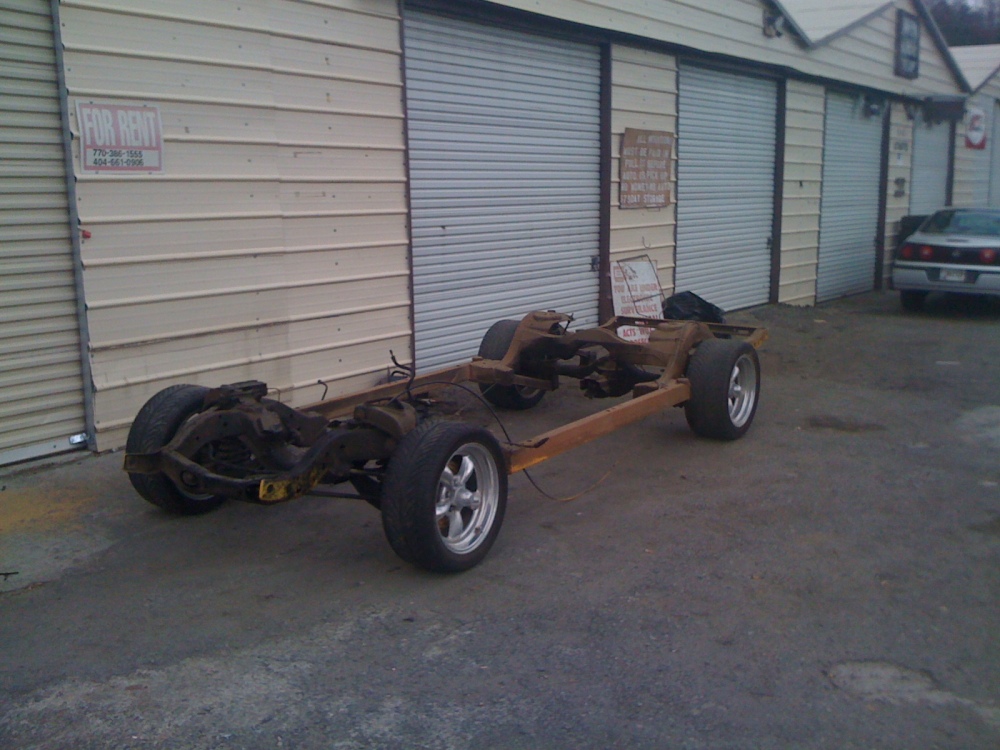
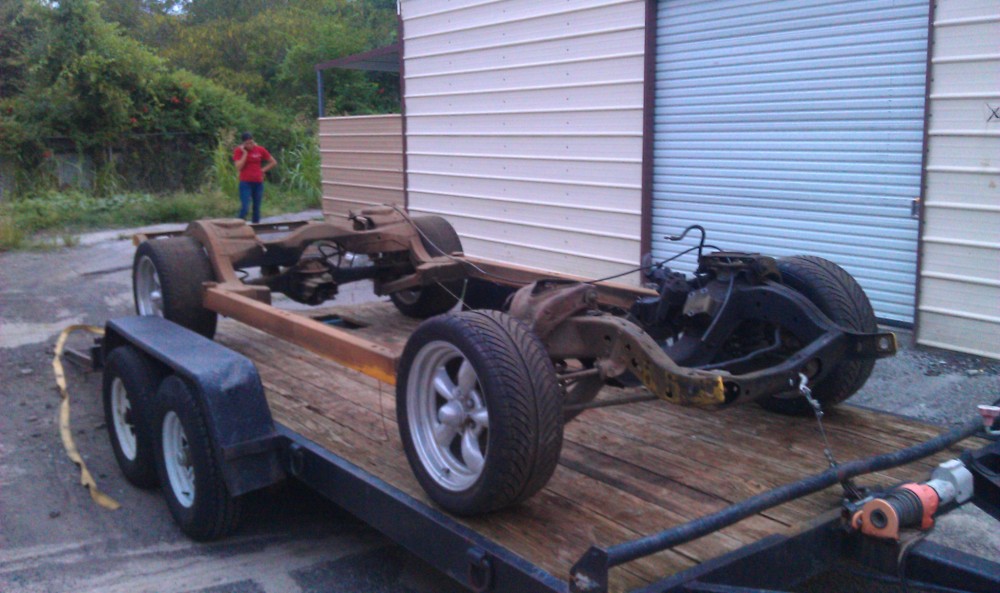
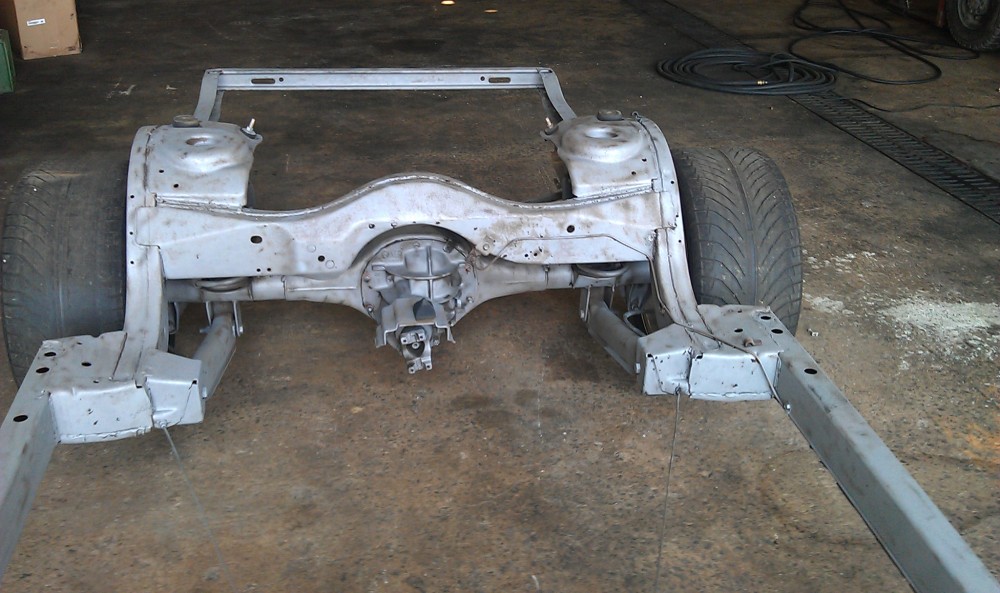
Was wonder what size the tires are that are in the frame photos. They look pretty big and I was wondering what fitment issues you had (if any…)
LikeLike
Front are 255/40-17 and rear are 285/40-17. Front rubbed slightly when turned all the way. But nothing bad. Changing the back spacing on the wheels would fix that though
LikeLike
I have a question regarding the frame sandblasting. I would like to have my ’66 Custom 500 frame blasted. I found a blaster, etc. Did you rebush your control arms/trailing arms before or after you had the frame blasted. Did your blaster also include finishing/painting the frame as part of your job? I’m concerned that if I rebush after the sandblaster does his work (including priming and painting with 2 part epoxy paint), I won’t be able to loosen the control arm or trailing arm fasteners and therefore i won’t be able to get them off without heat or breaking them.
Thanks for the website and your documentation!
Steve in Flat Rock, MI
LikeLike
You want to remove every nut, bolt, bracket, arm, etc. before you sandblast and paint. Each part is done individually. The sandblast guy I used doesn’t do paint so it wasn’t included. I powder-coated some of the individual parts and am painting the rest including the frame. Once all that is finished it can be reassembled. Do you have any pics of your 66?
LikeLike
I’m not a regular reader….but I’ve been working on my ’66 Custom. Current;ly have the engine/trans out and front clip removed. I’m slowly blasting and painting the small parts and rebuilding the engine. i have pictures, but not sure how to send/attach to you.
I’m thinking about pulling the frame as I stated earlier but I’m concerned that I won’t get the mounts apart without some destructive disassembly. I have considered rolling the body/frame on the side (like wooden car rotisseire on you tube; http://www.youtube.com/watch?v=70ggHl6GGZA )
LikeLike
Hey Steve,
Glad to see your post on here
Im not sure how you can post pics on here either. Maybe load to photobucket.com first and paste the link on here.
I wouldn’t pull the frame unless you want to open up a whole other can of worms. Is the car got a lot of rust underneath?
LikeLike