
On the way to the sandblaster
LP


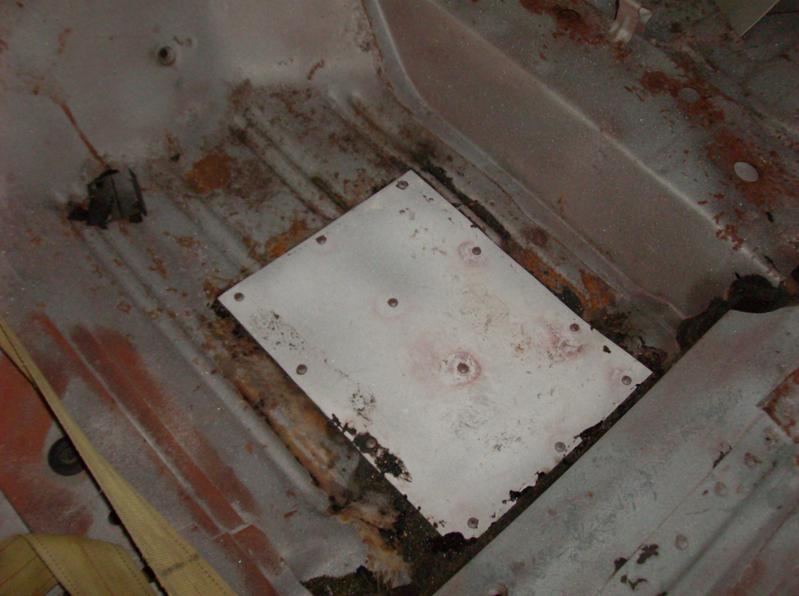


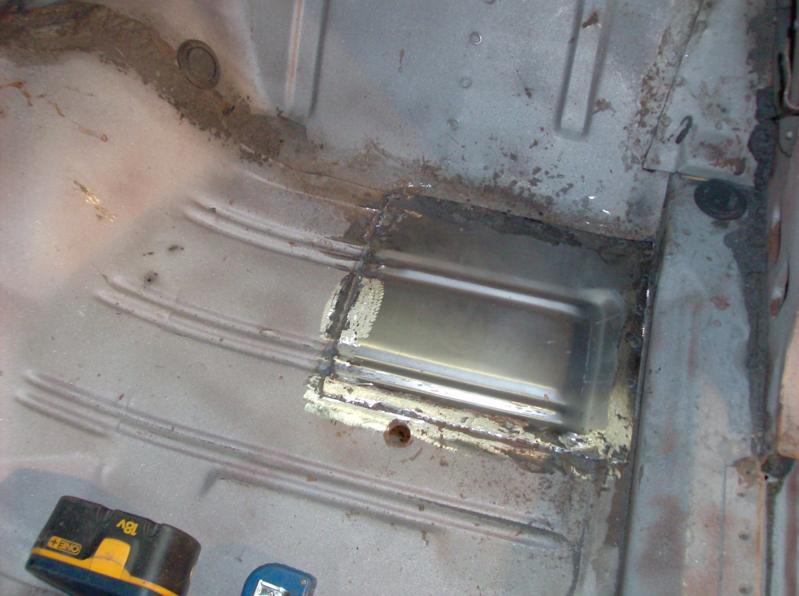


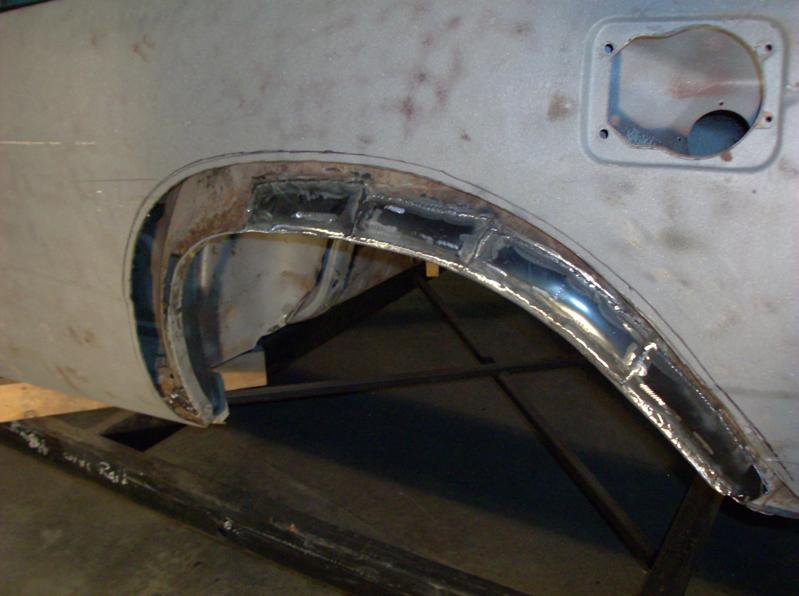
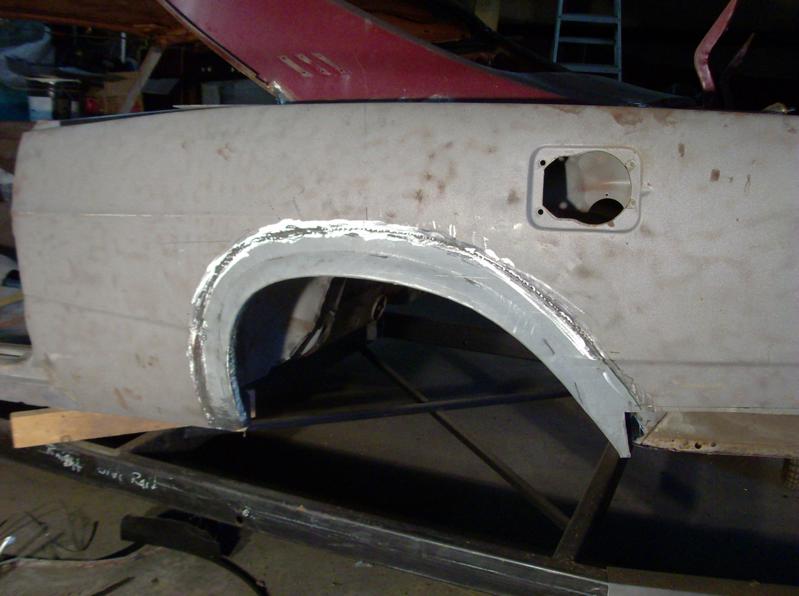
(New panels from Ecklers) Parts #’s 63-15616 & 63-15617


t


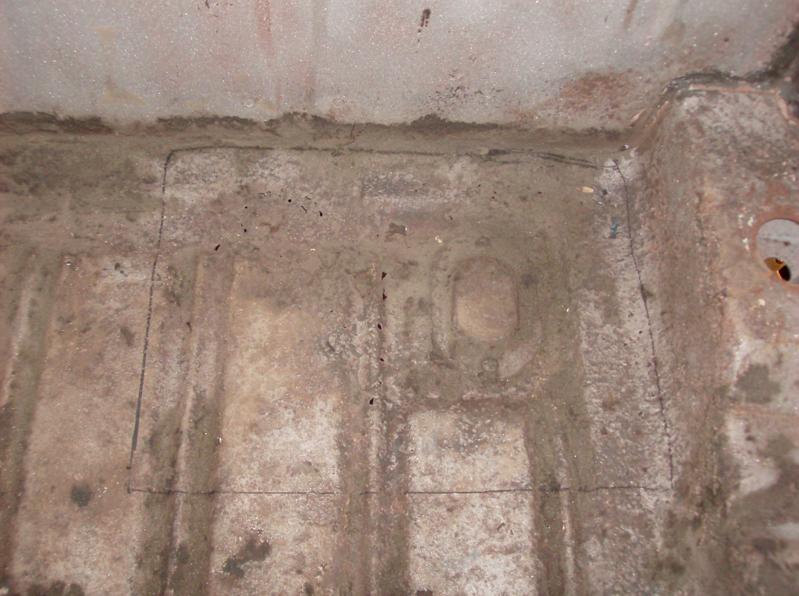
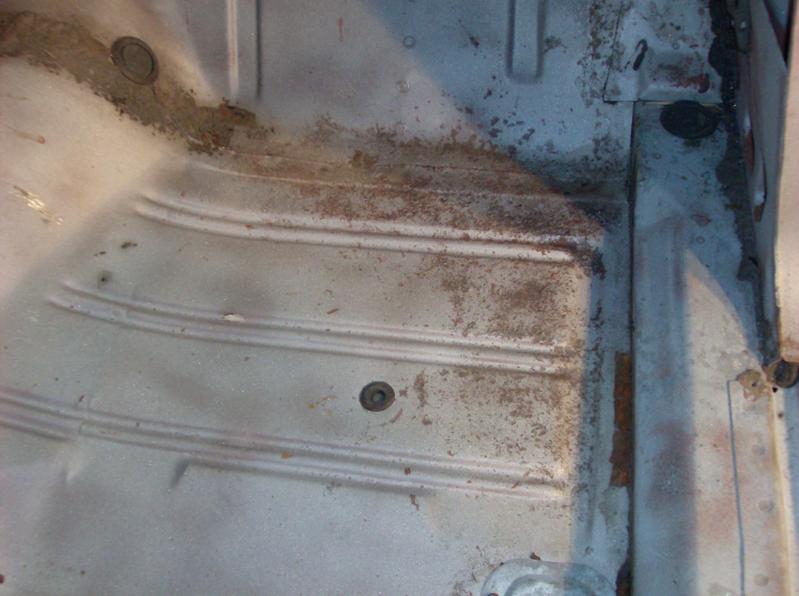
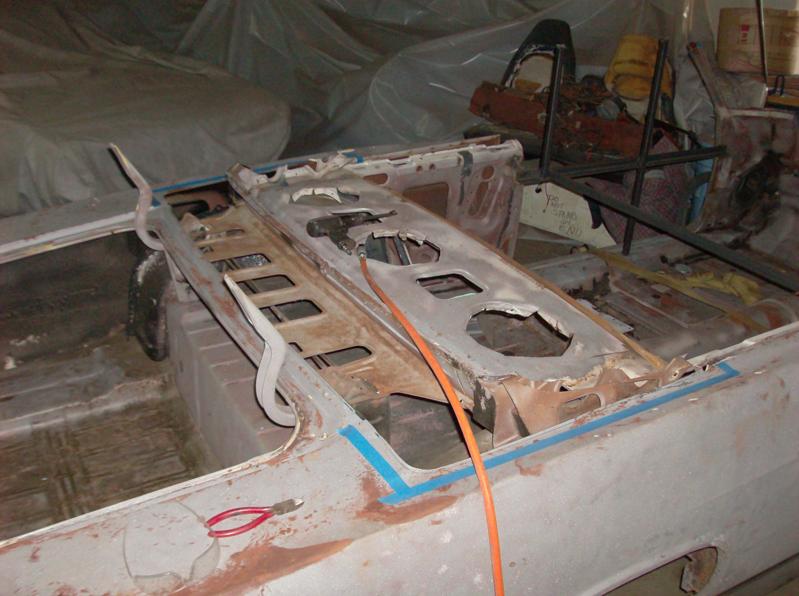
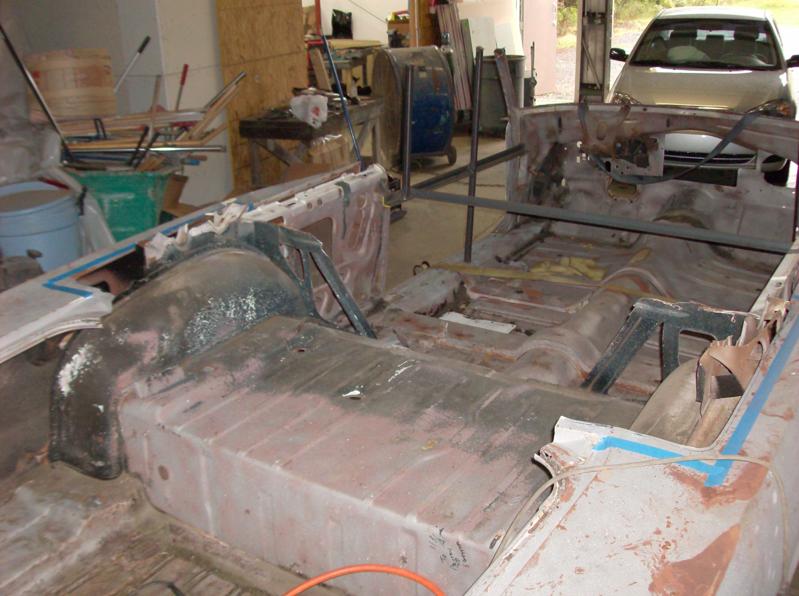
 underside of the body still looks pretty rough

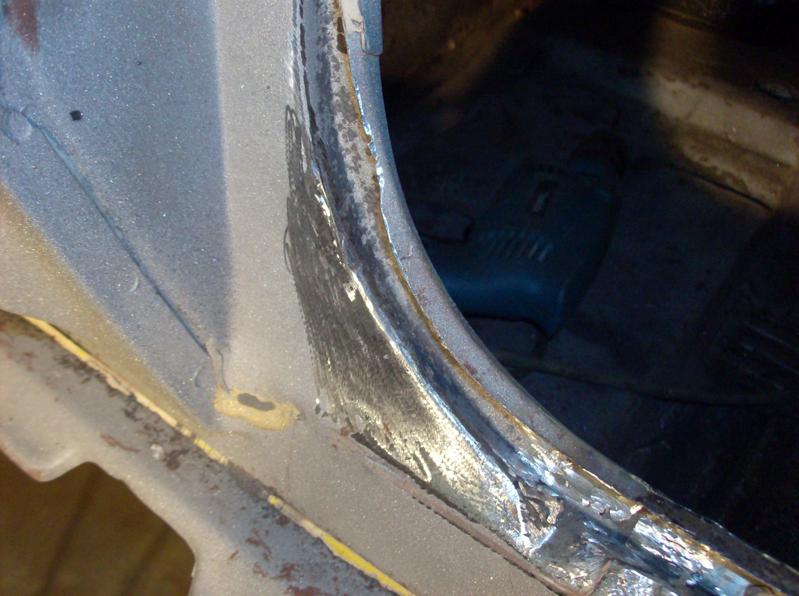
 all the loose stuff scraped off
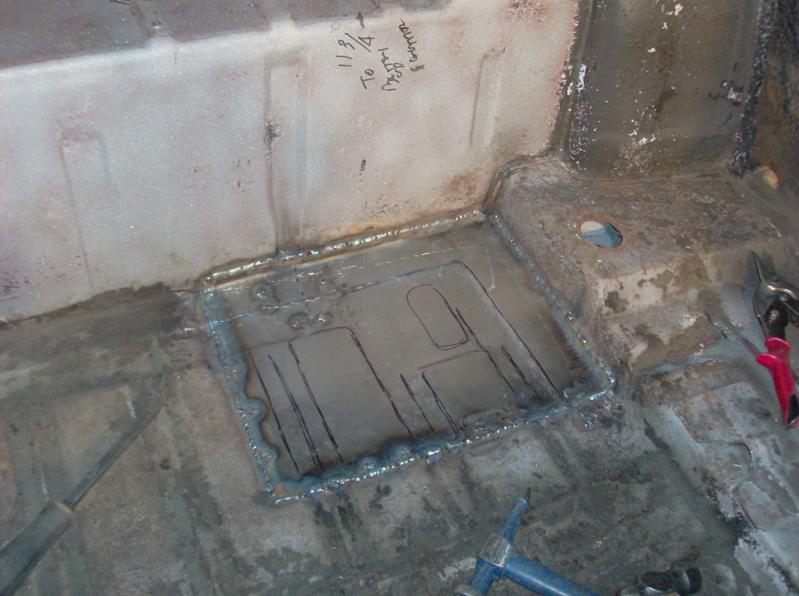
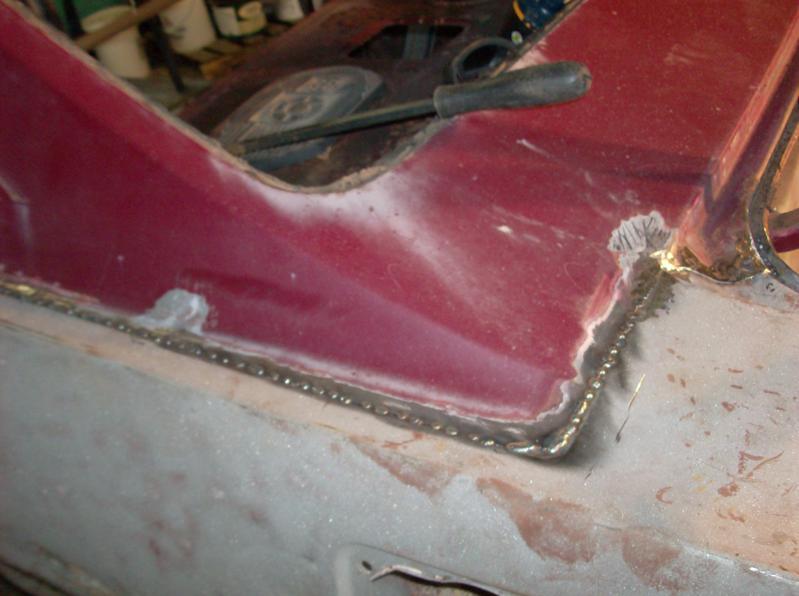
 seam sealed & coated now

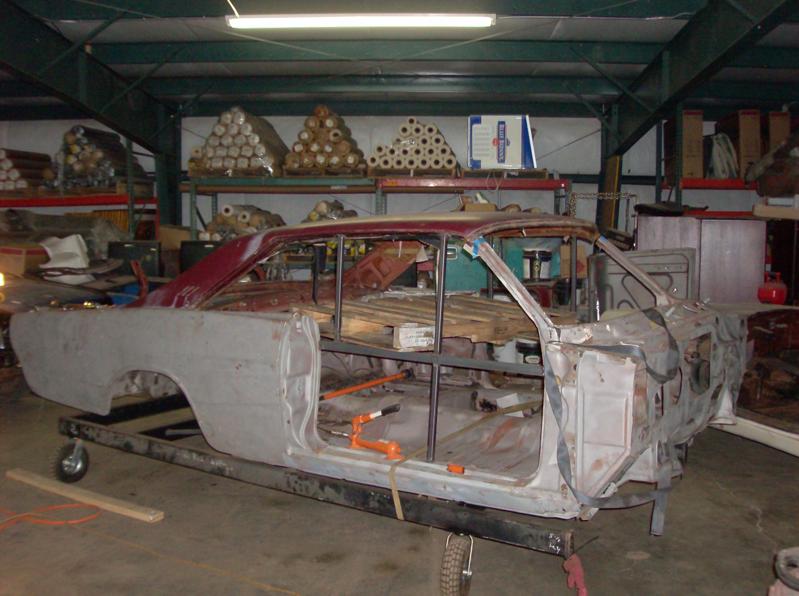
 body is on the lift
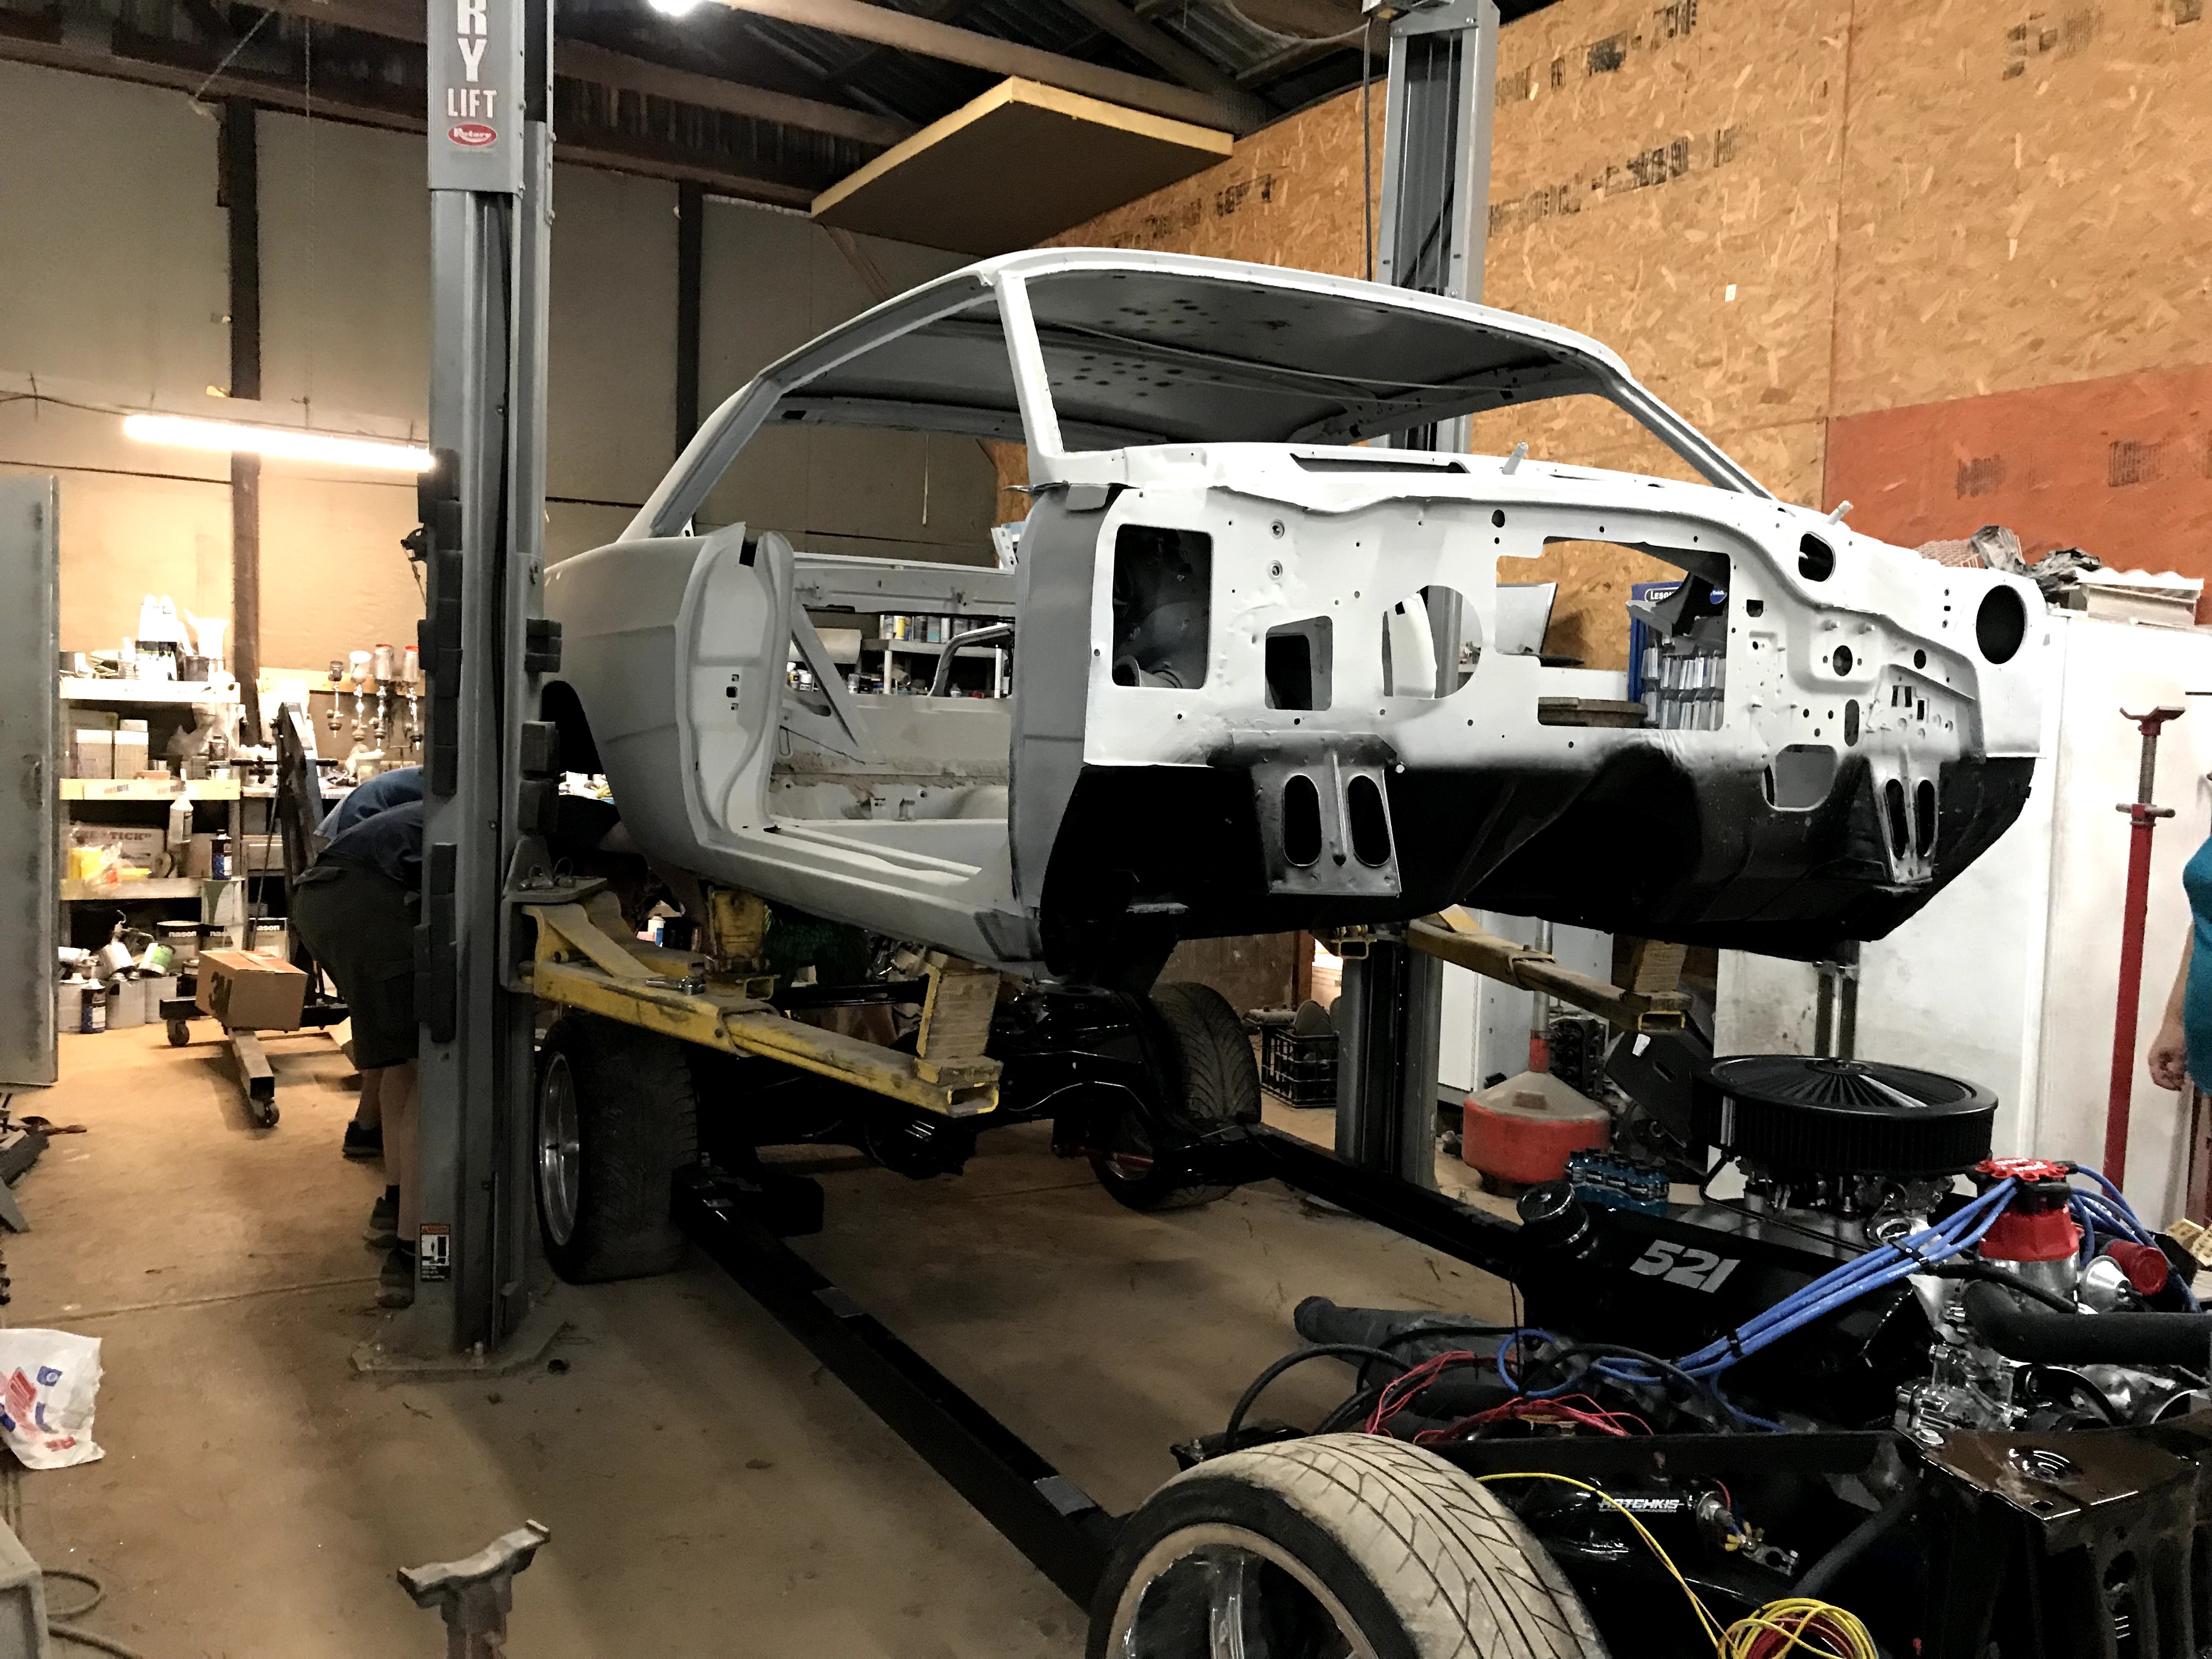 brought the frame over & rolling it in place
 touch down
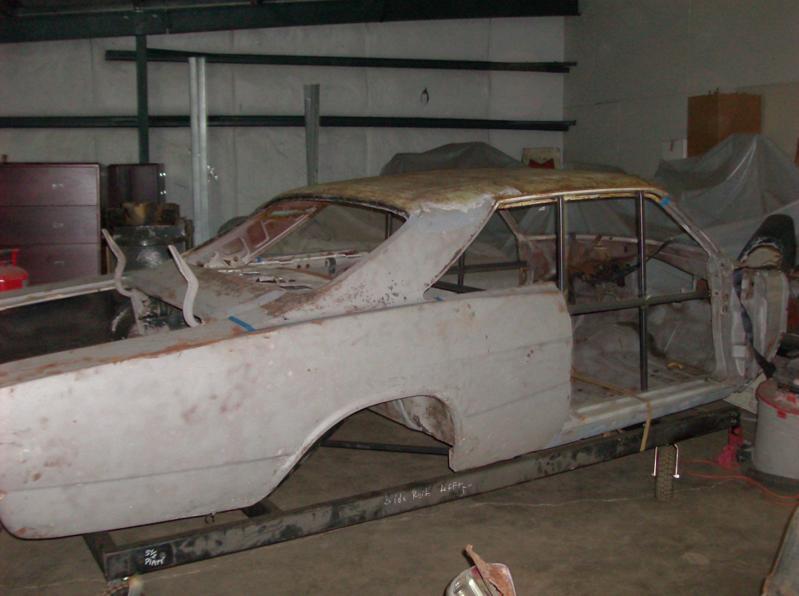
 bringing it home to test fit the fenders, doors, trunk & hood
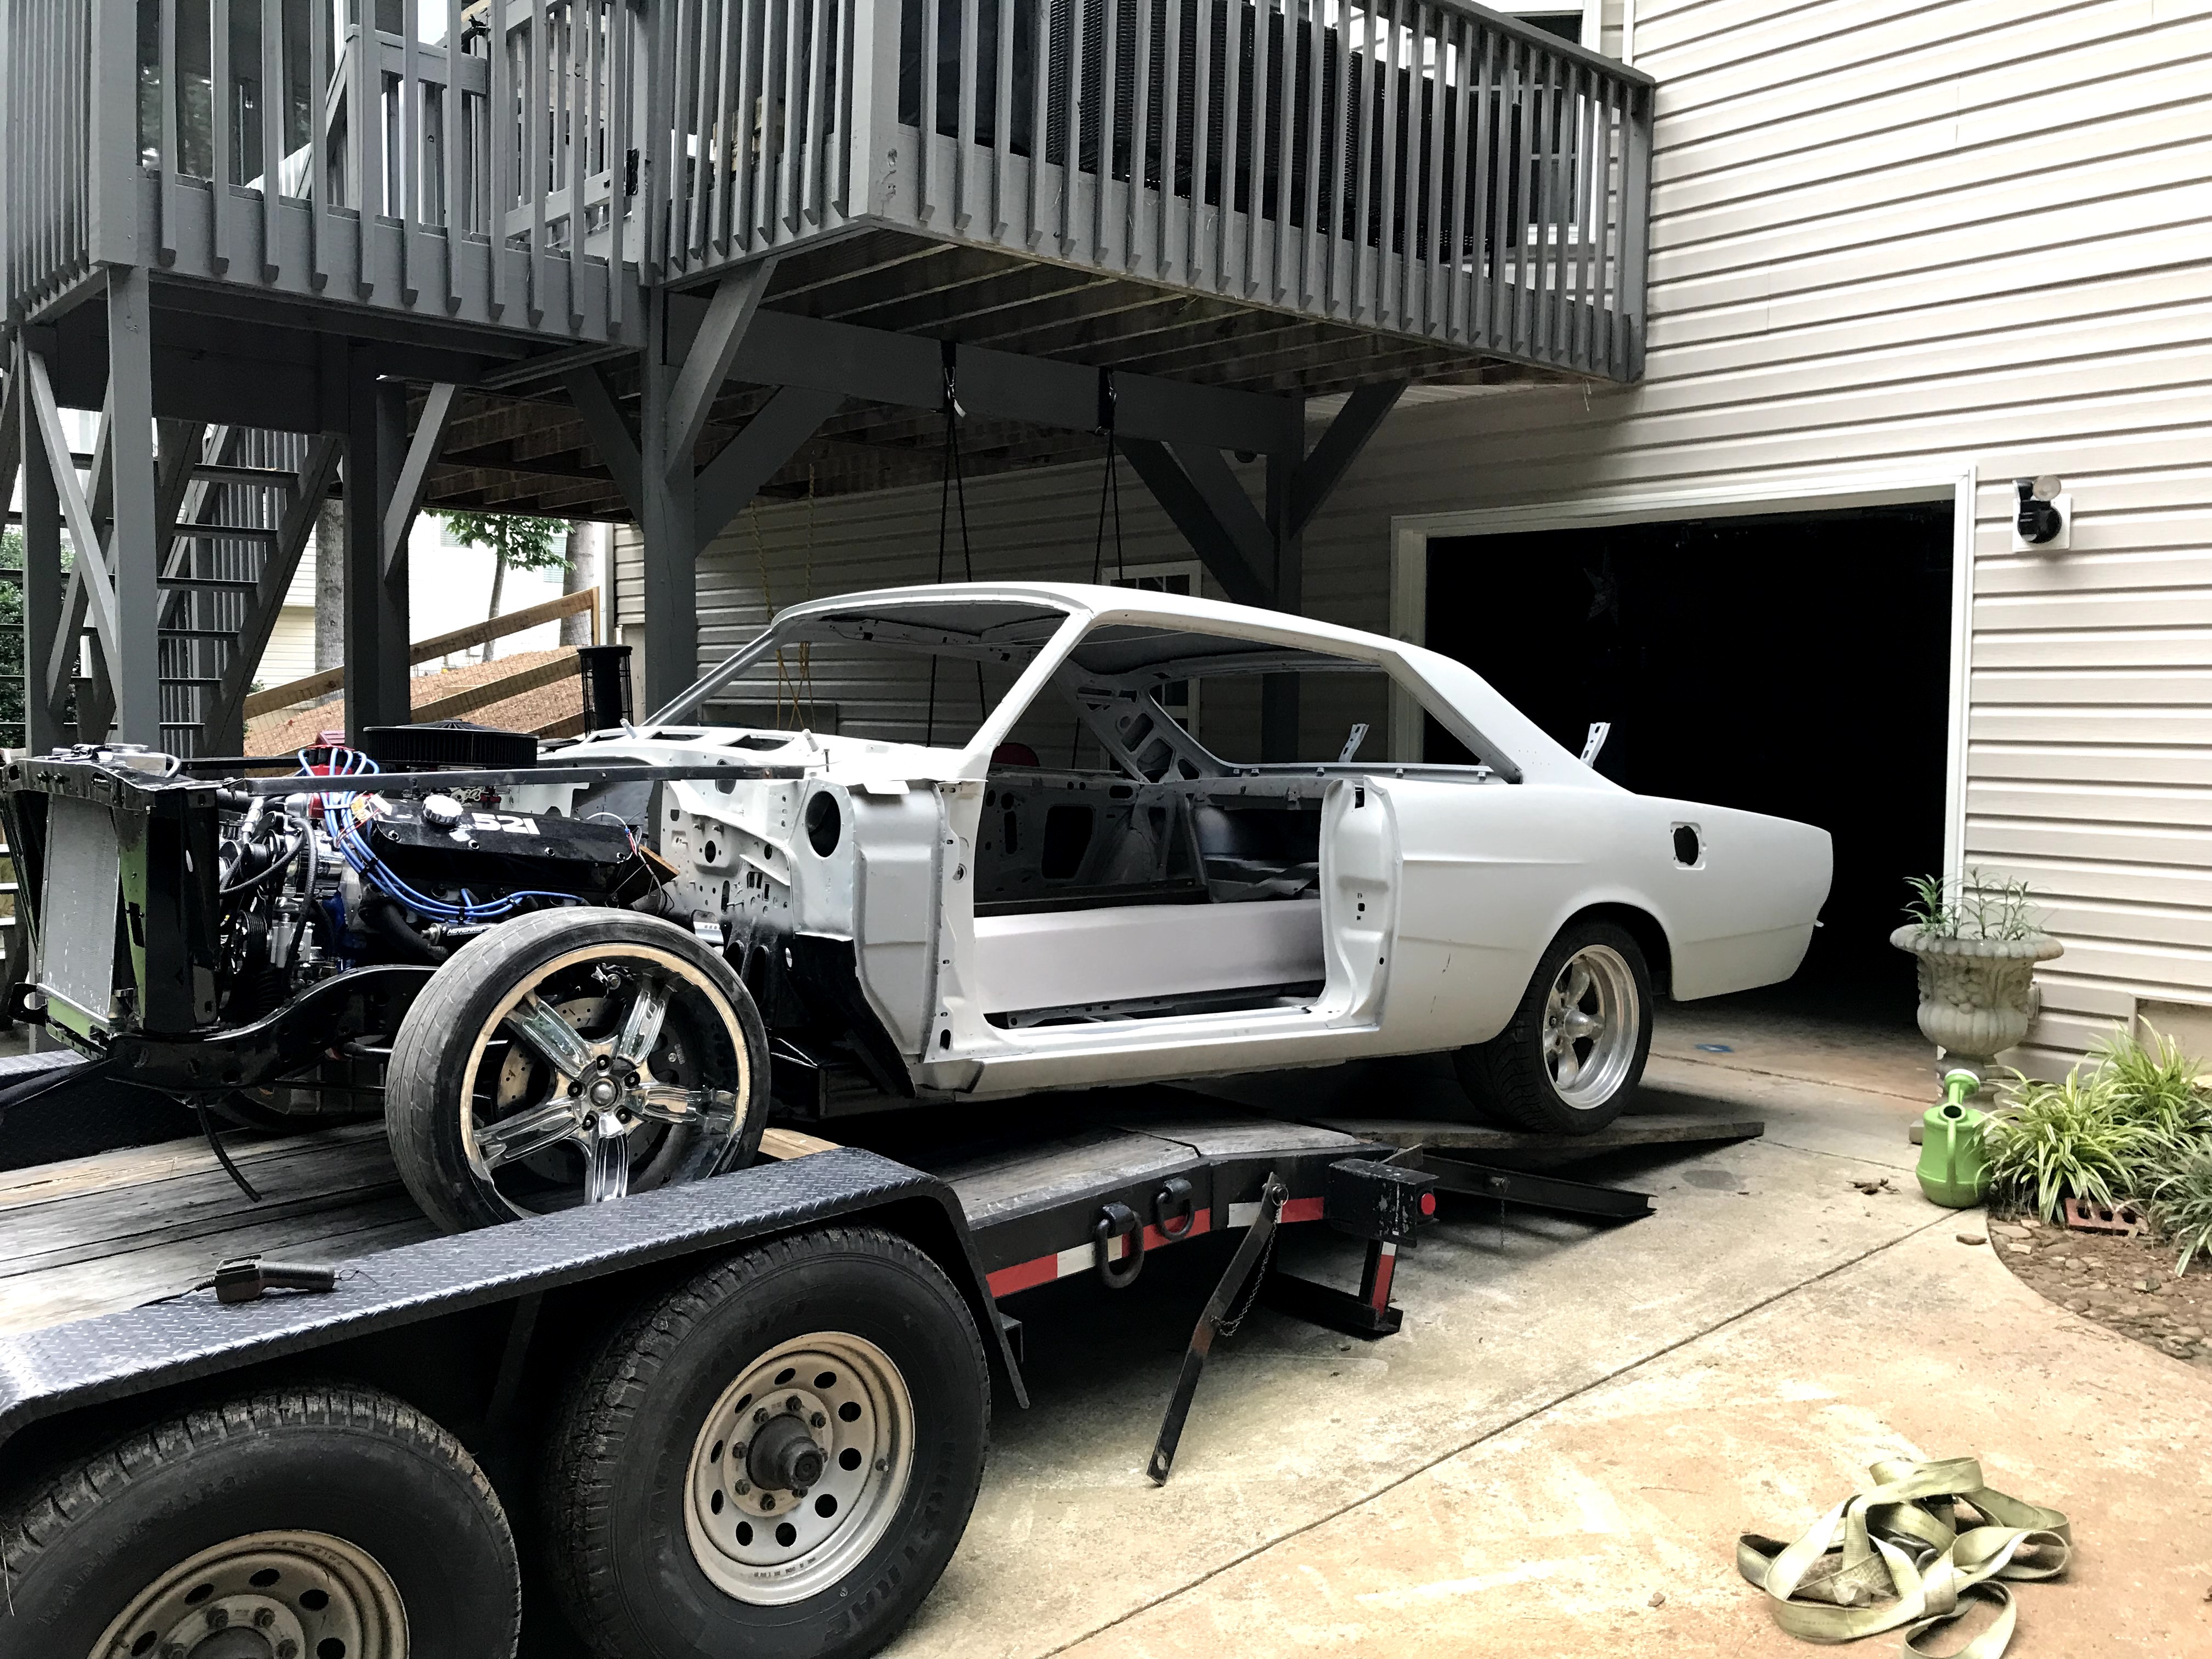
 roller her off the trailer
 finally home (for a short while at least)
 driver front fender installed

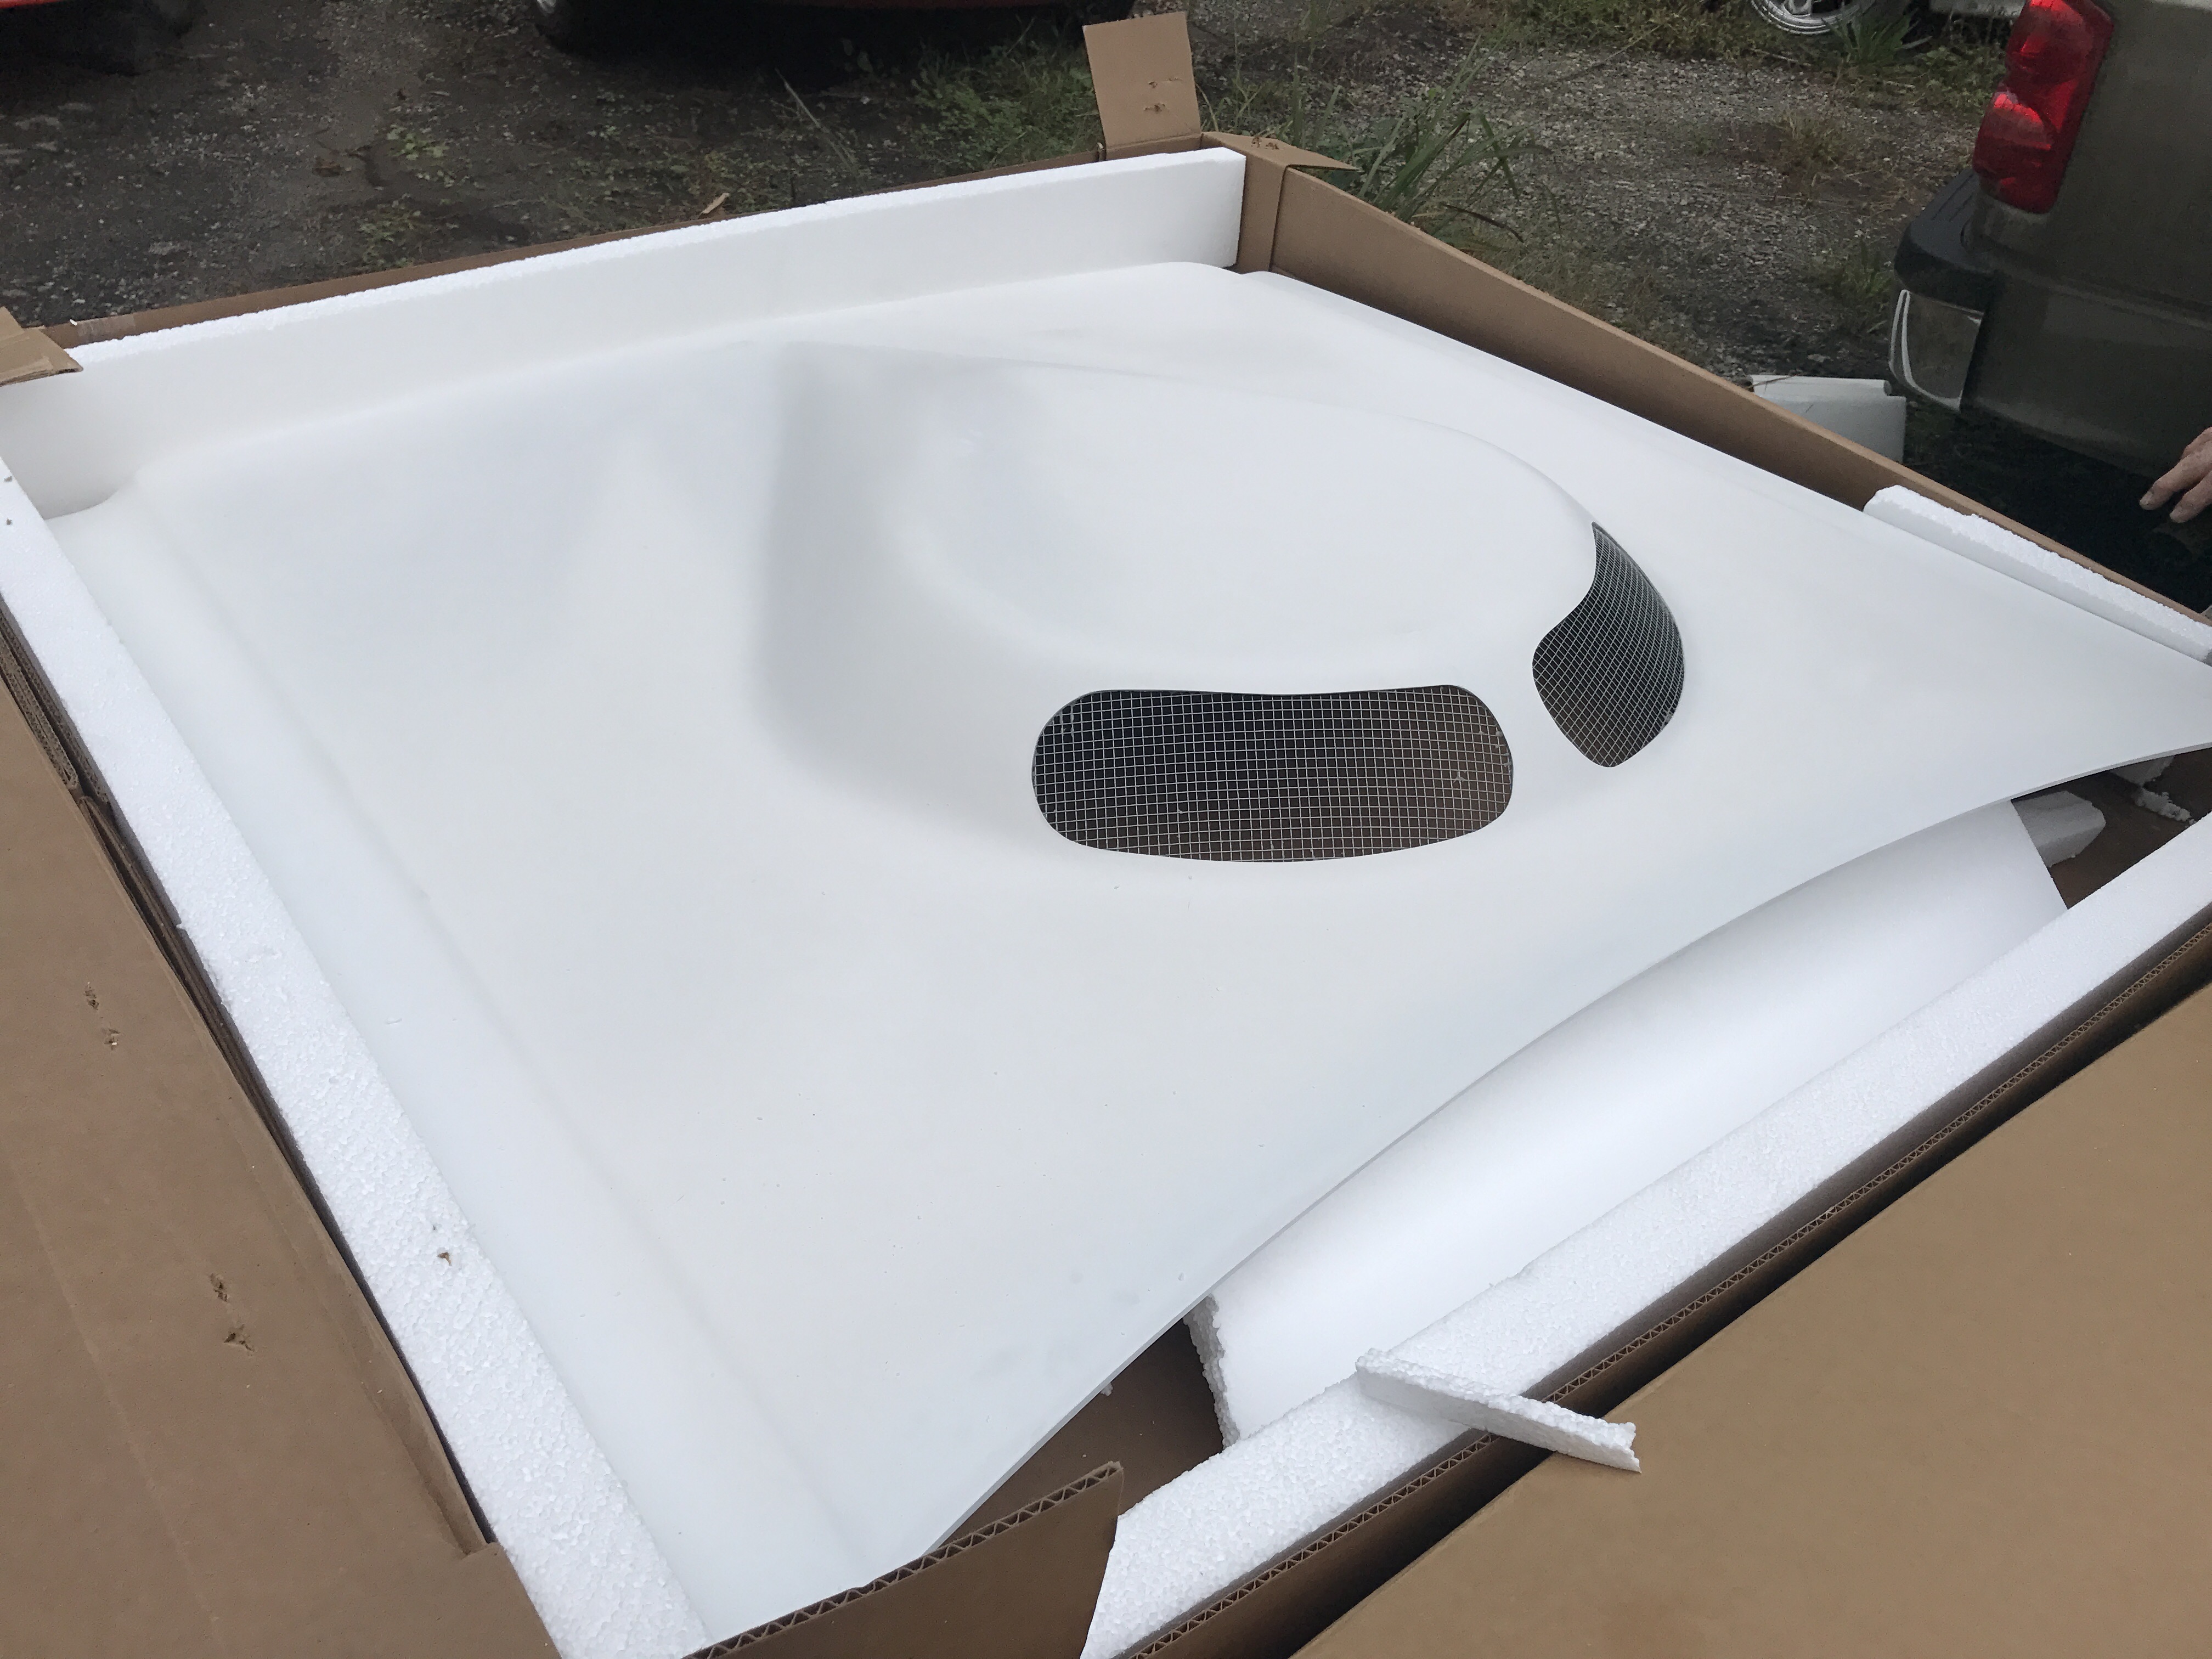
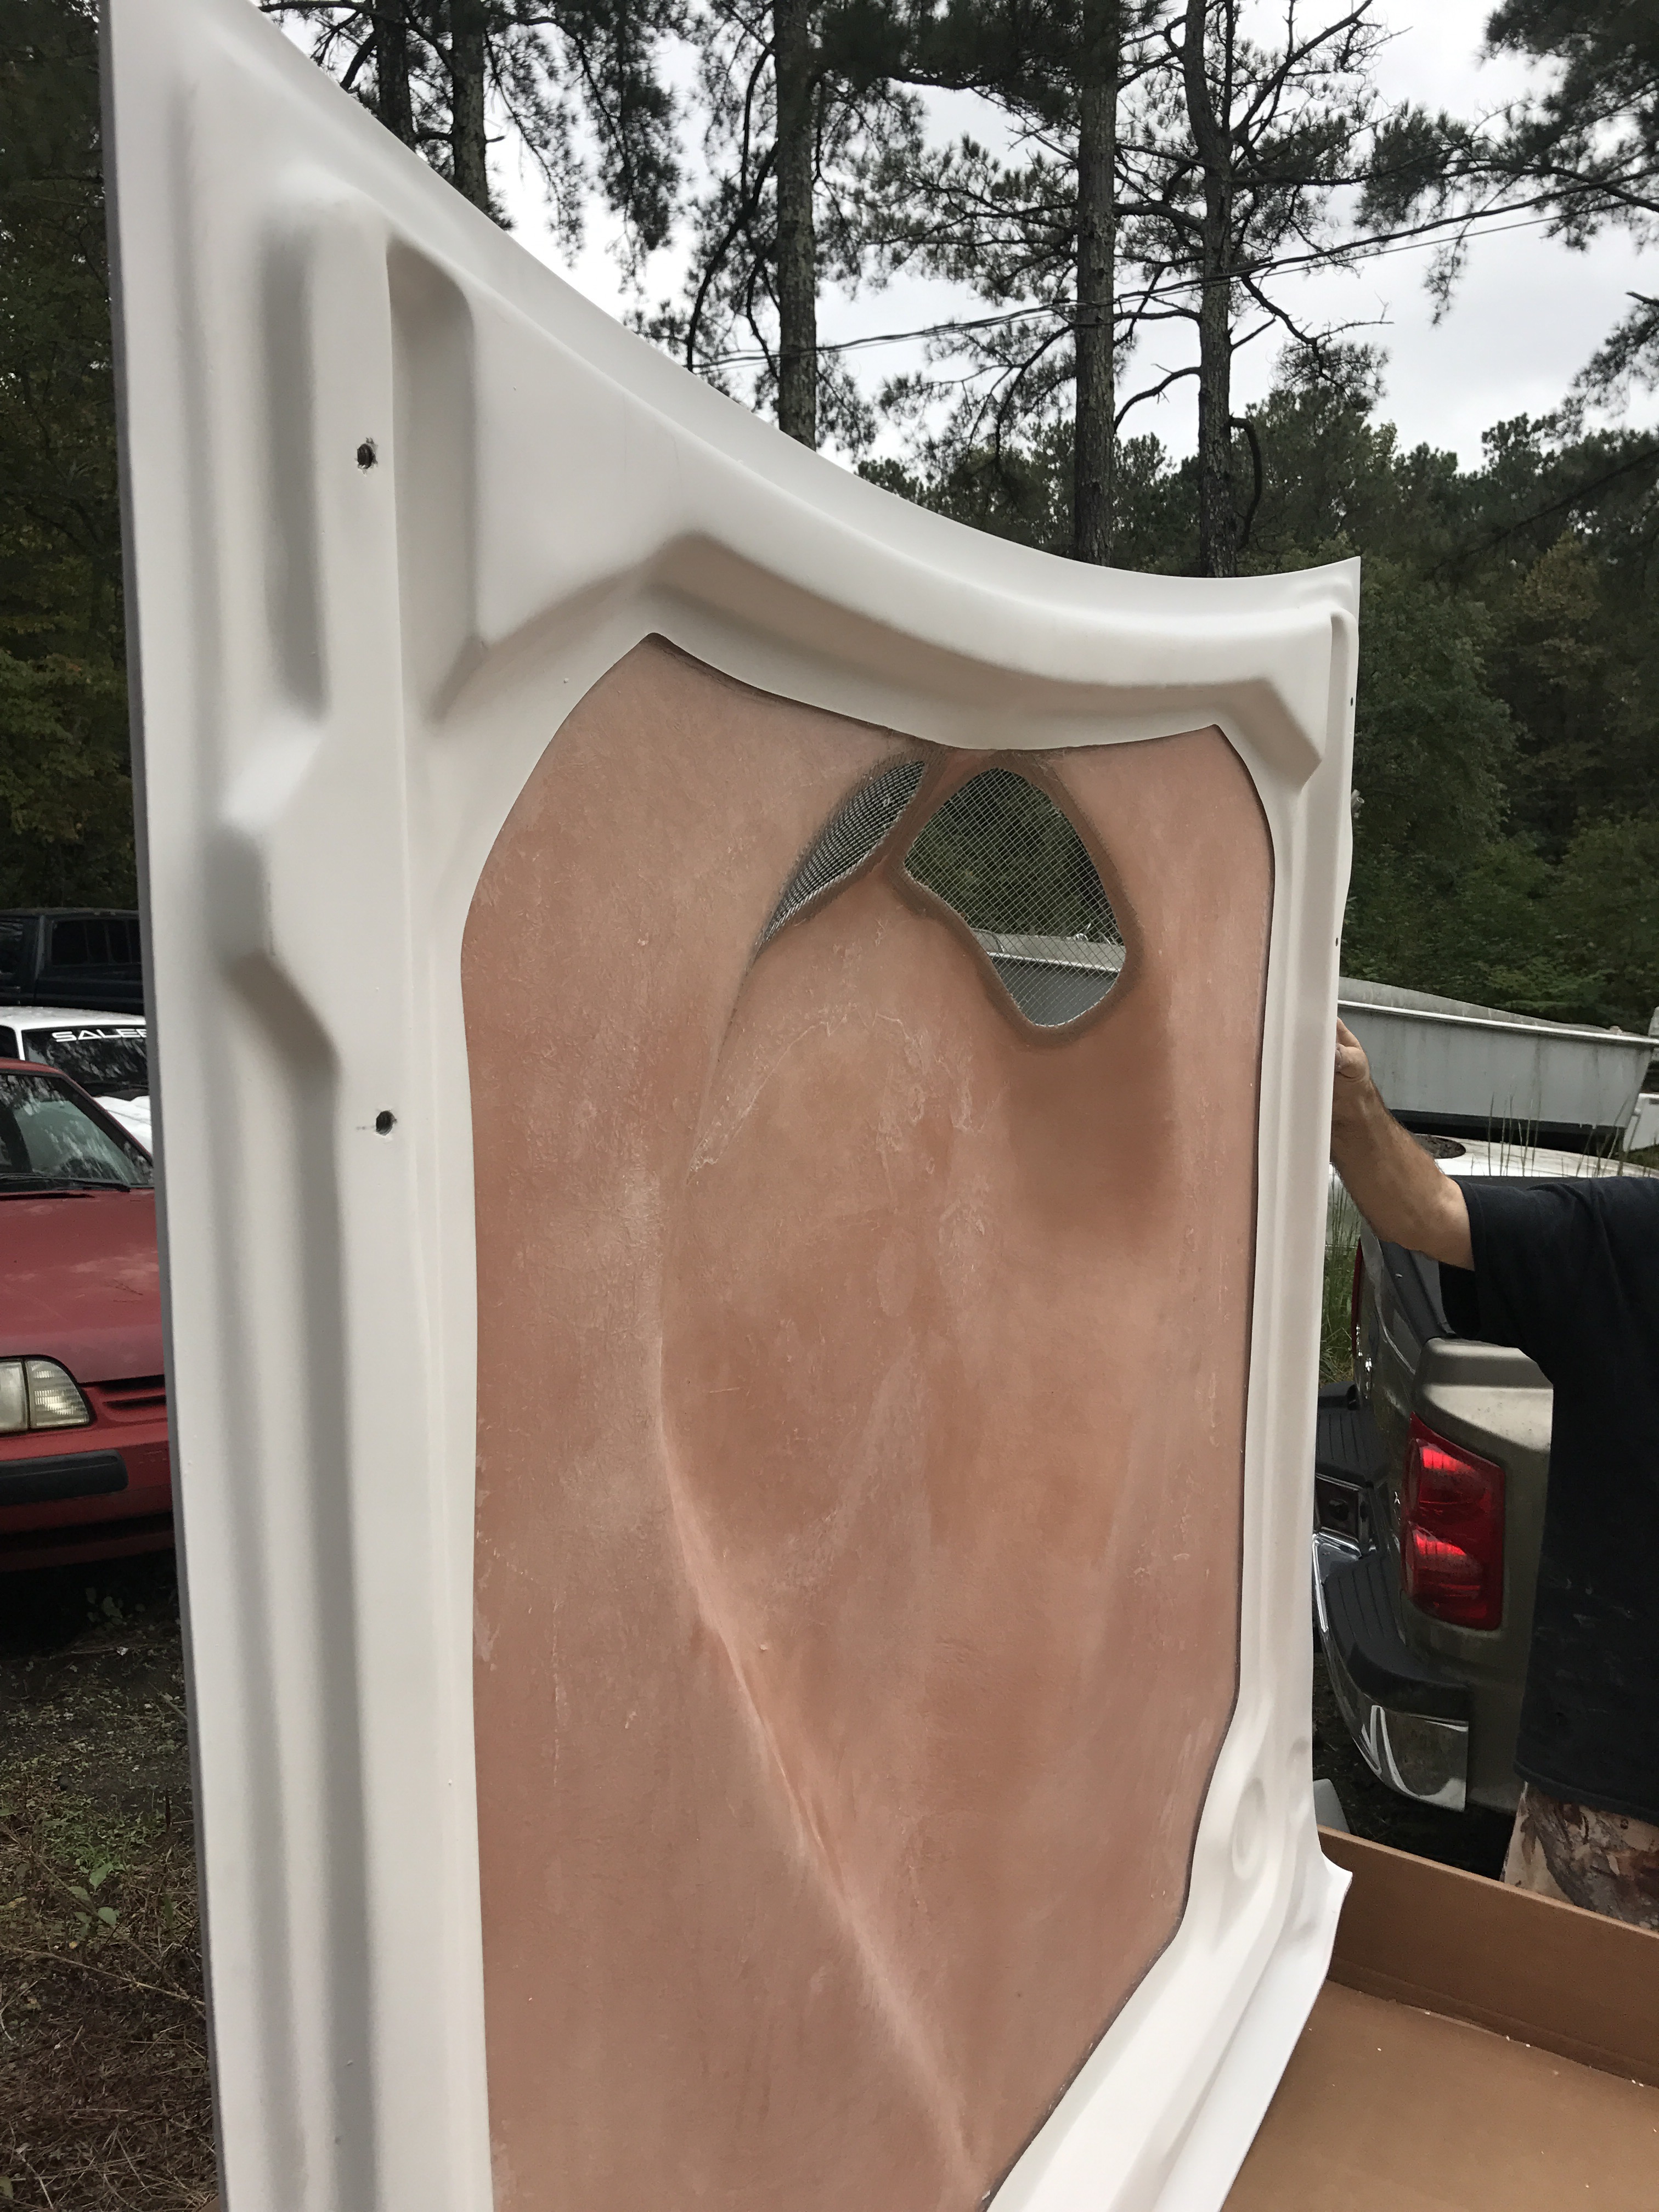
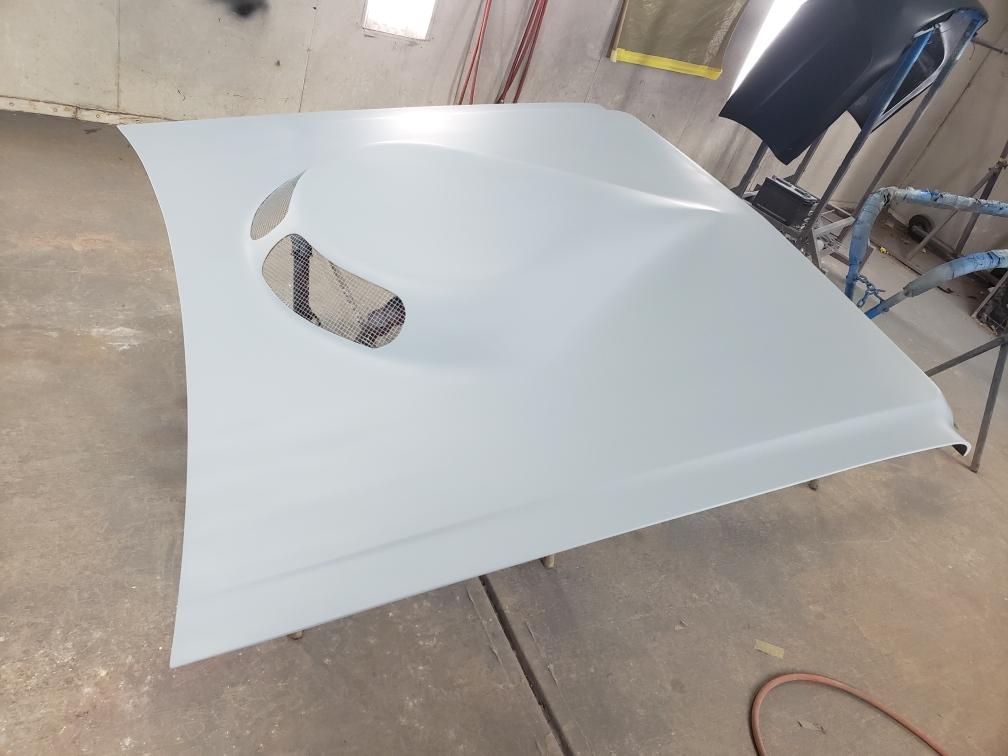
Tear drop hood from Crites…took about 6 months to get. Made to order. Good quality


 factory hood weighs over 60lbs
 fiberglass bumpers from crites – need to drill holes for your bolts (they mark the spots for you)

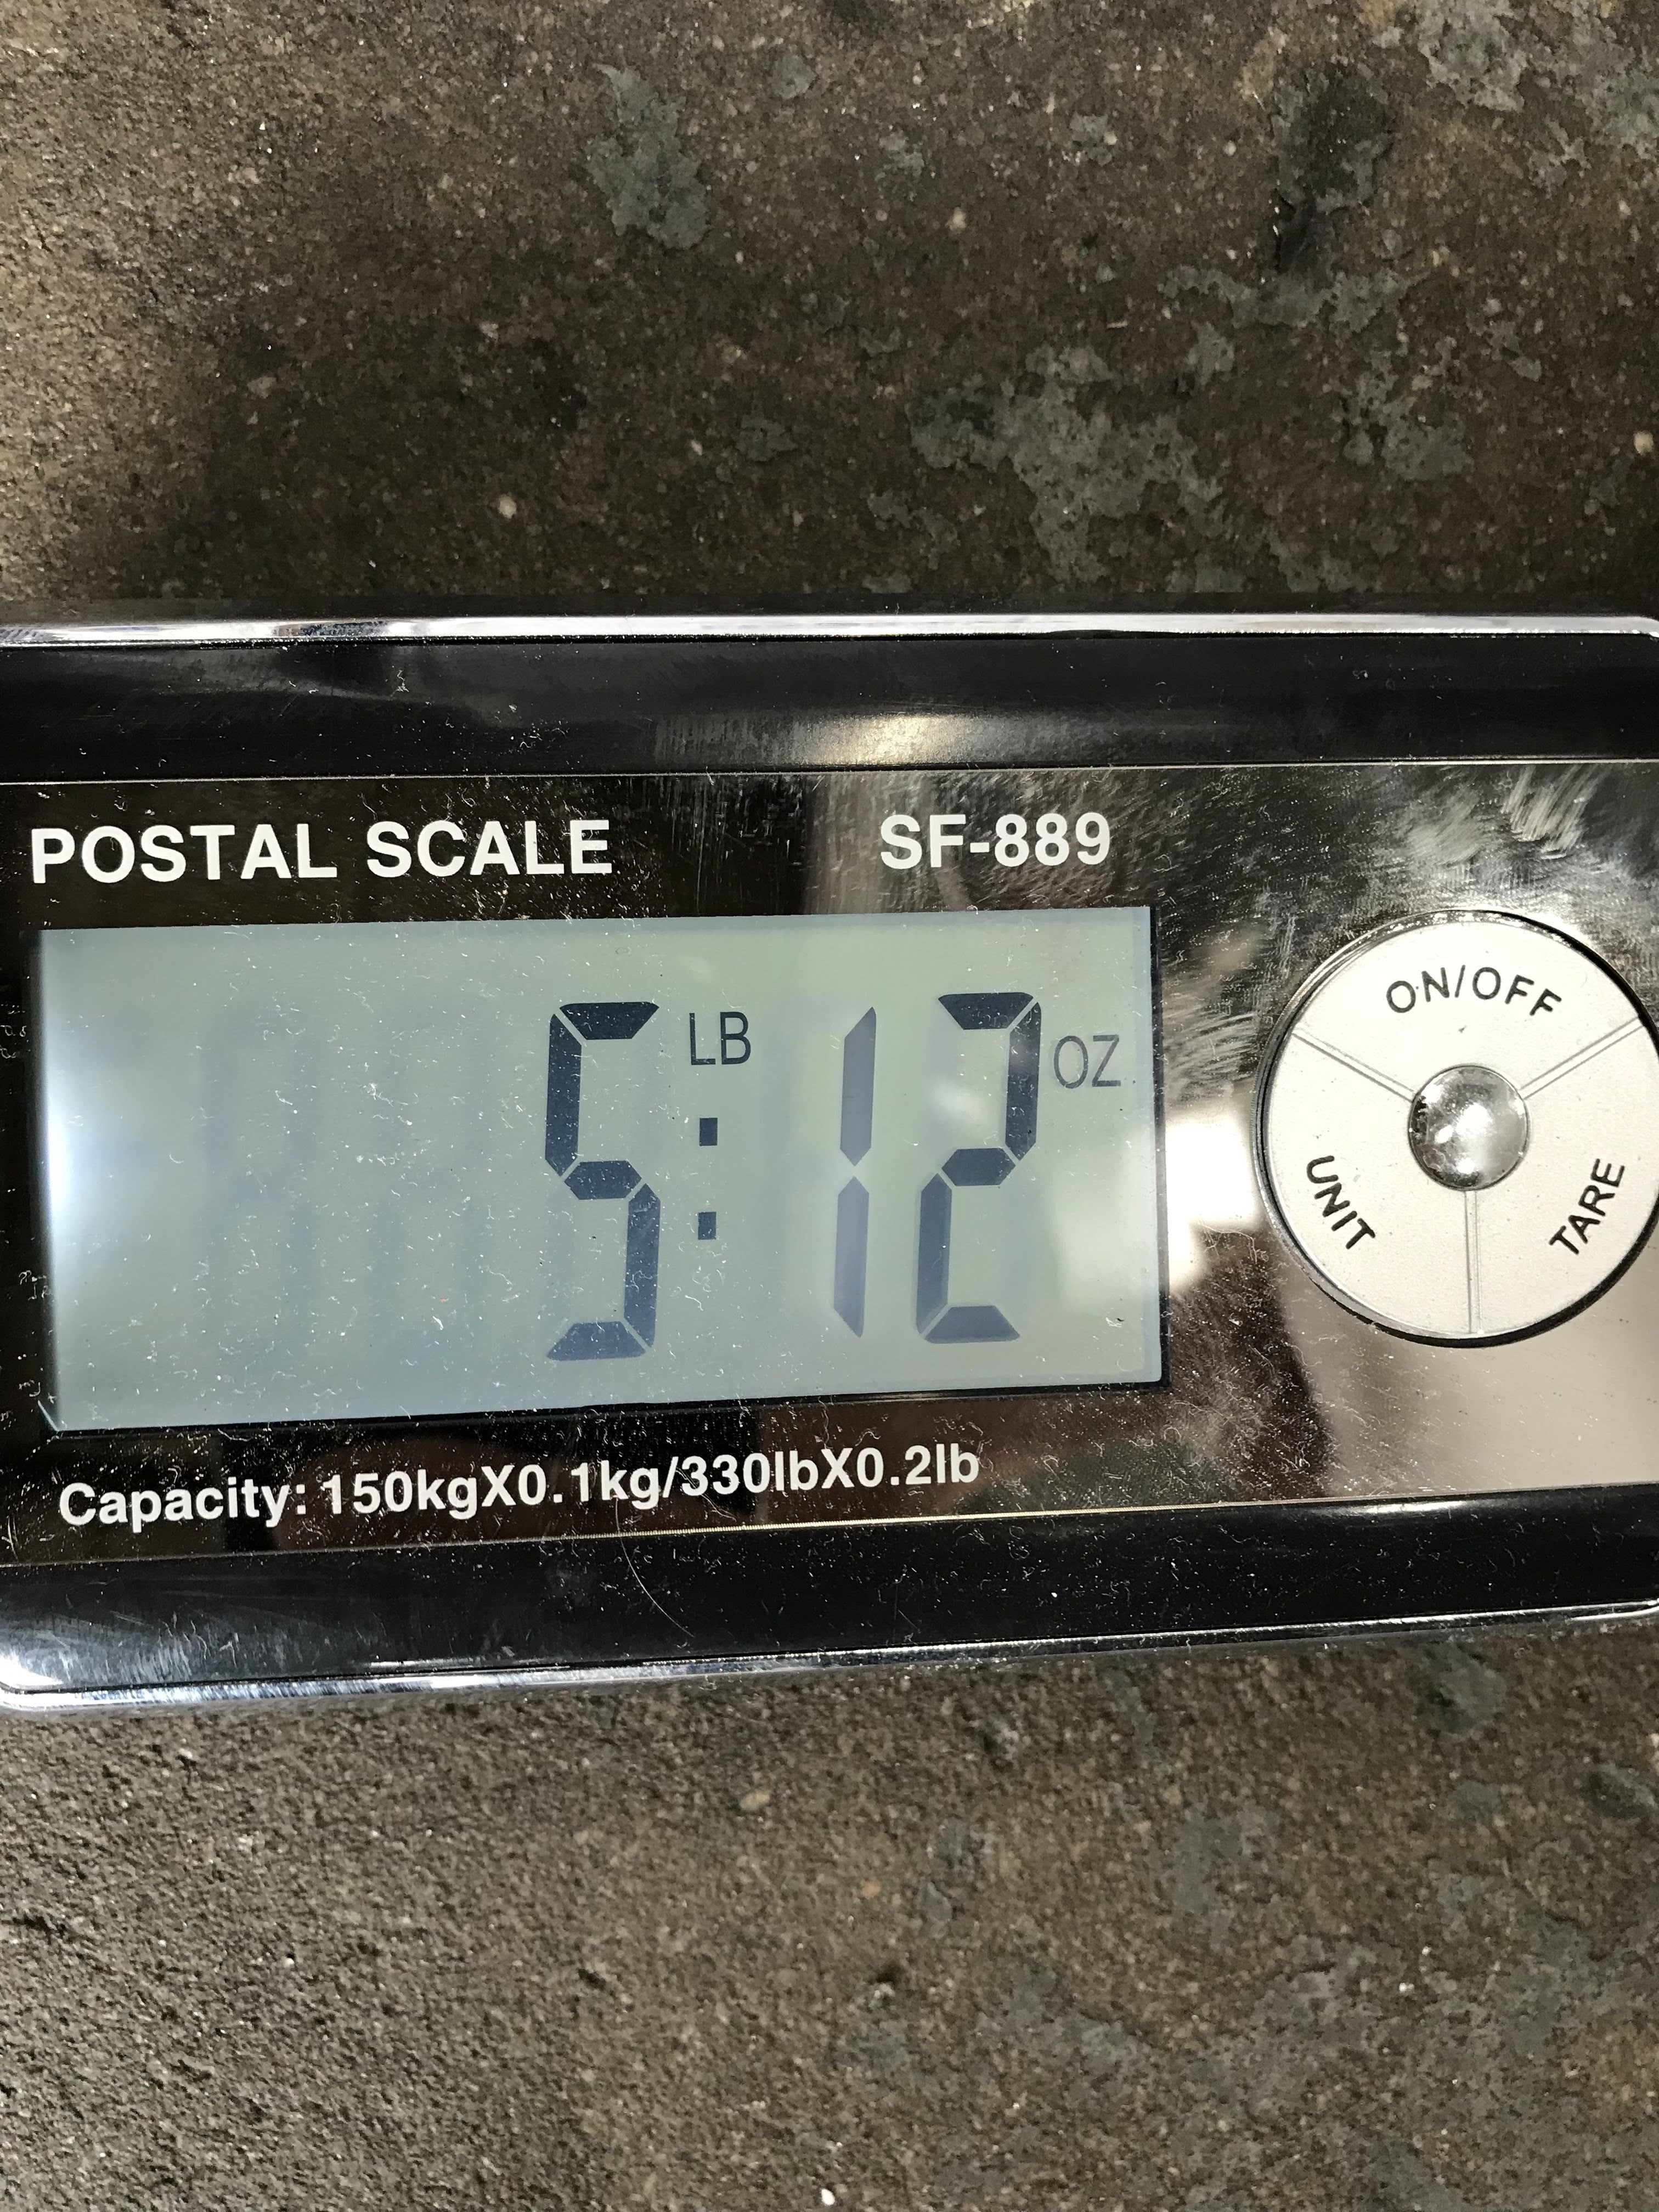 fiberglass bumper weighs 5 lbs
 steel bumper weighs 34lbs
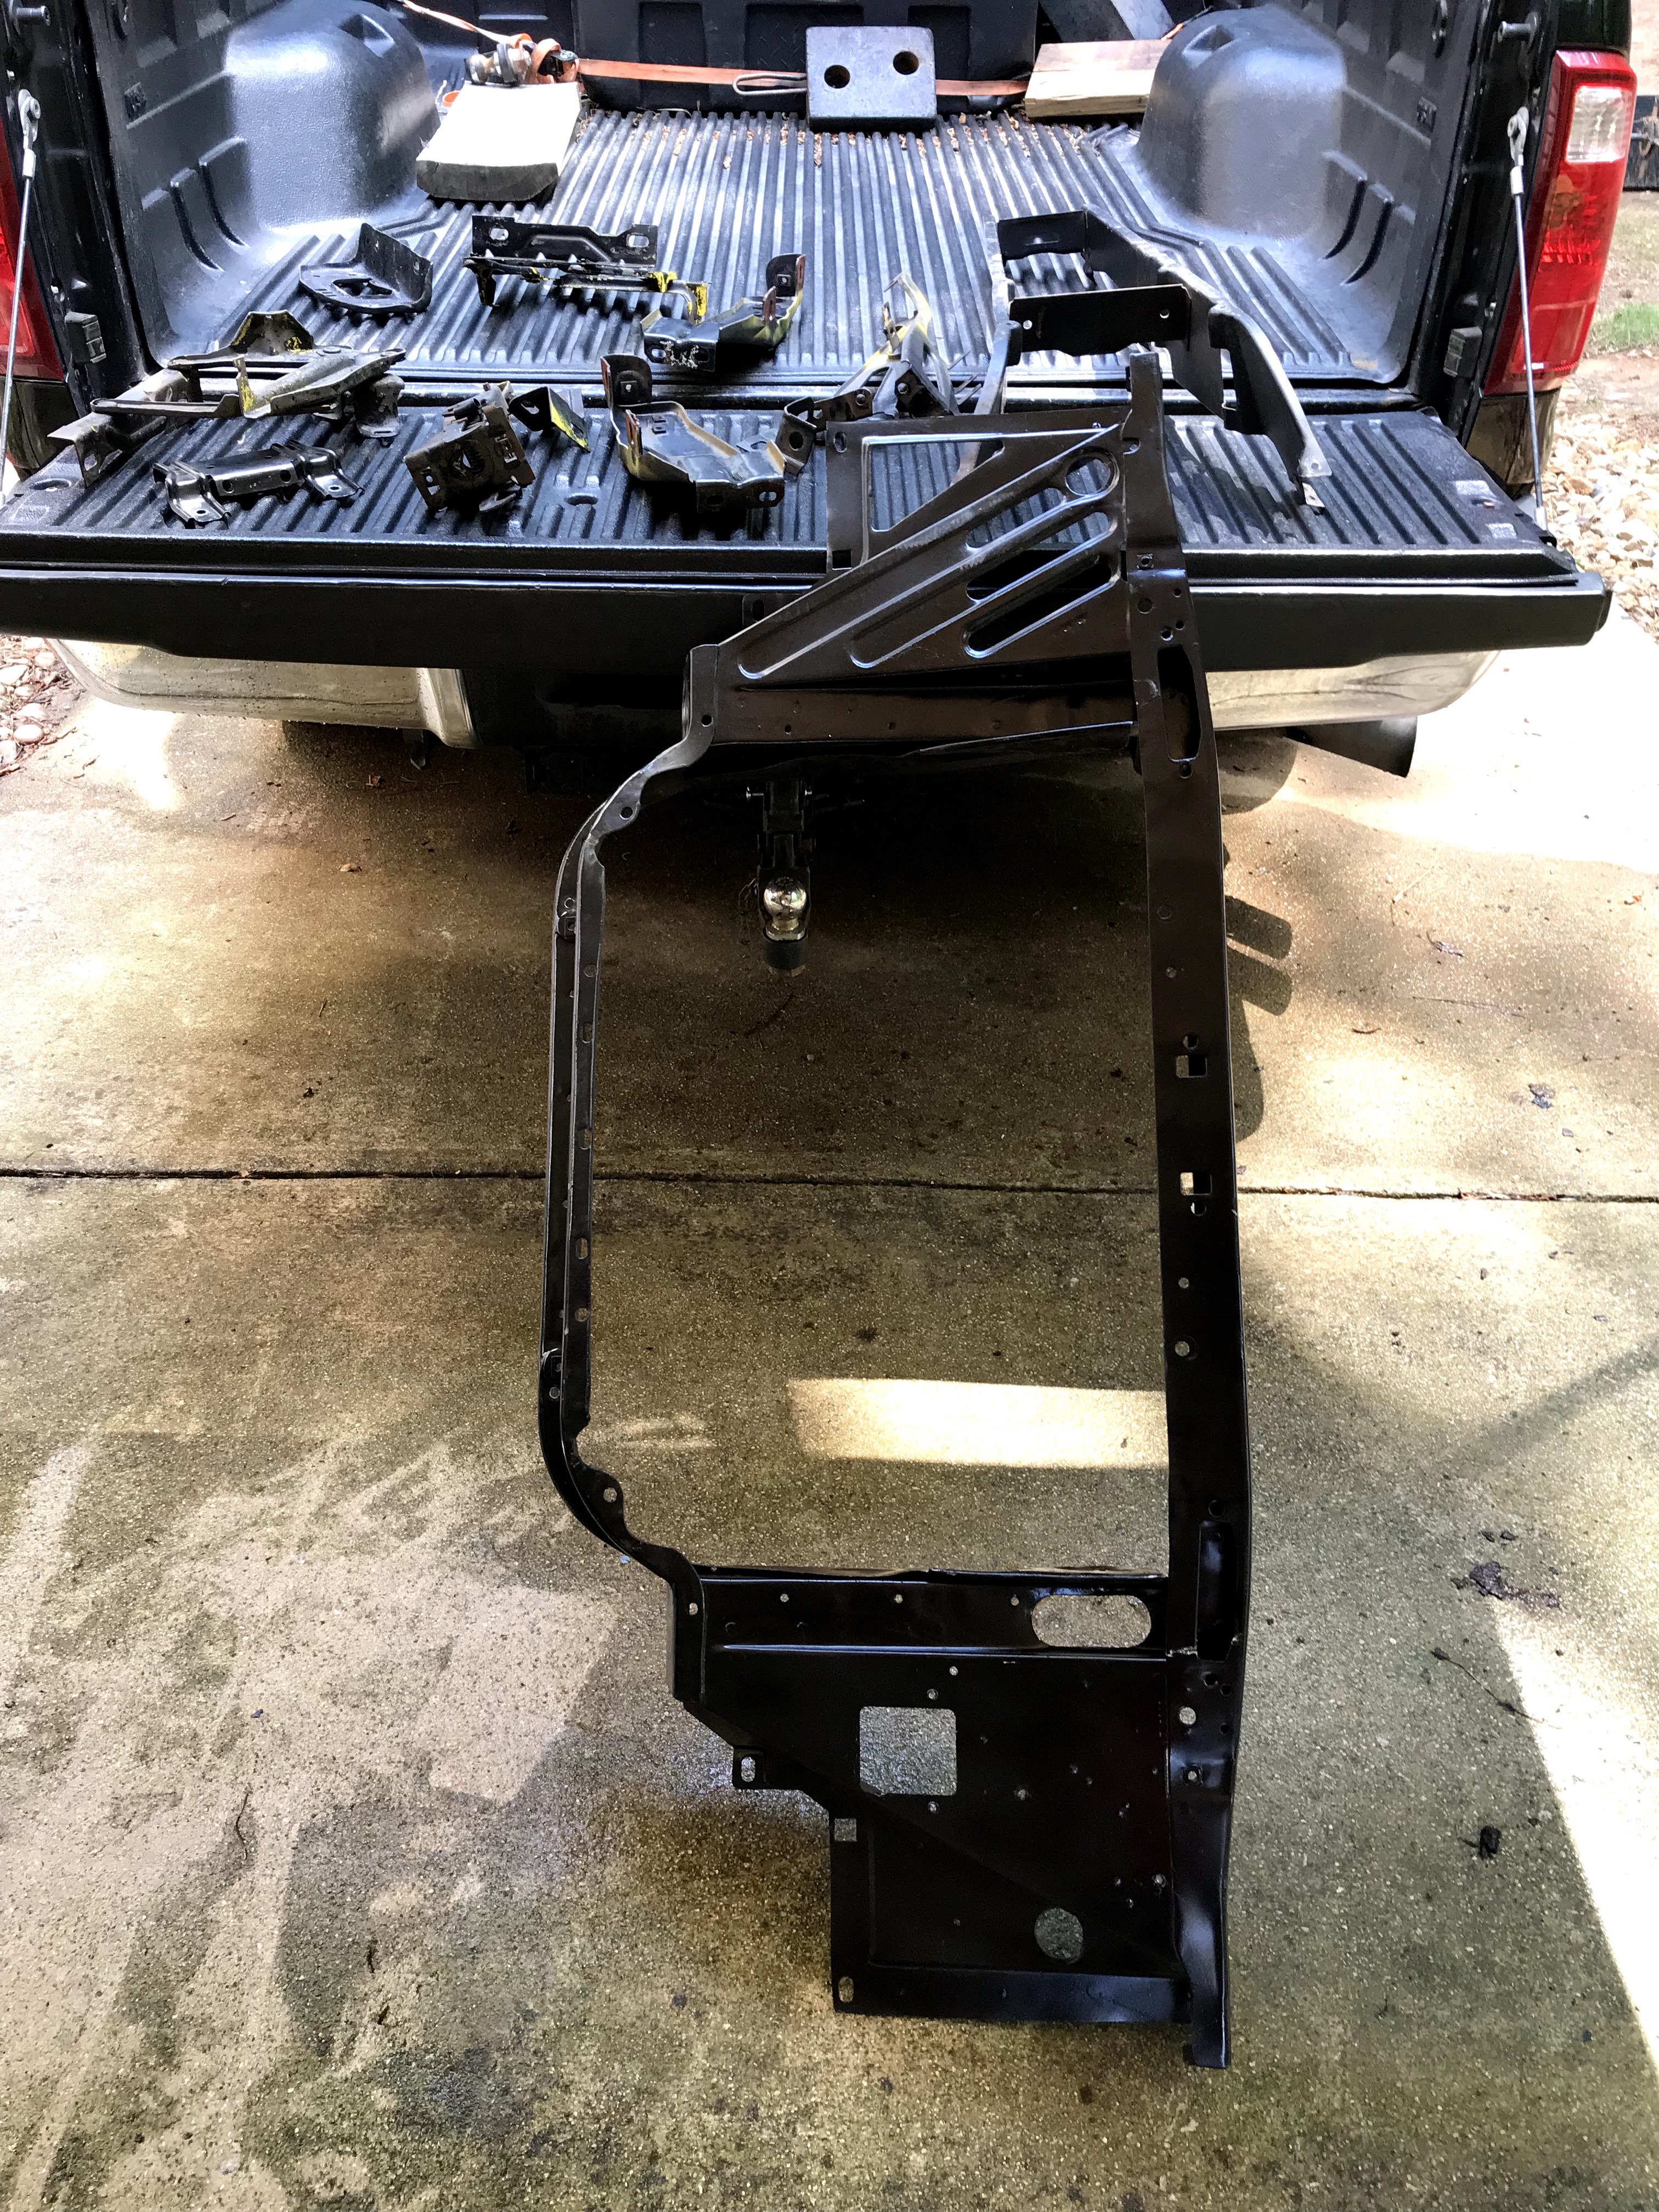
decided to load the core support & bring to get power coated — Along with hood hinges, hood latch assy, grill brackets, etc


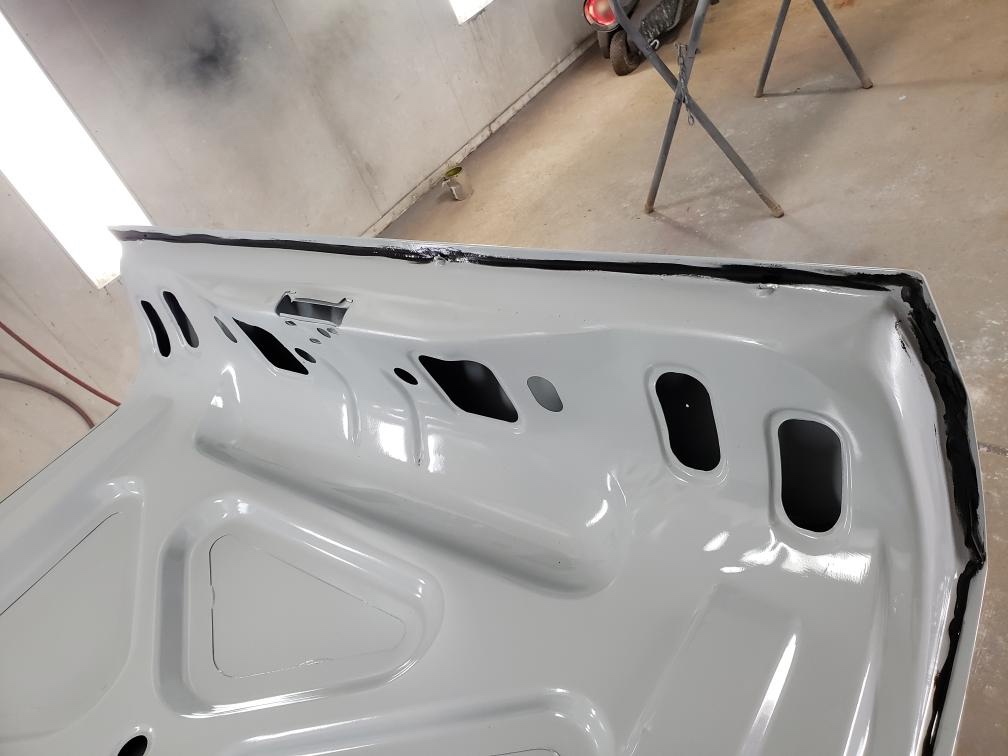


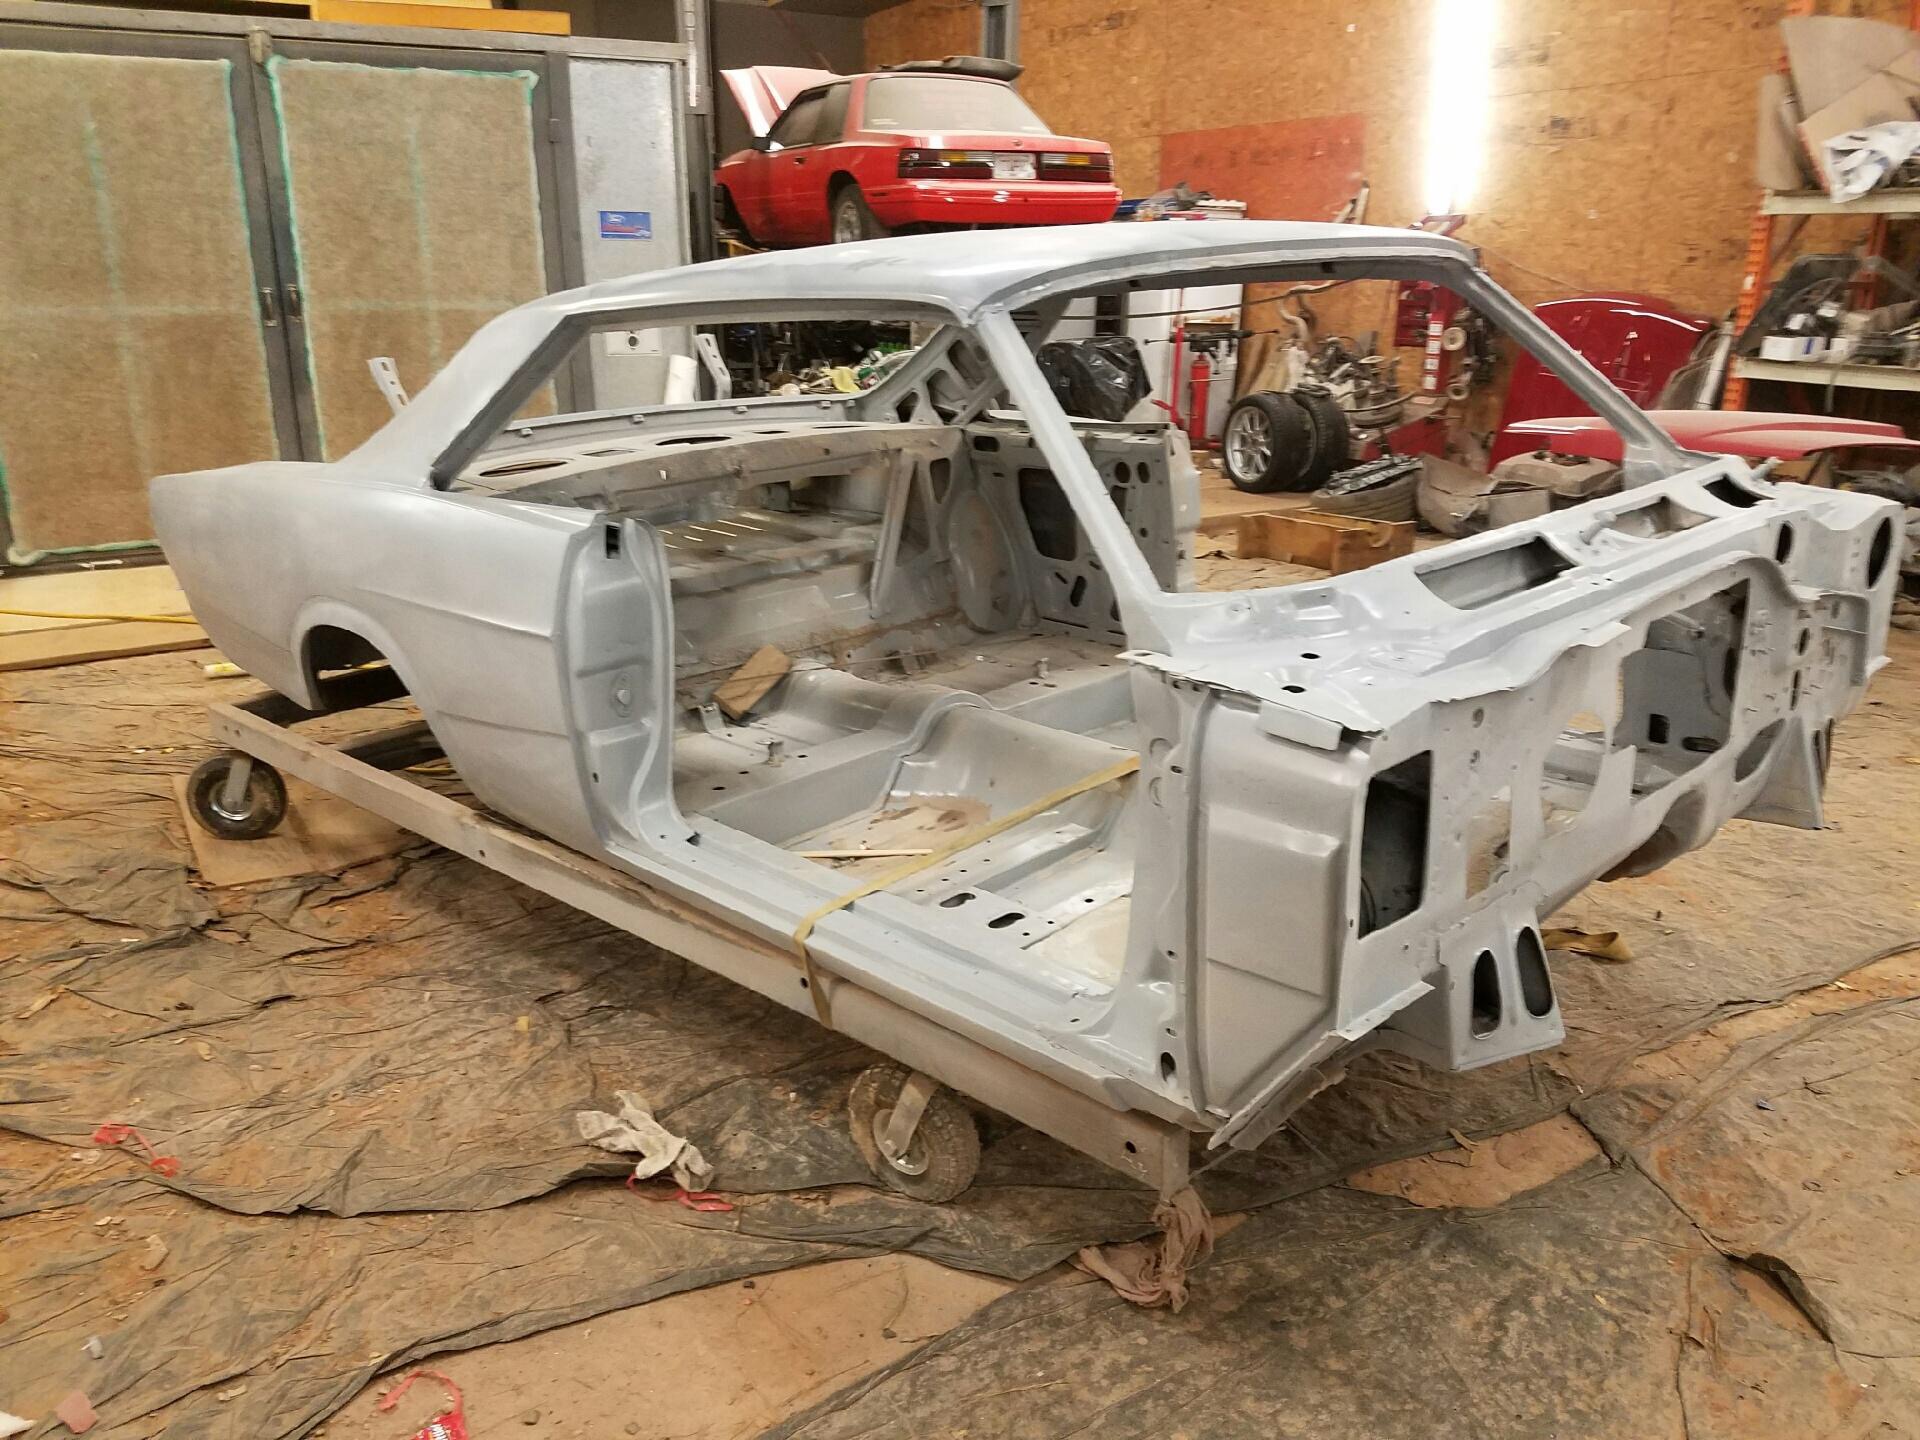
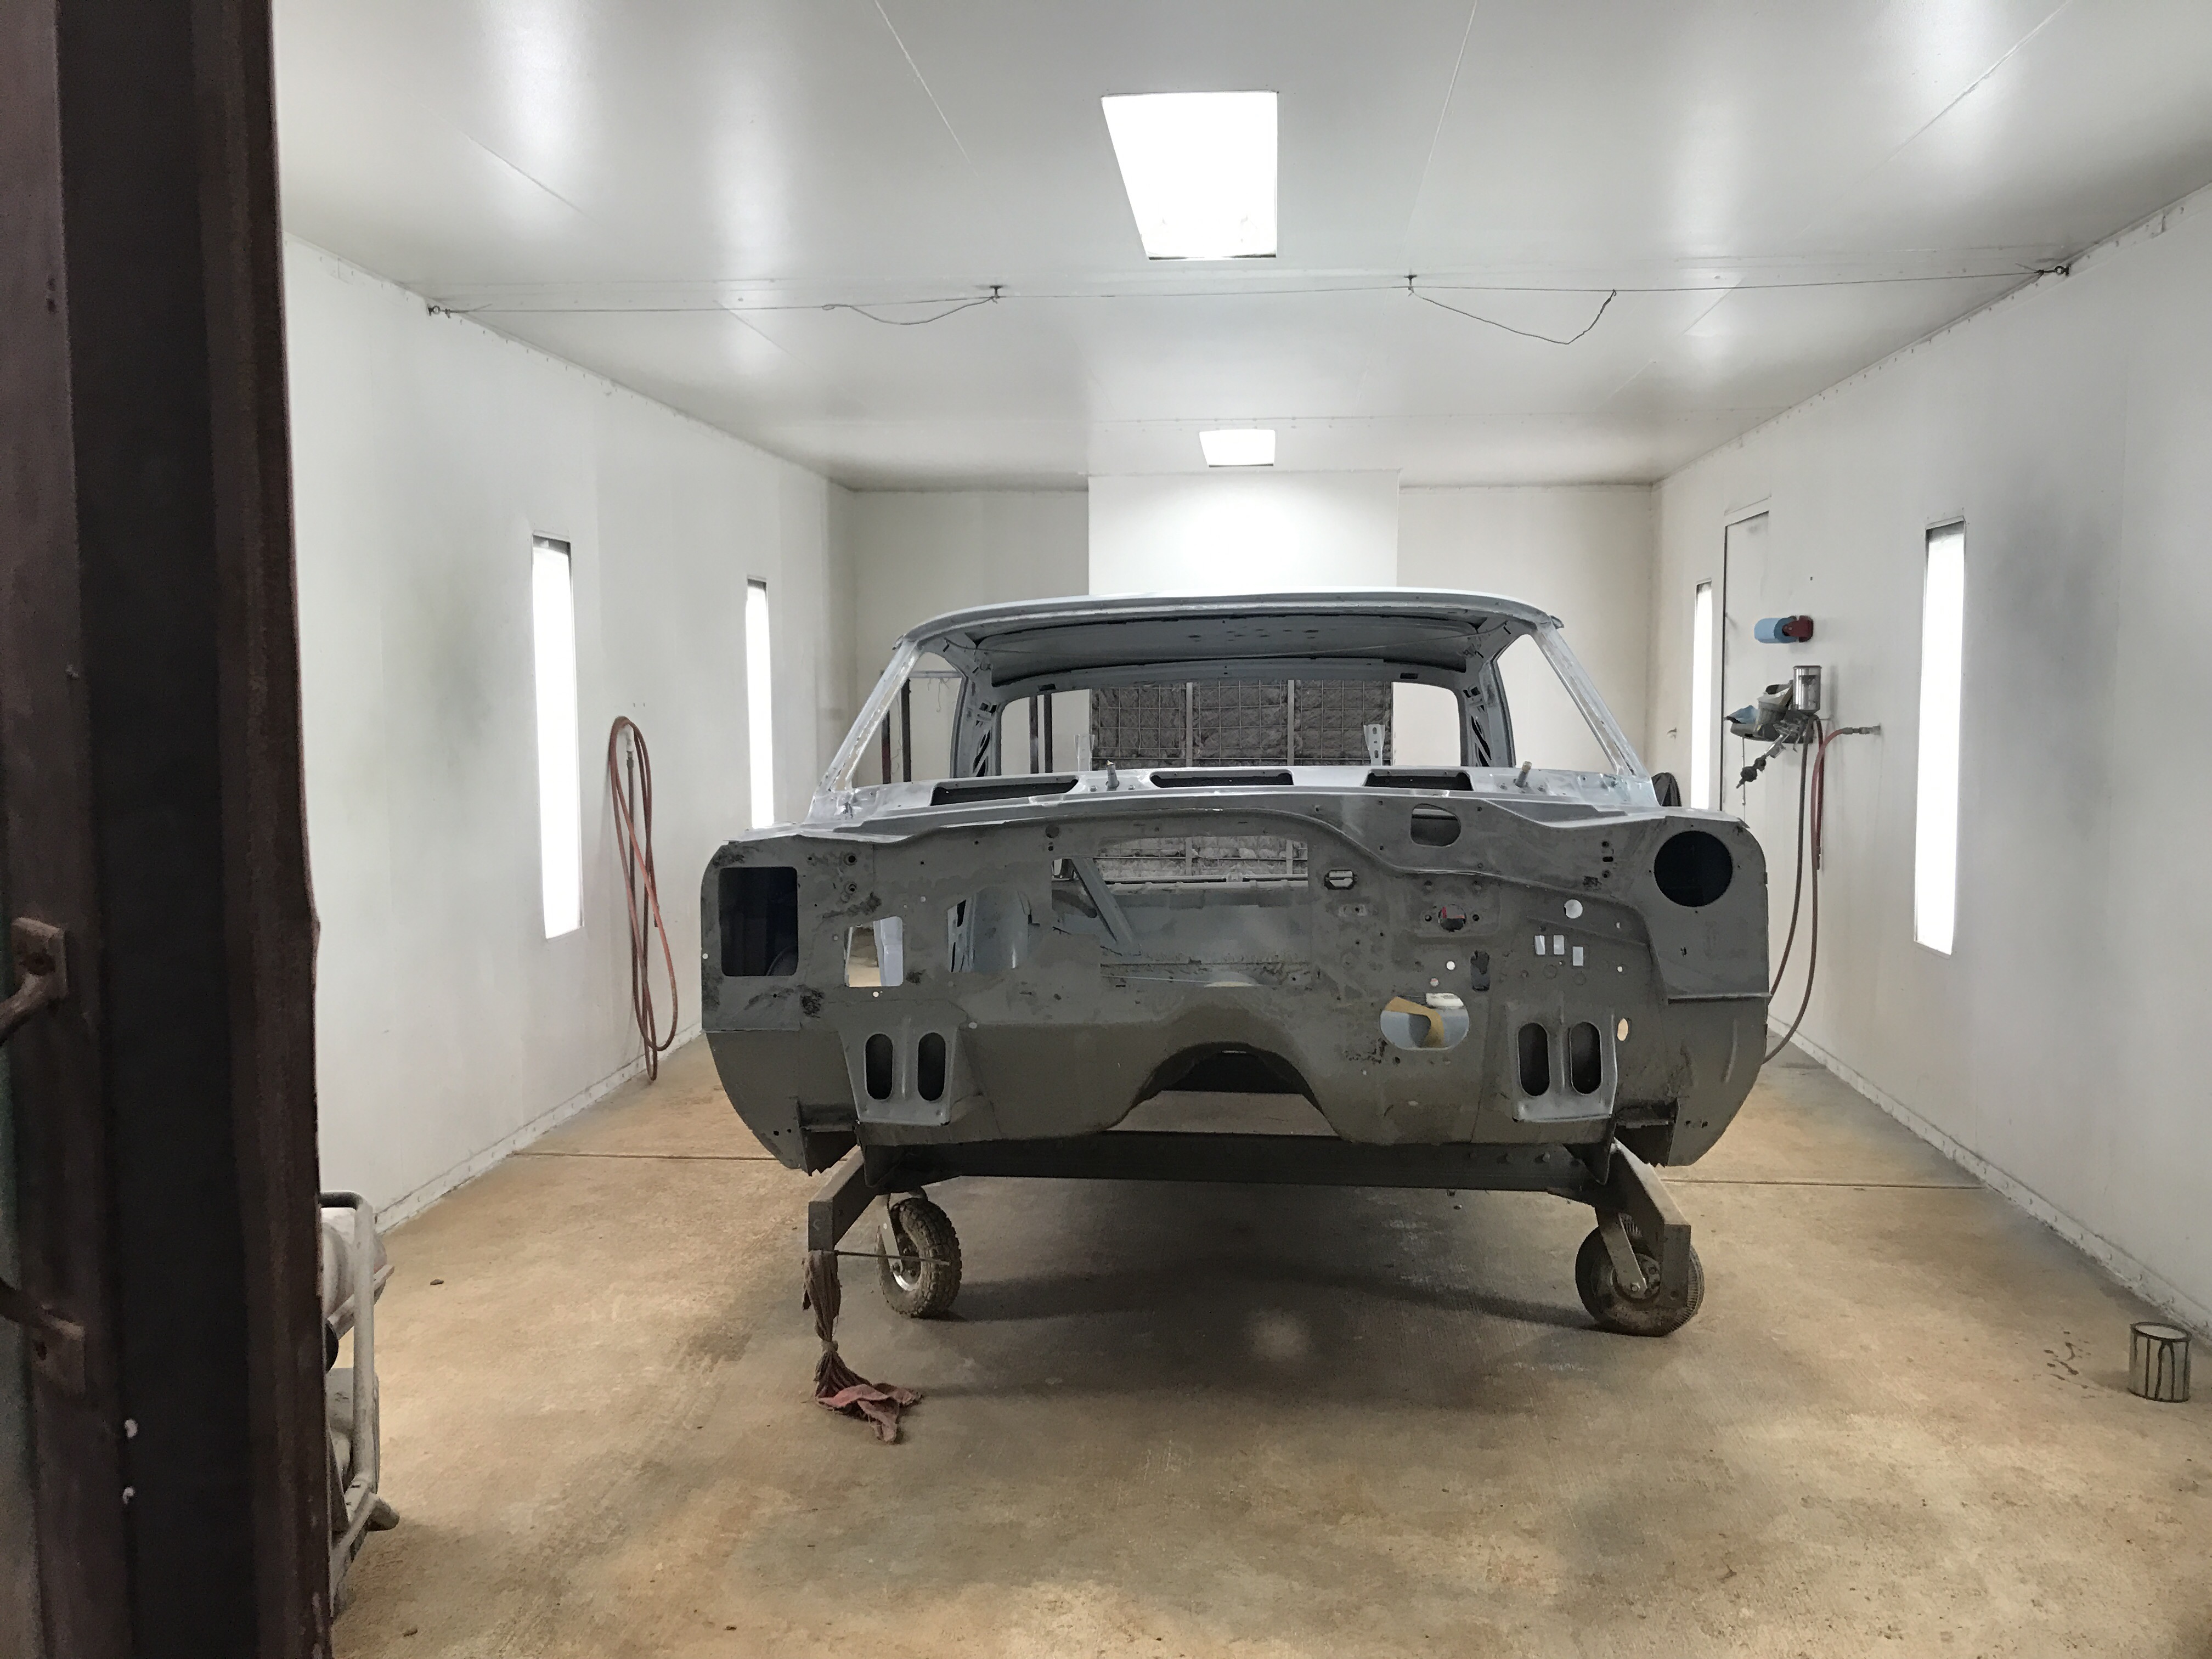
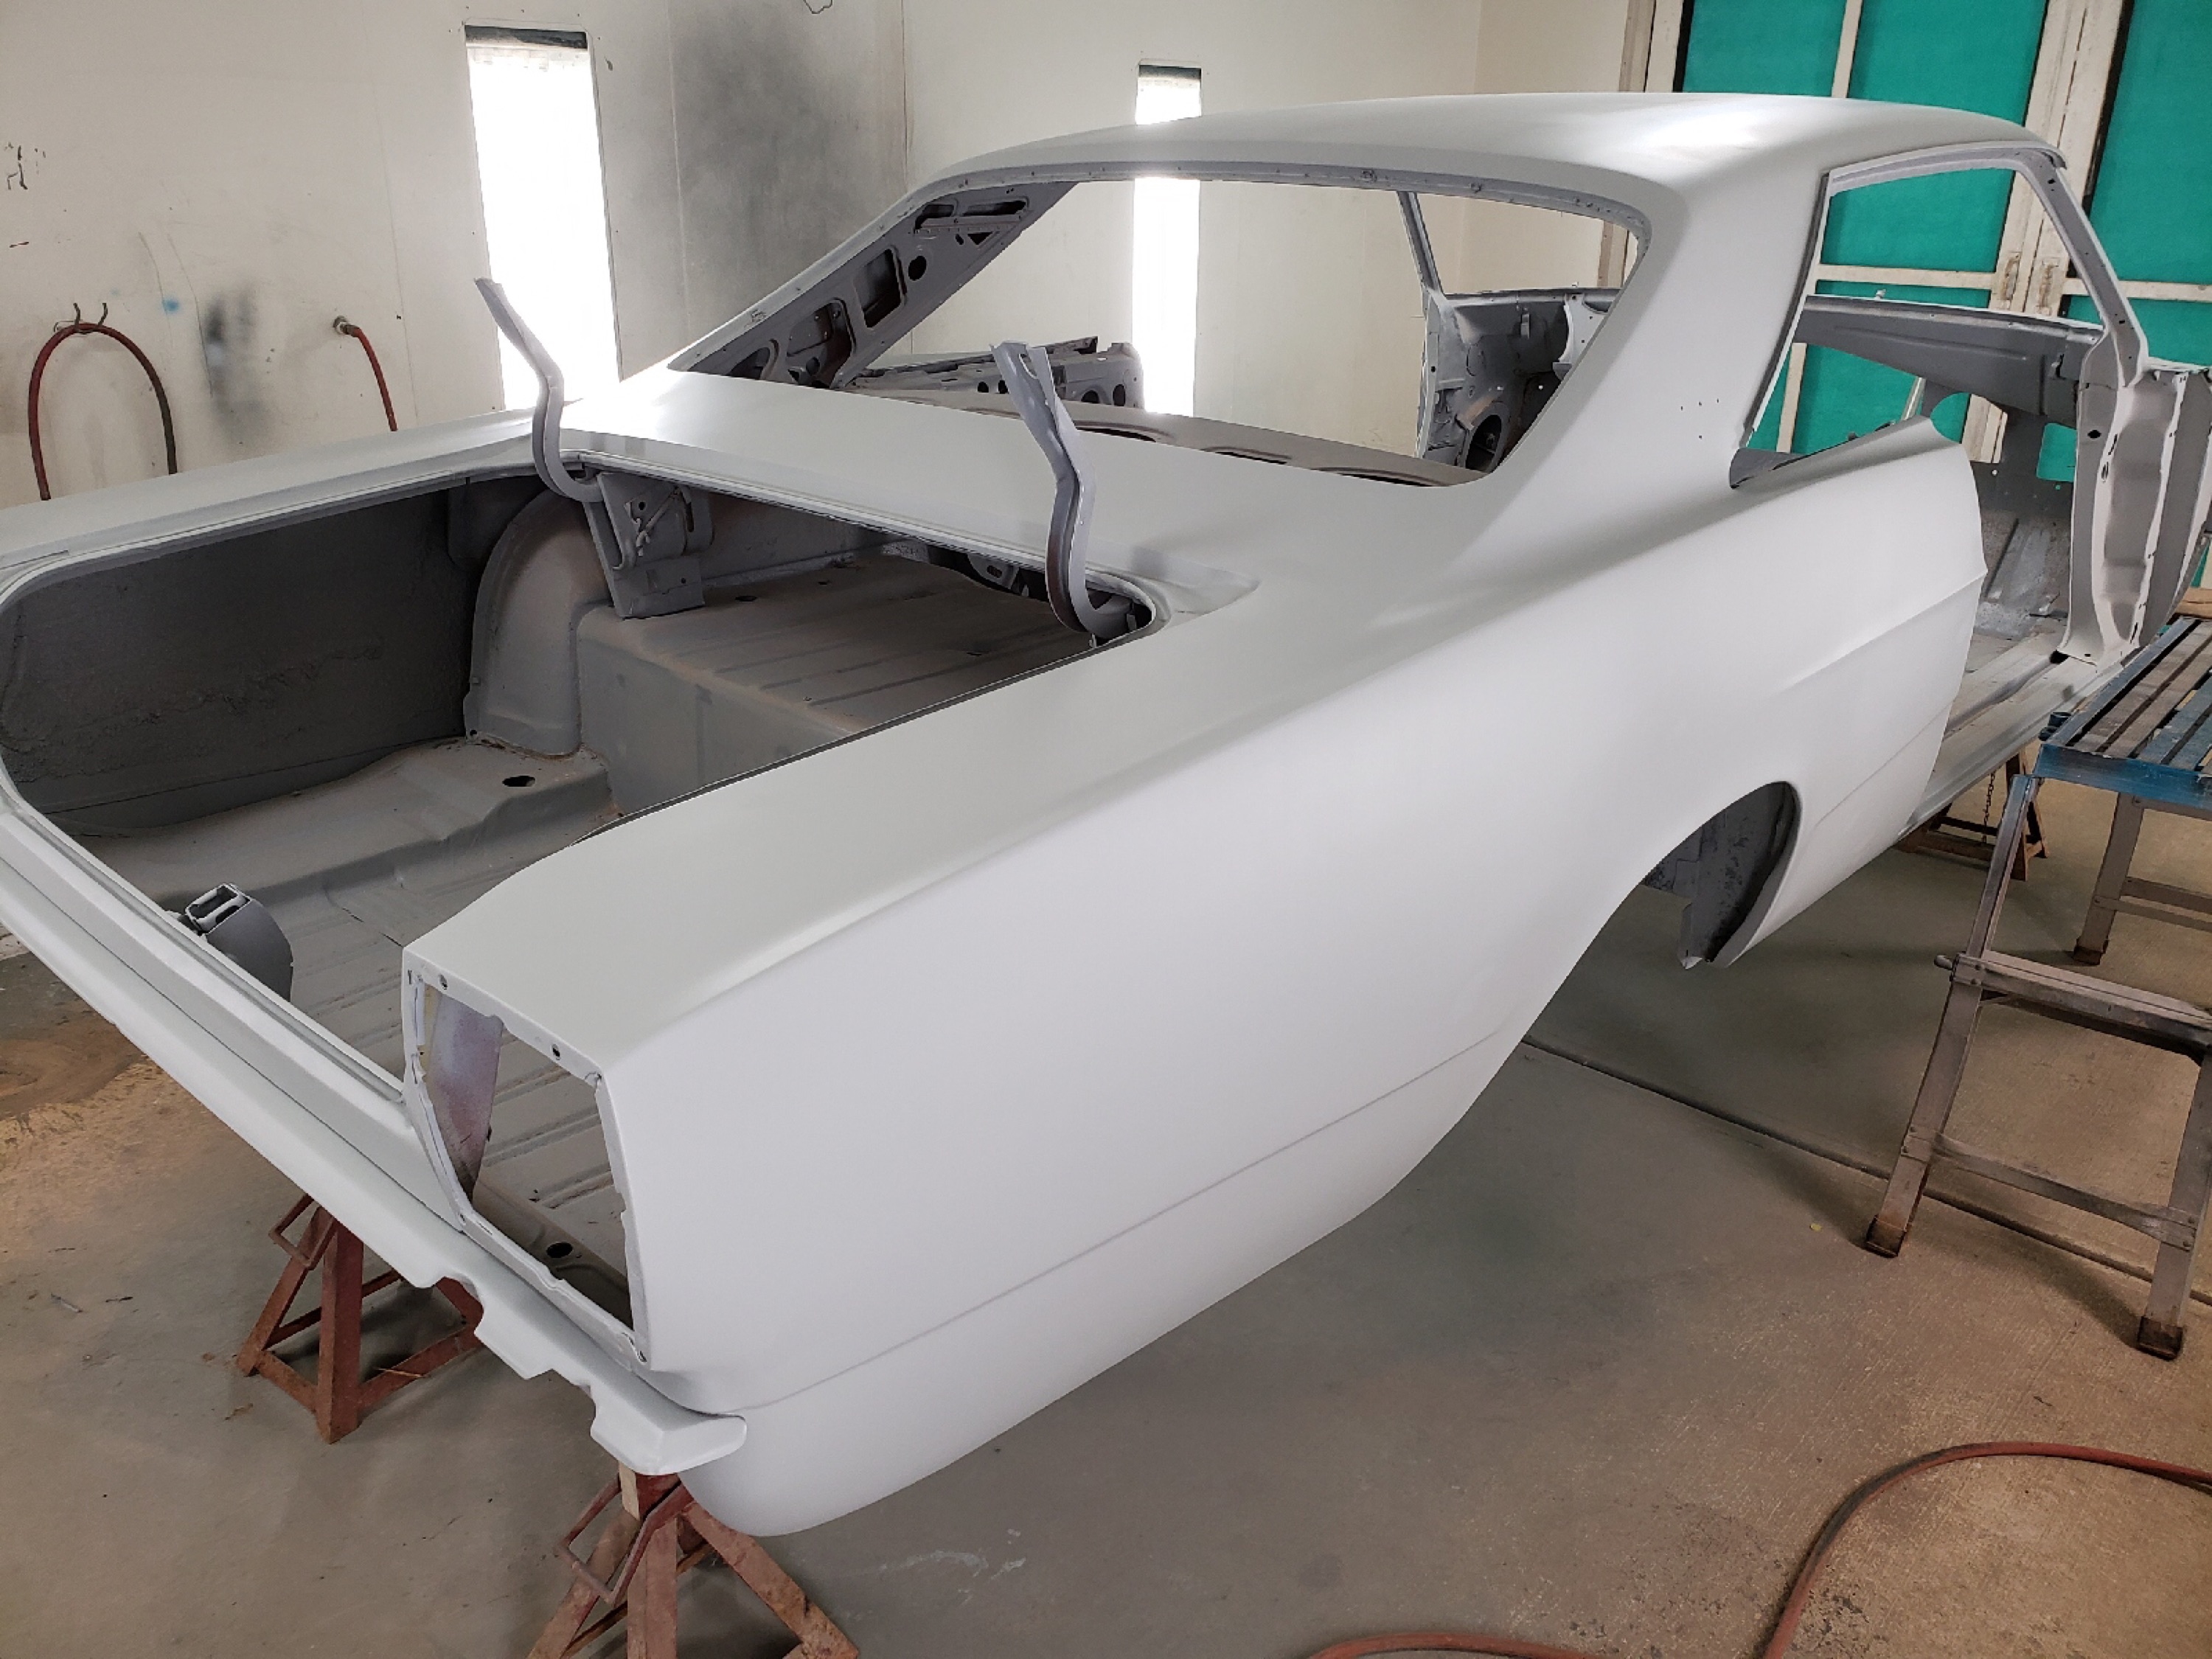
Everything is its final coat of primer and sealed

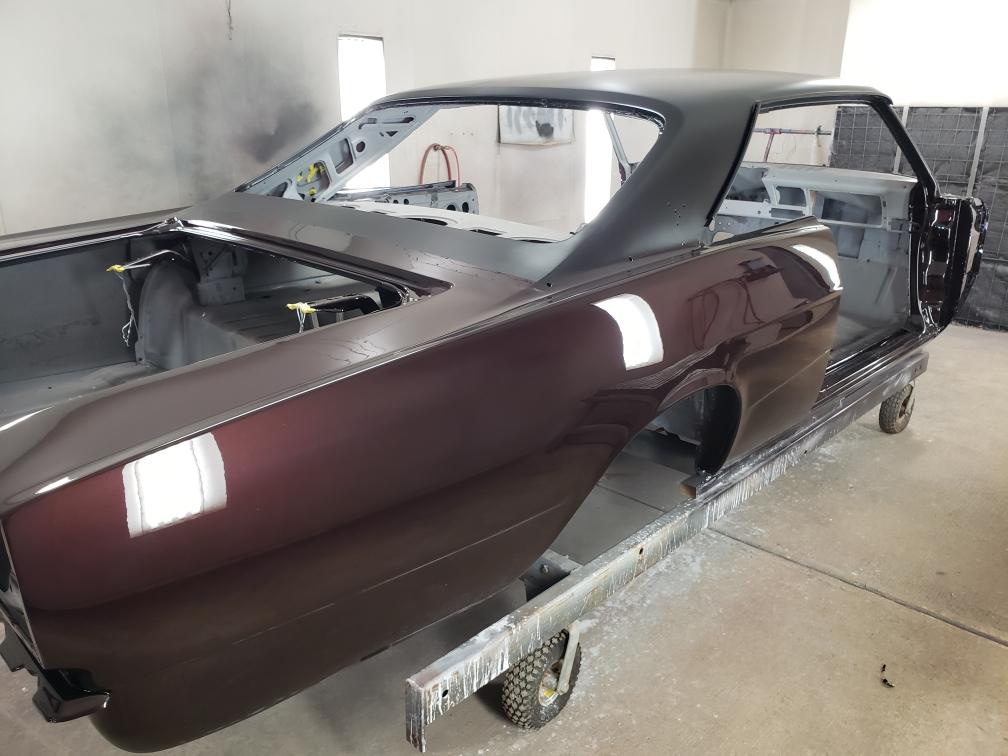
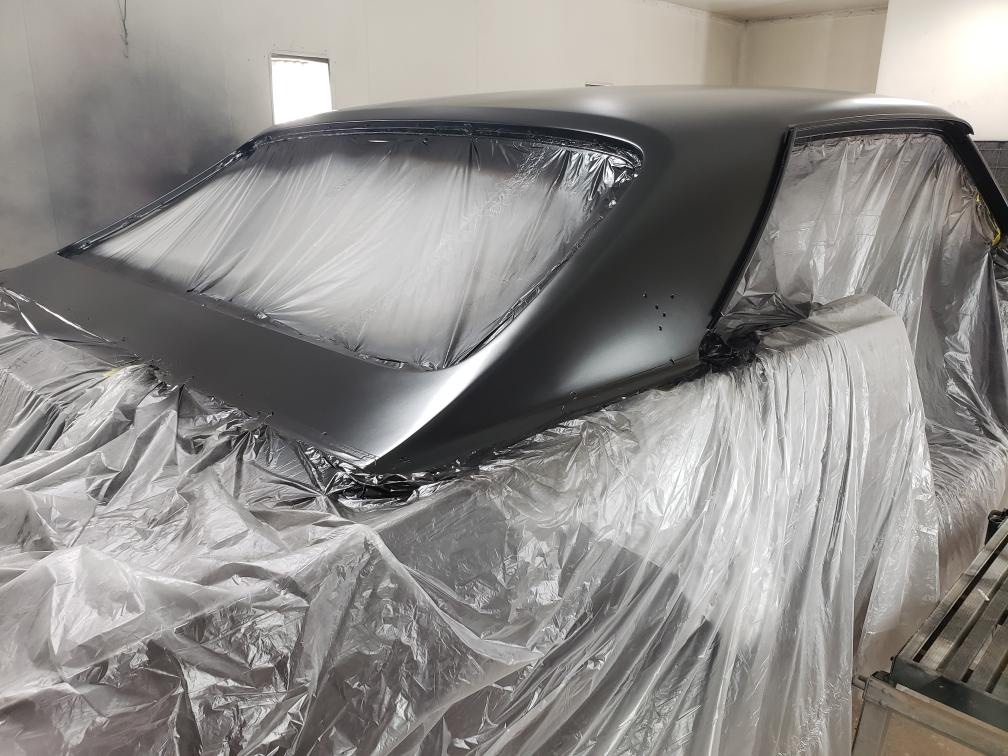
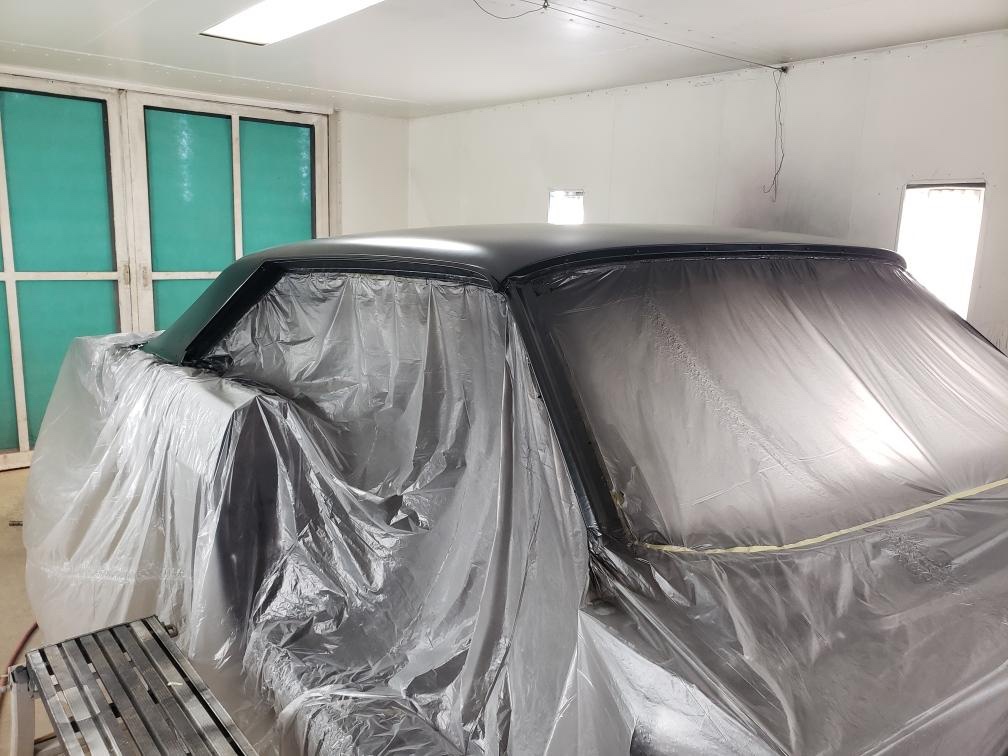

Finally painted – Body color is Ford’s Red Magma – Roof is matte black (to look like the original vinyl top)


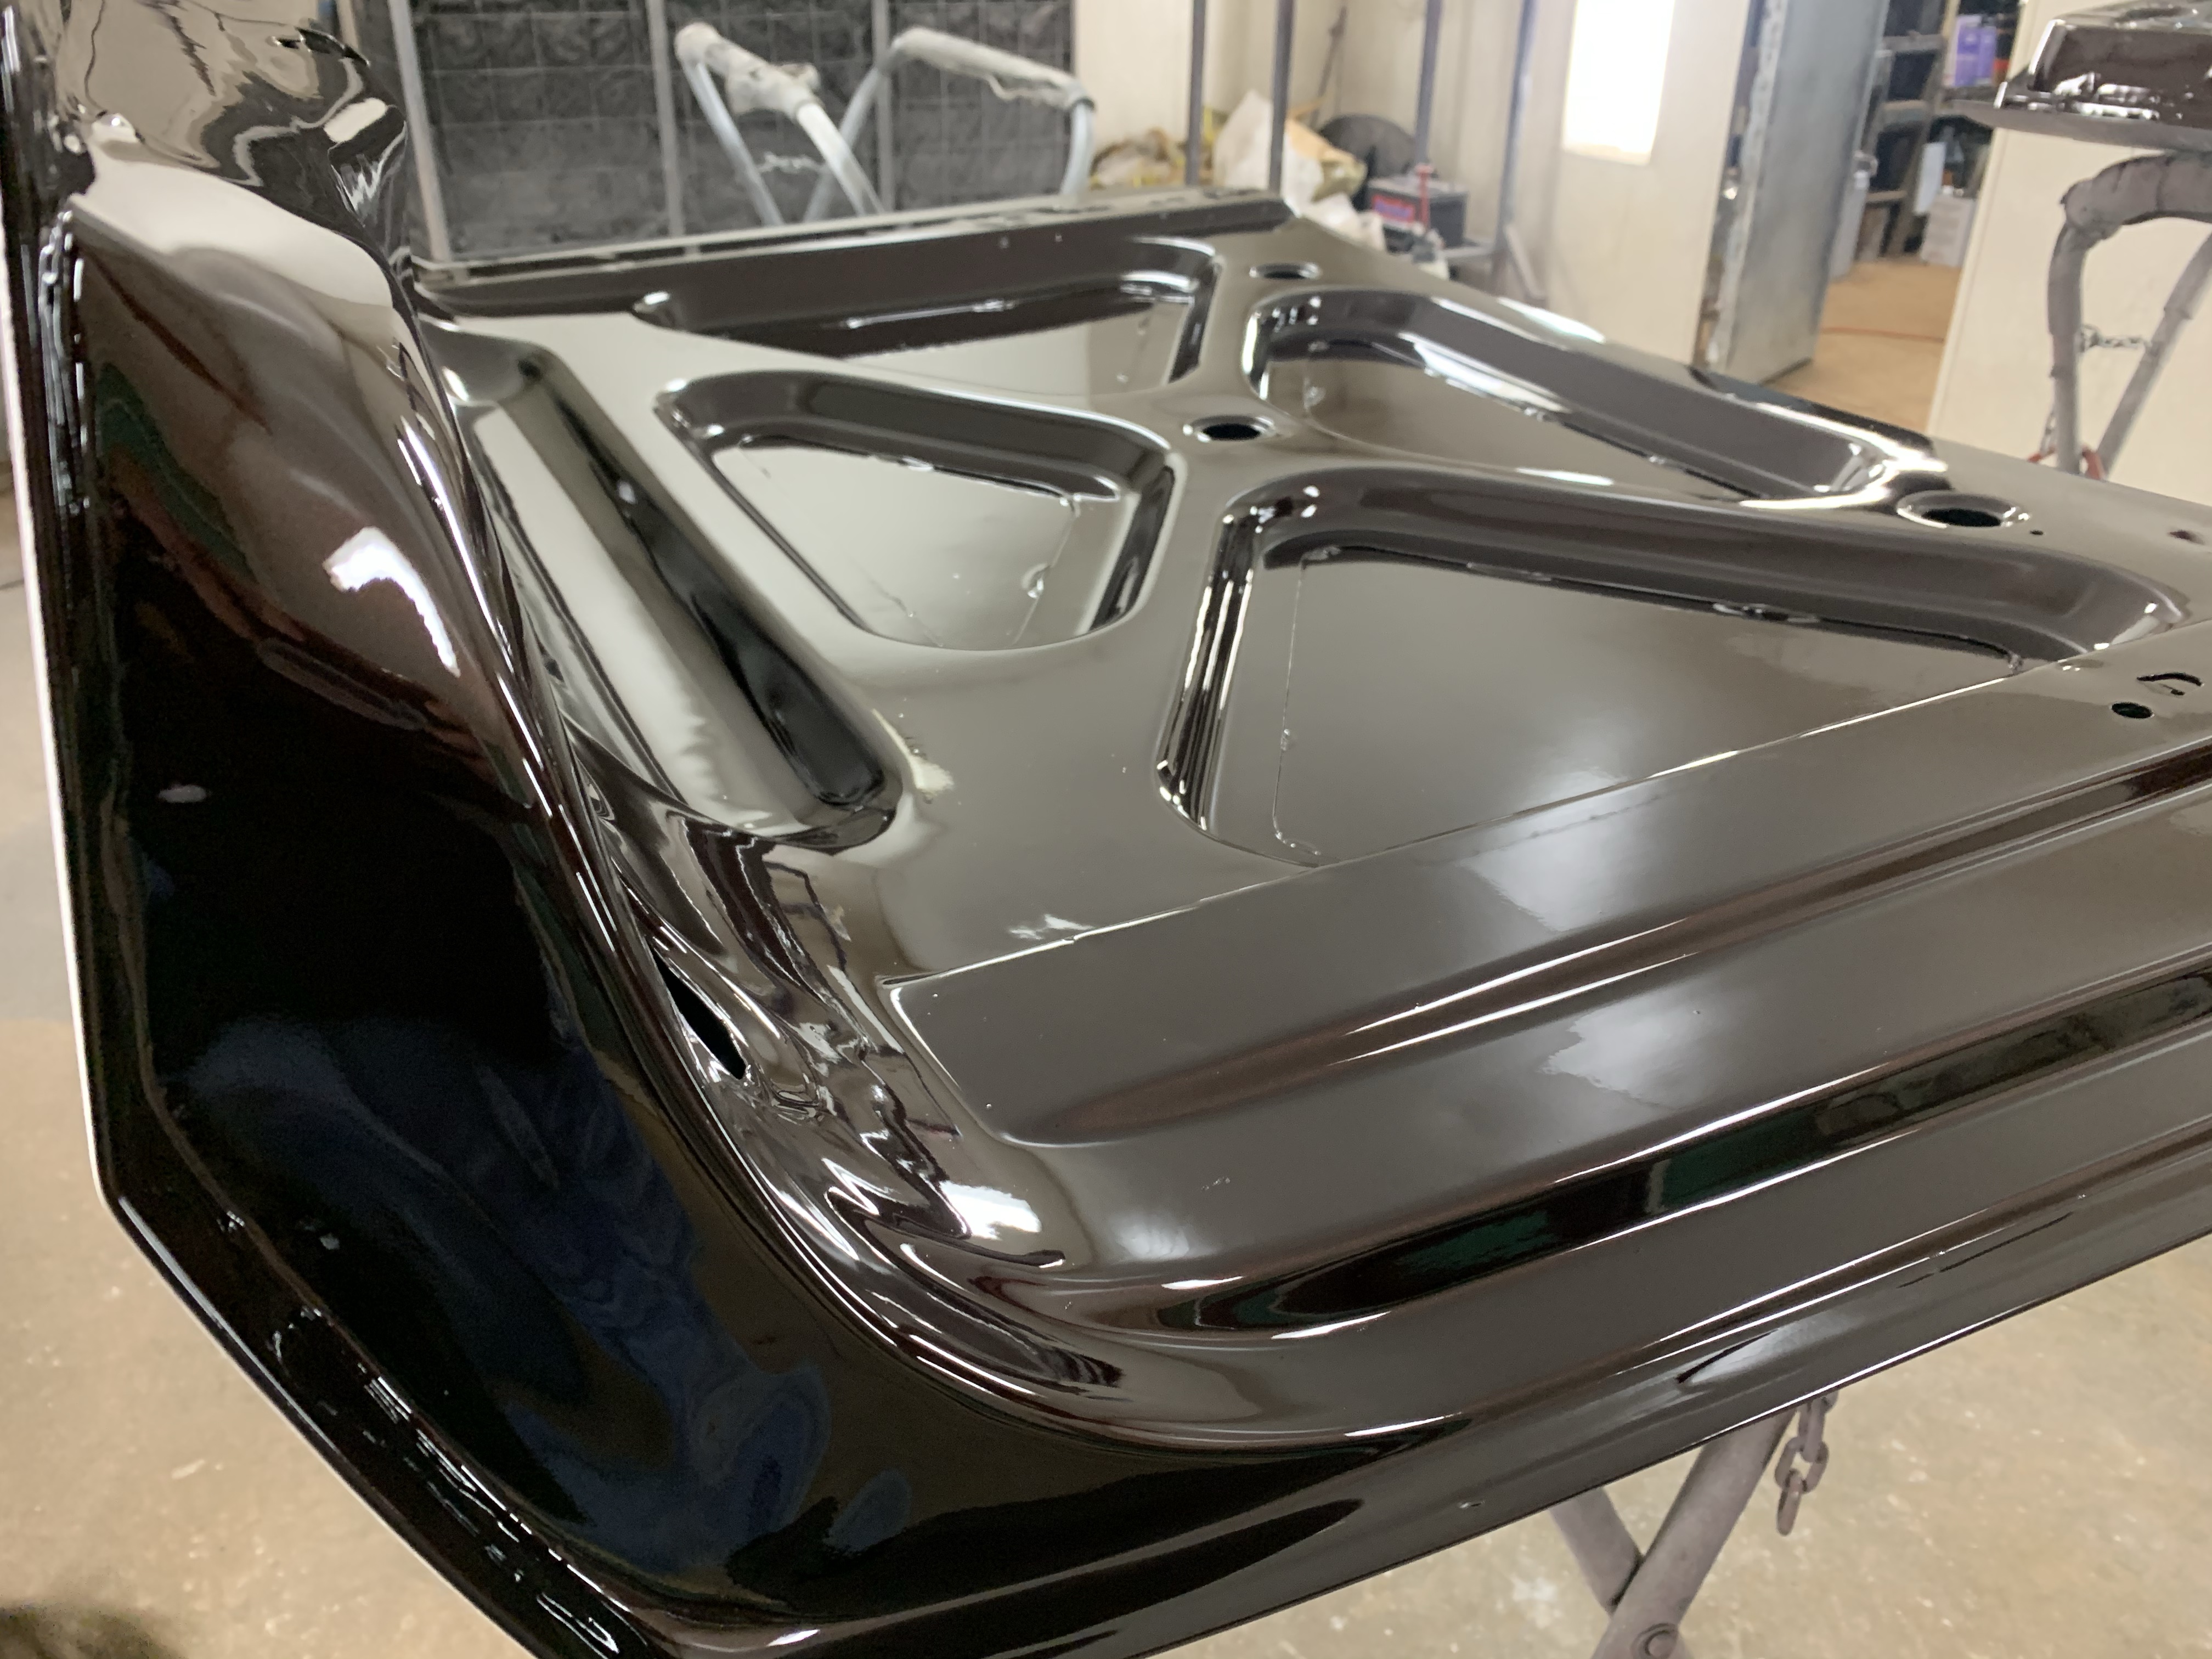

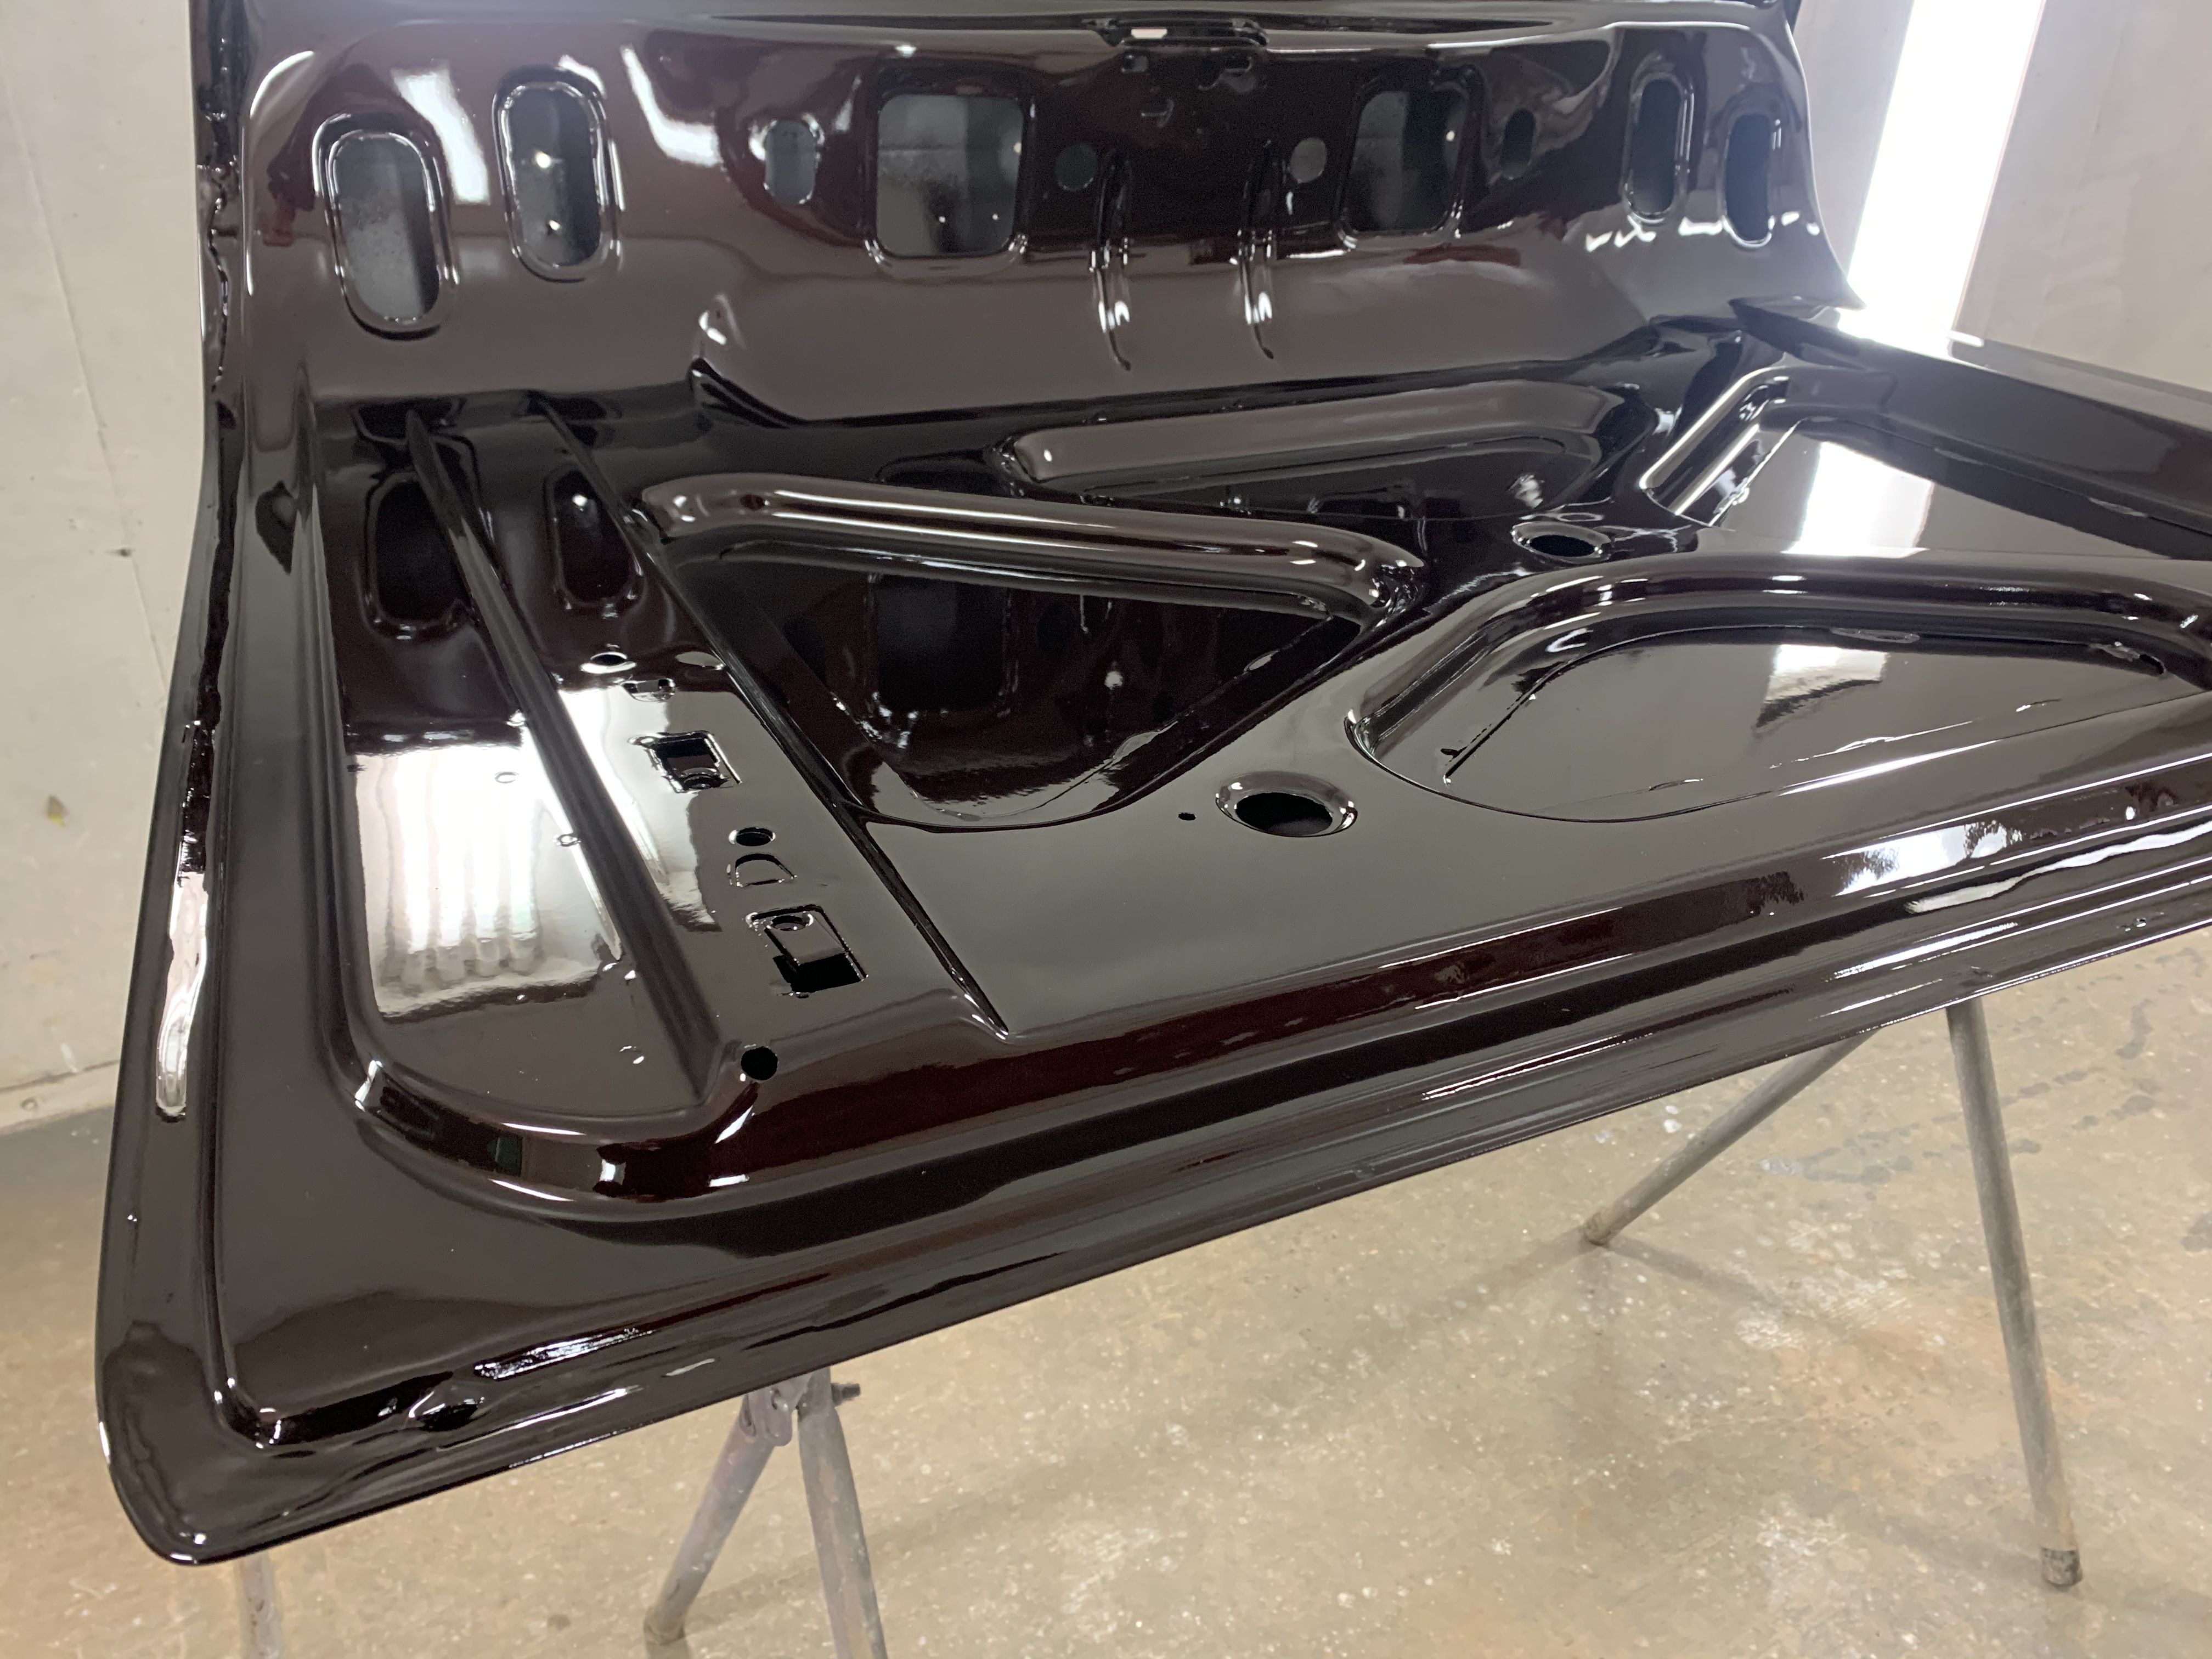

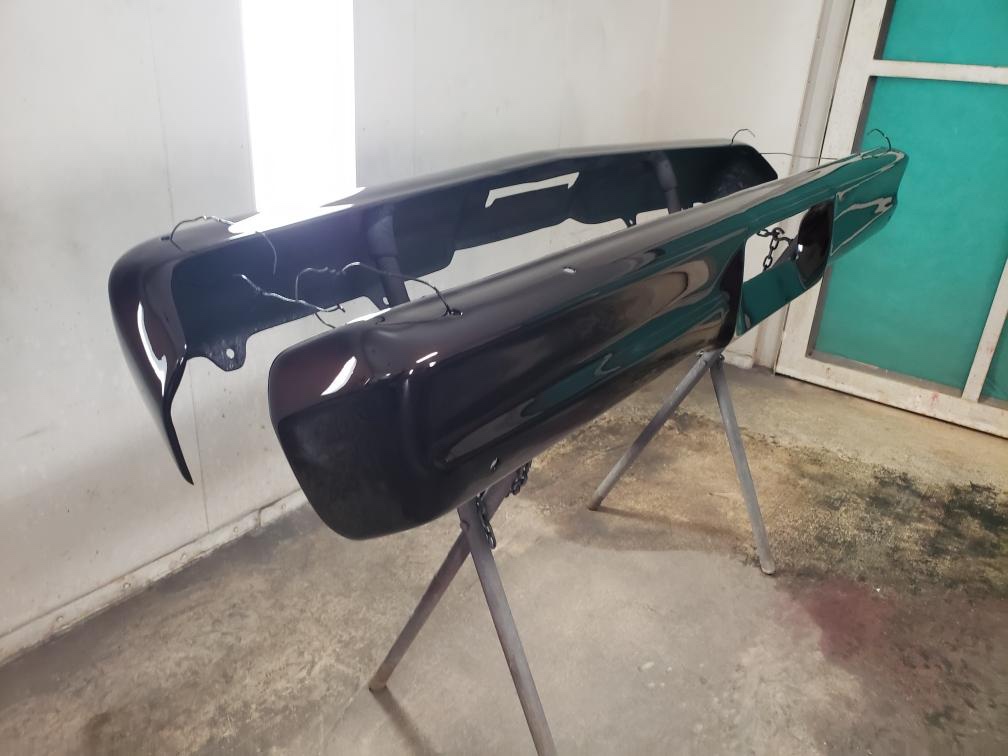
Hood, trunk, door jams and bumpers painted
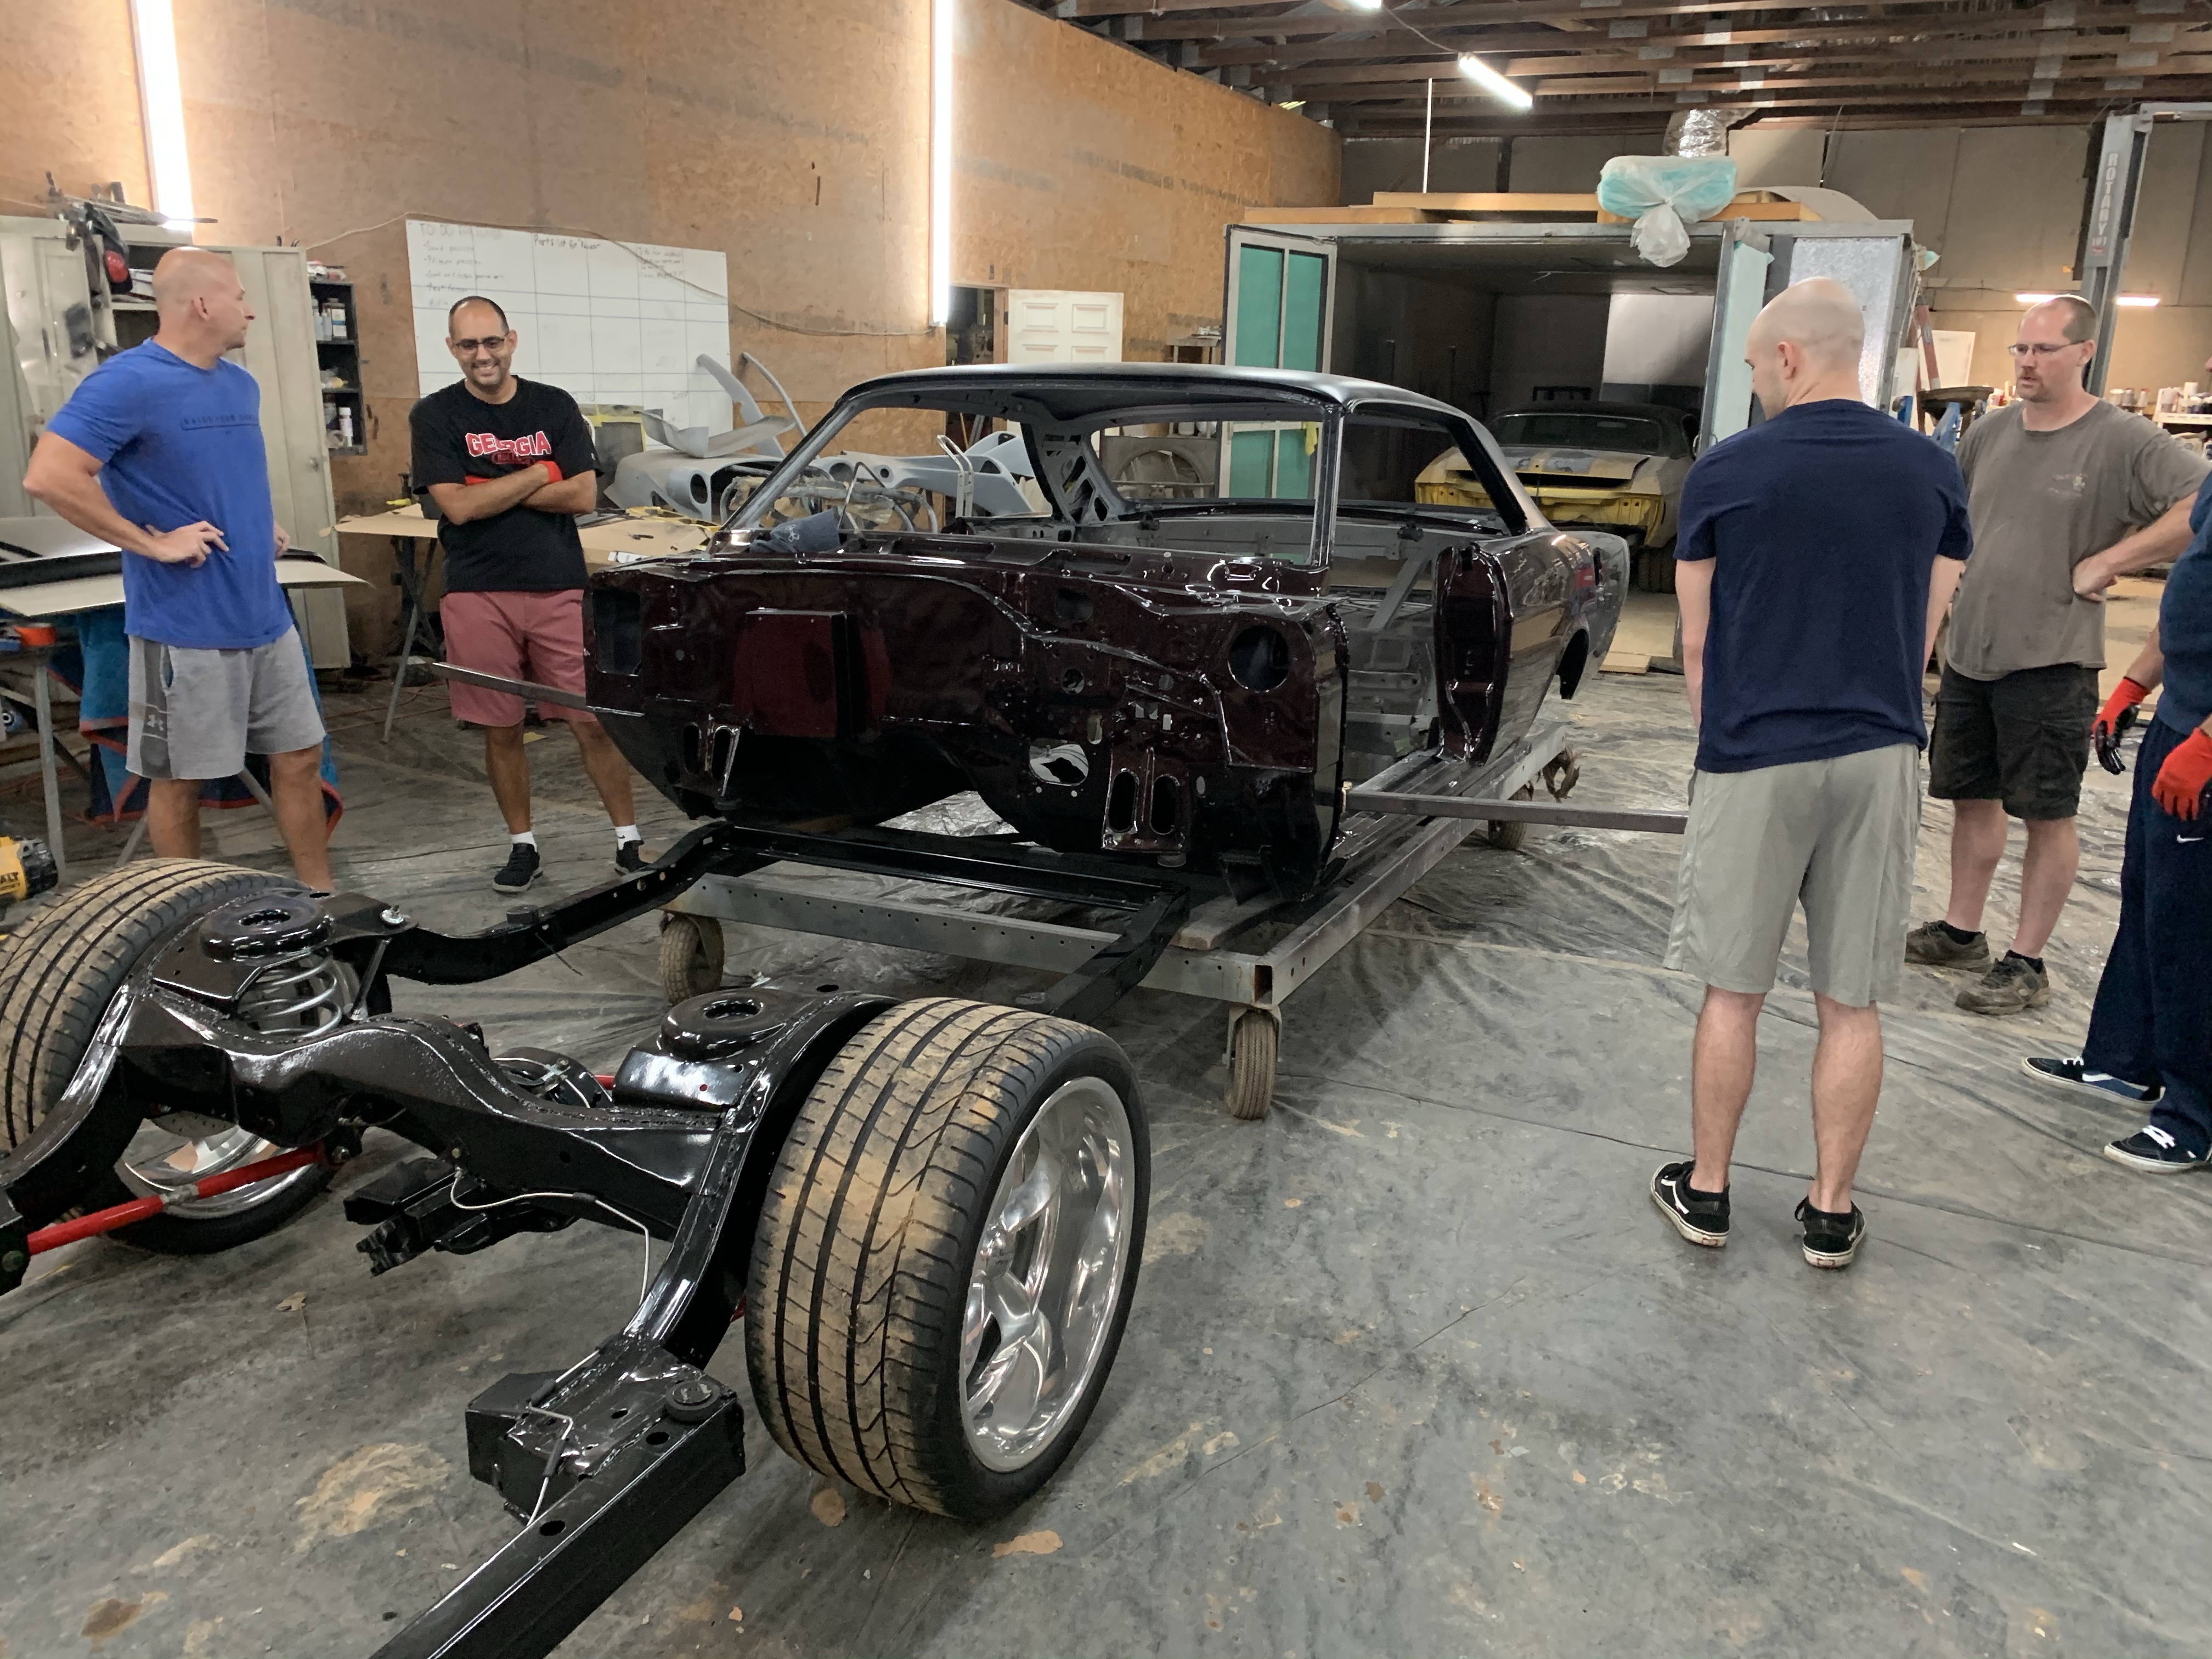


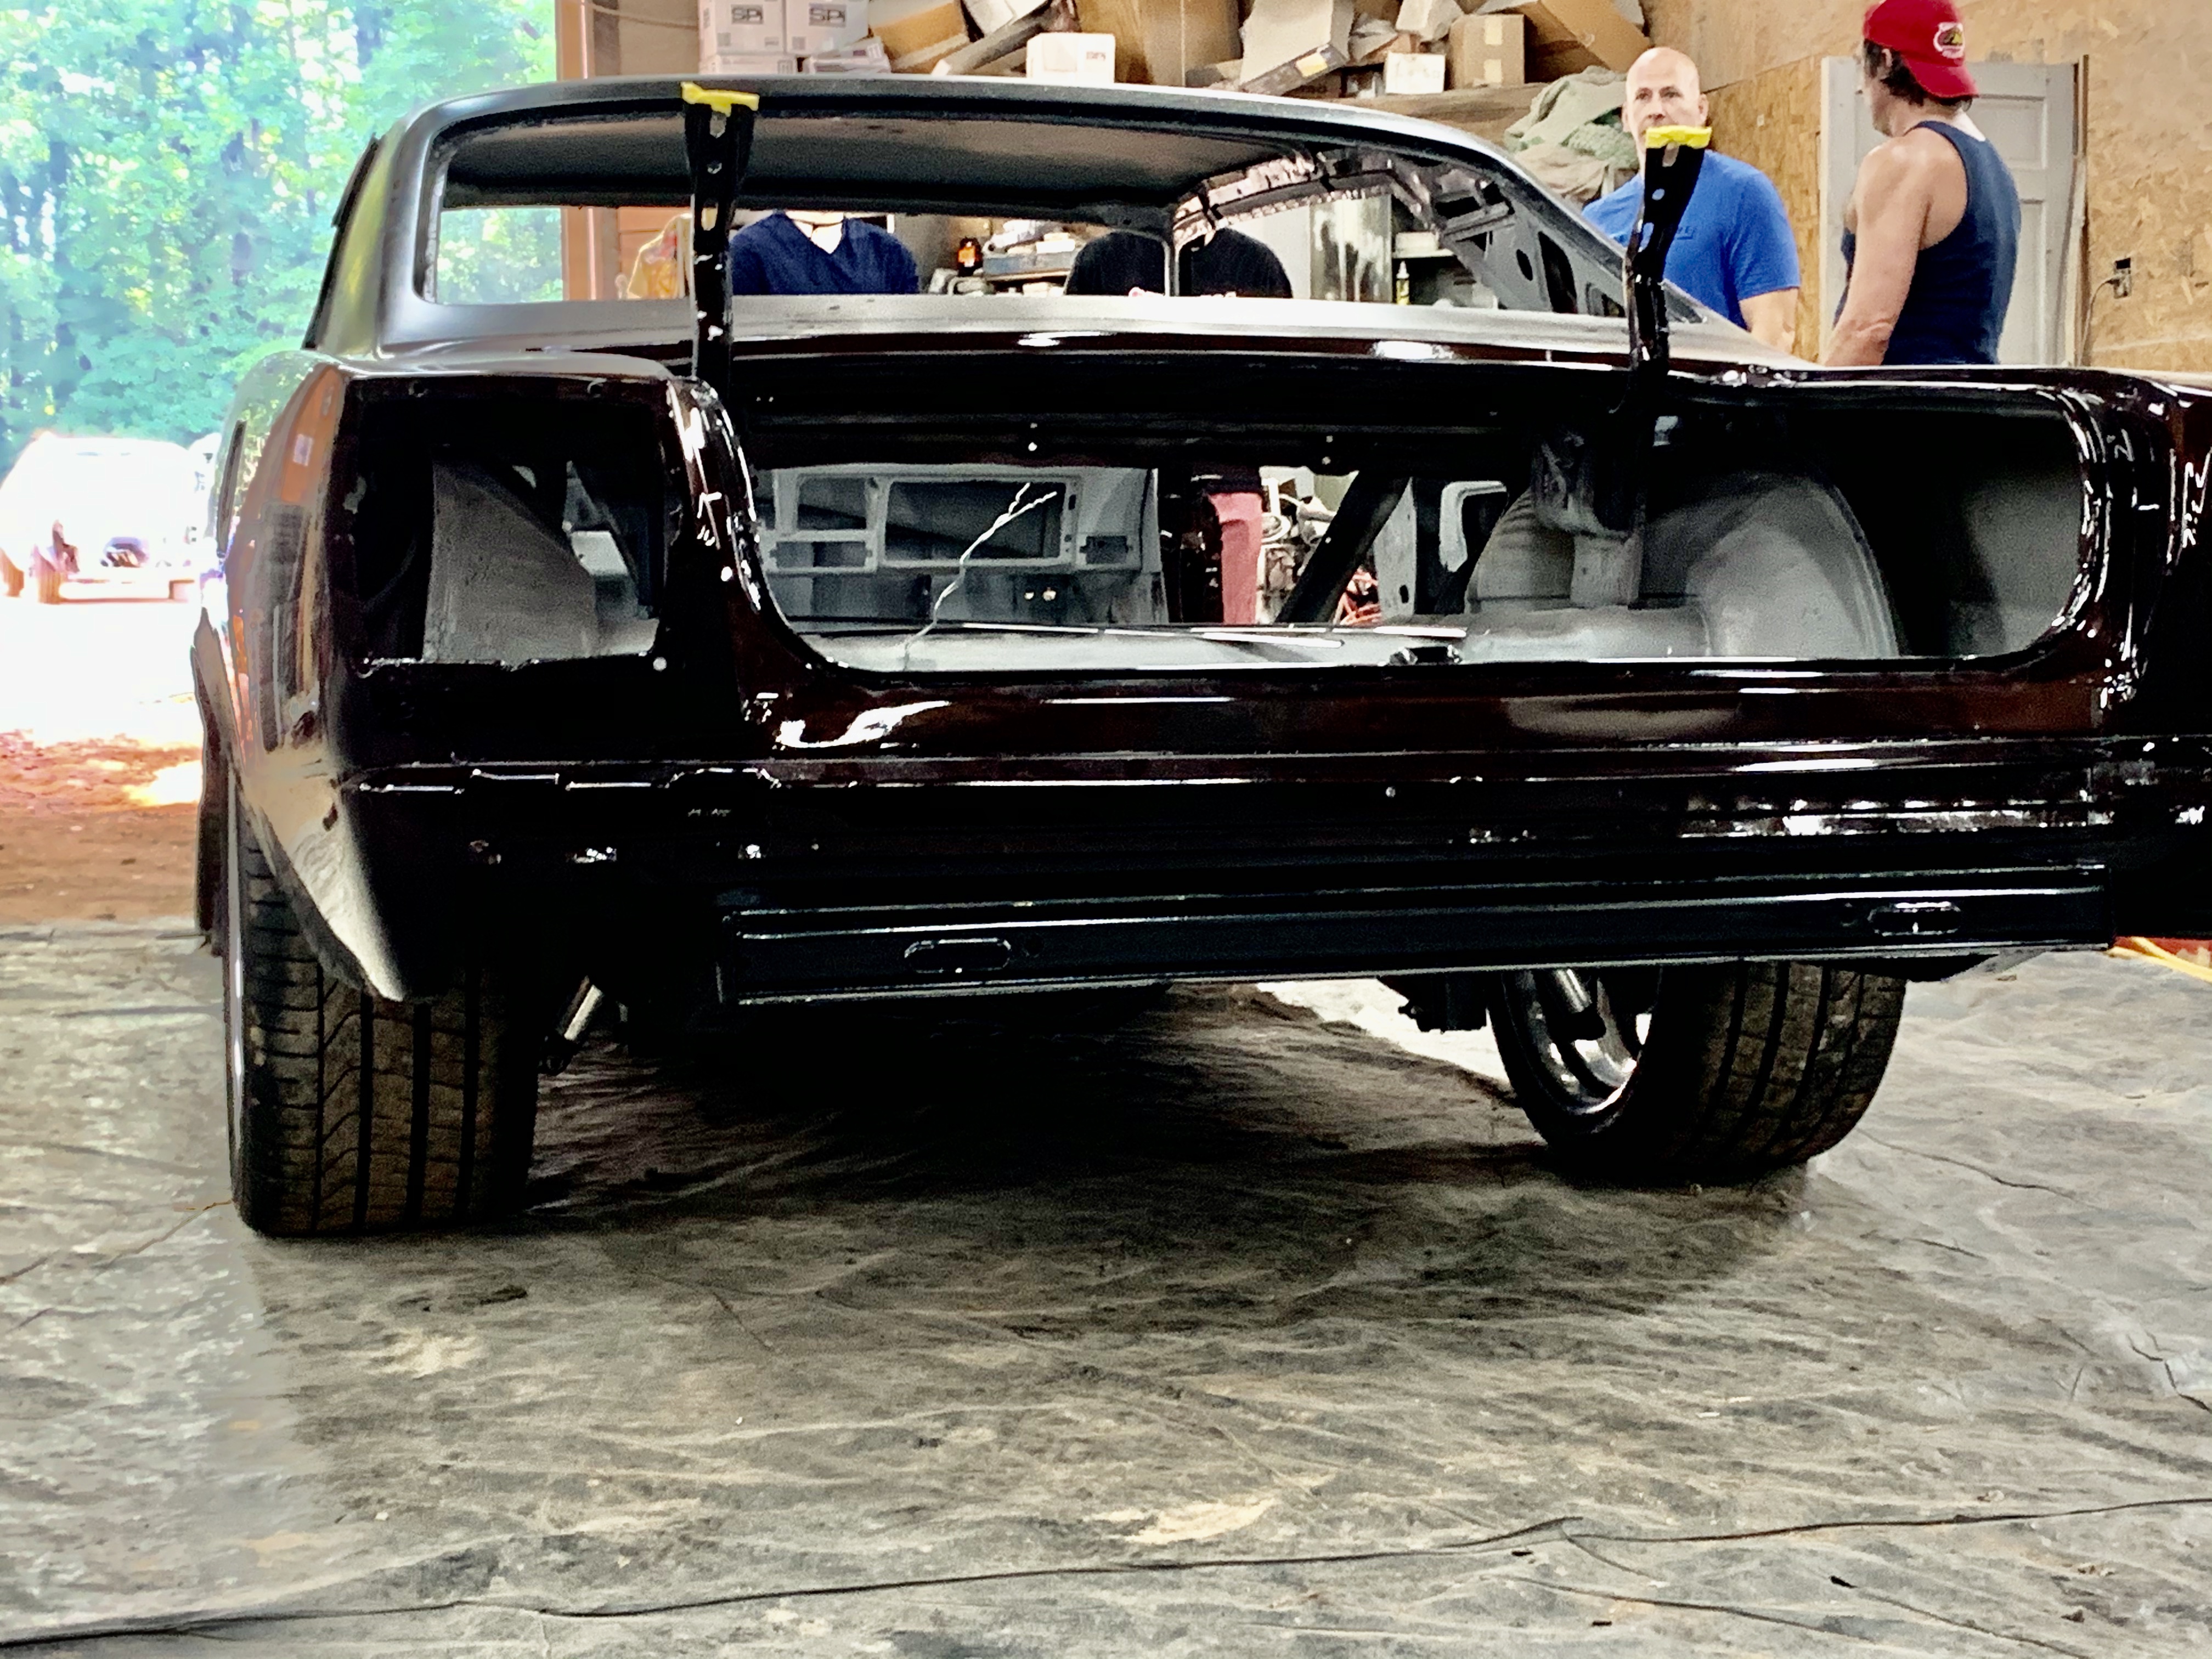
Got a few friends in the neighborhood to help lift and set the body back on the frame. Welded some metal bars to old door hinges then bolted to the body to serve as lift areas.
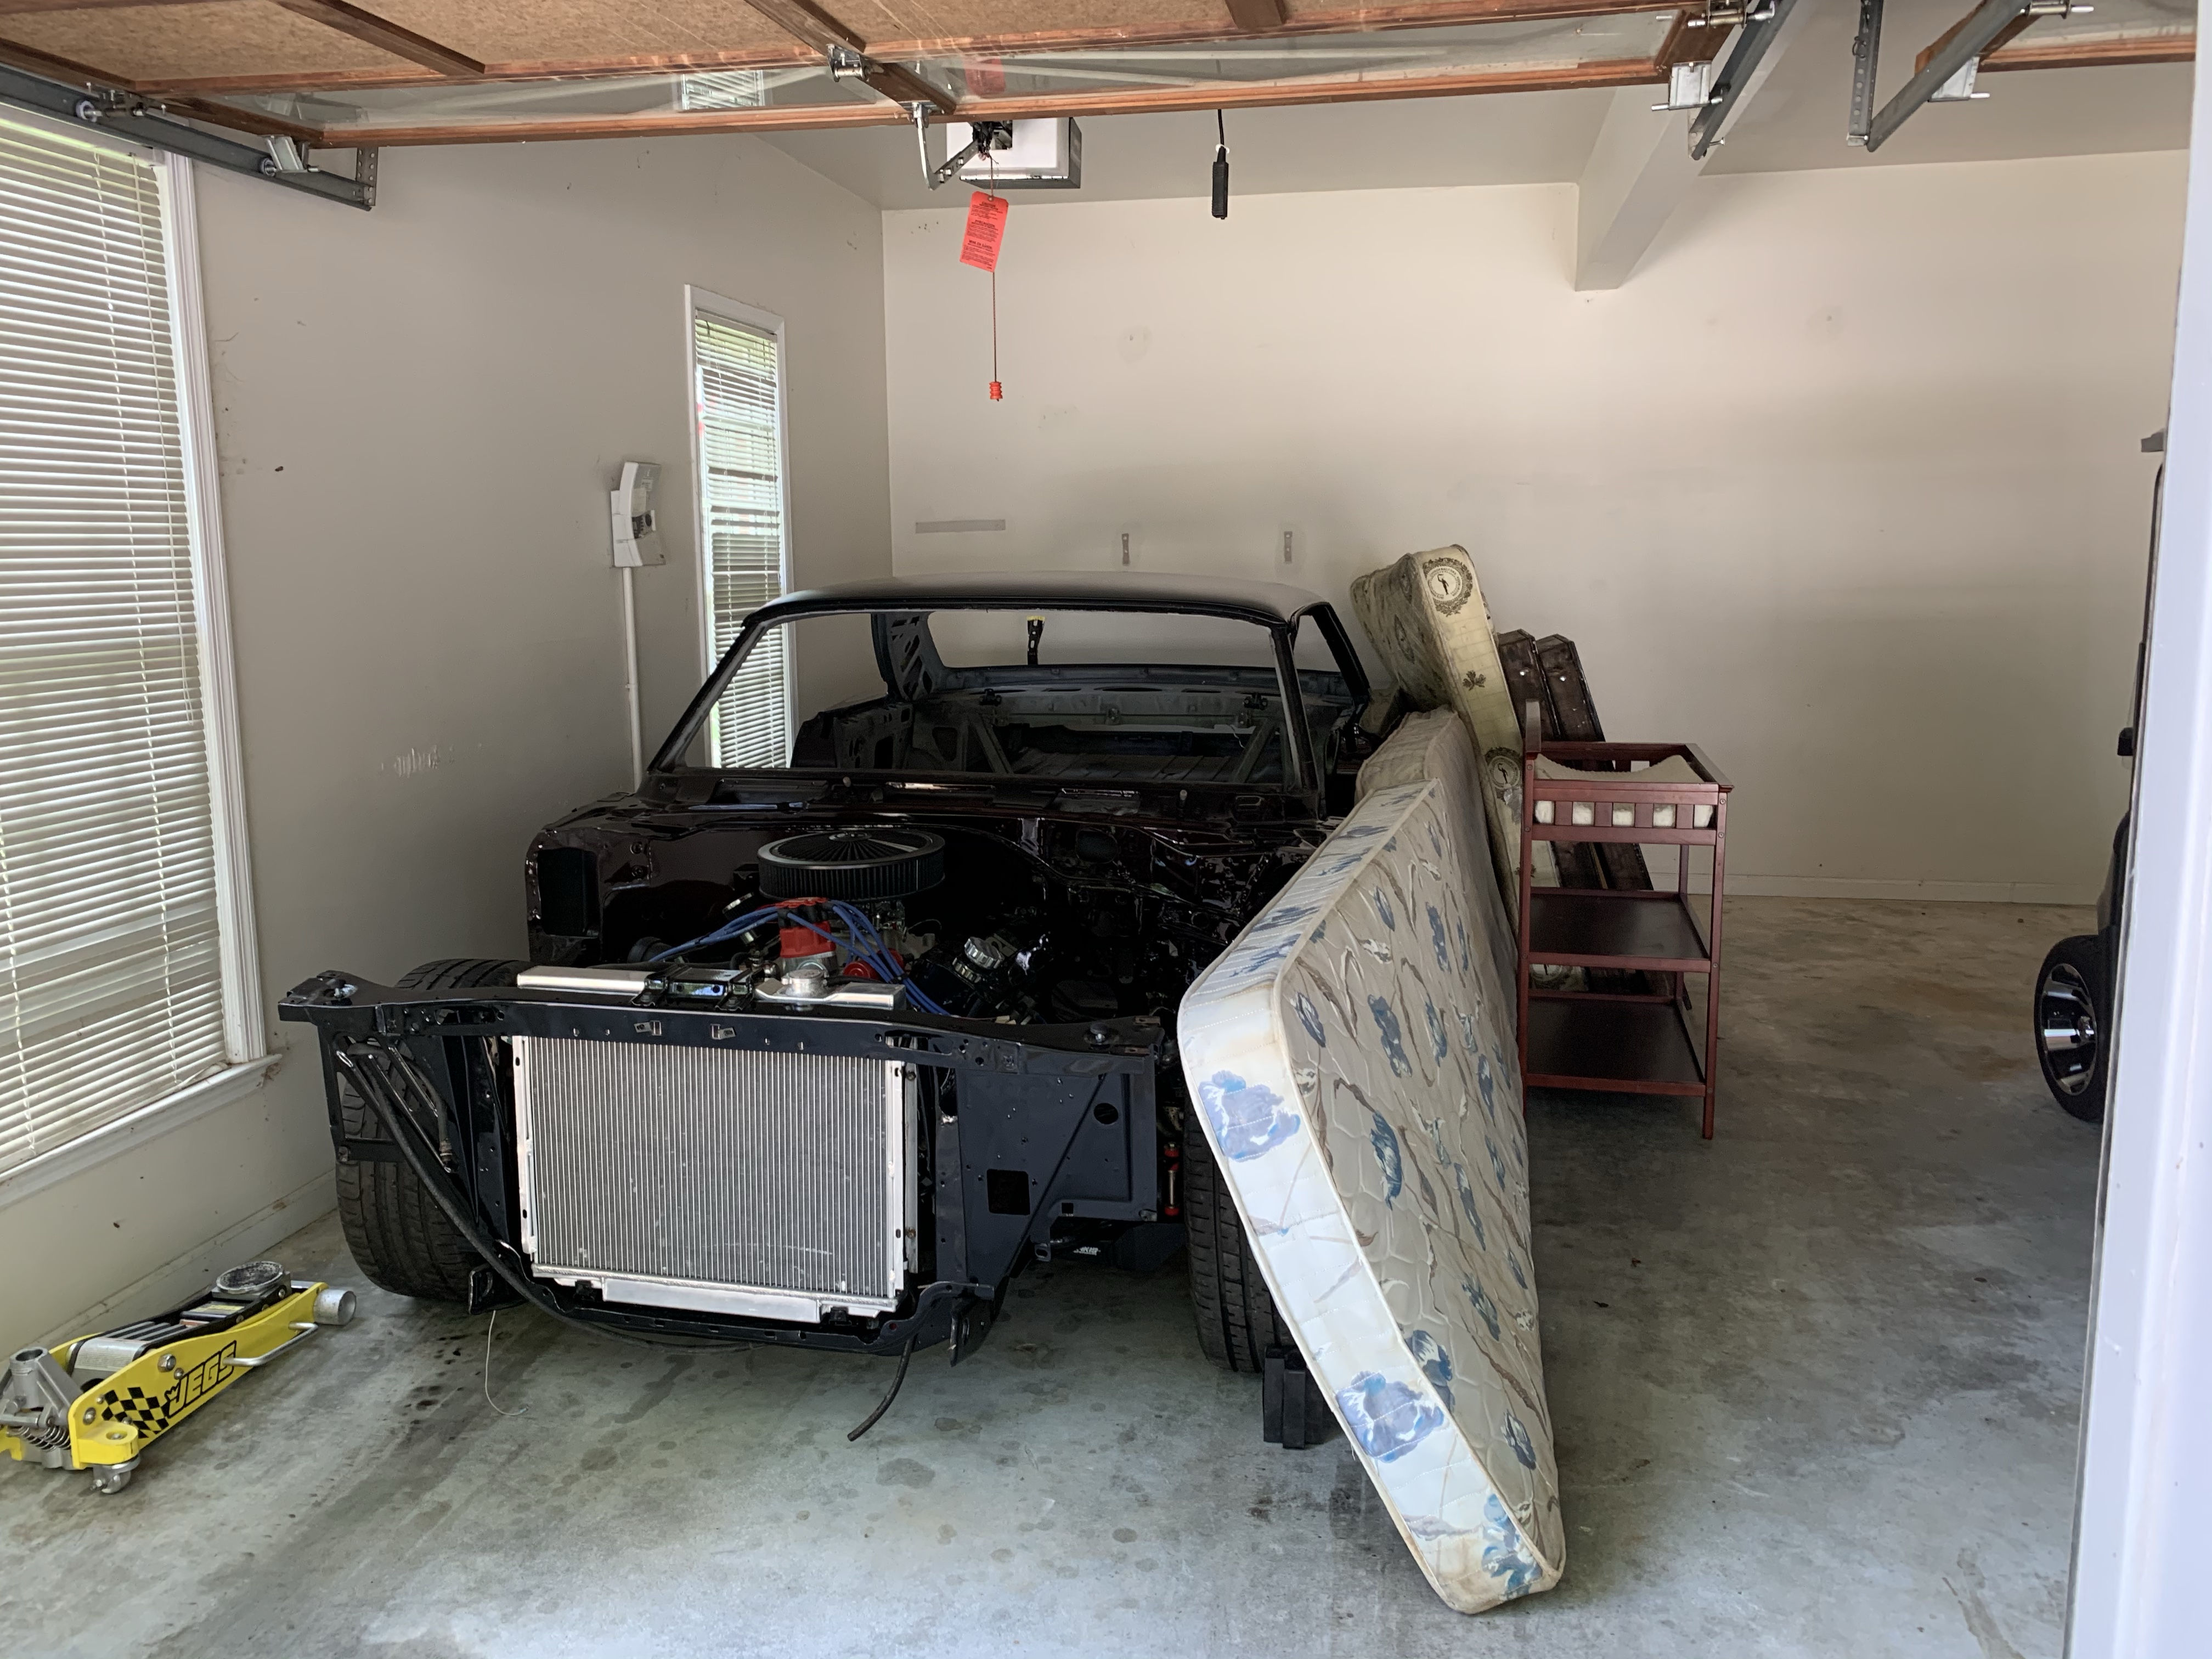


Finally got it on the trailer and home – Mattresses are to protect from my kids
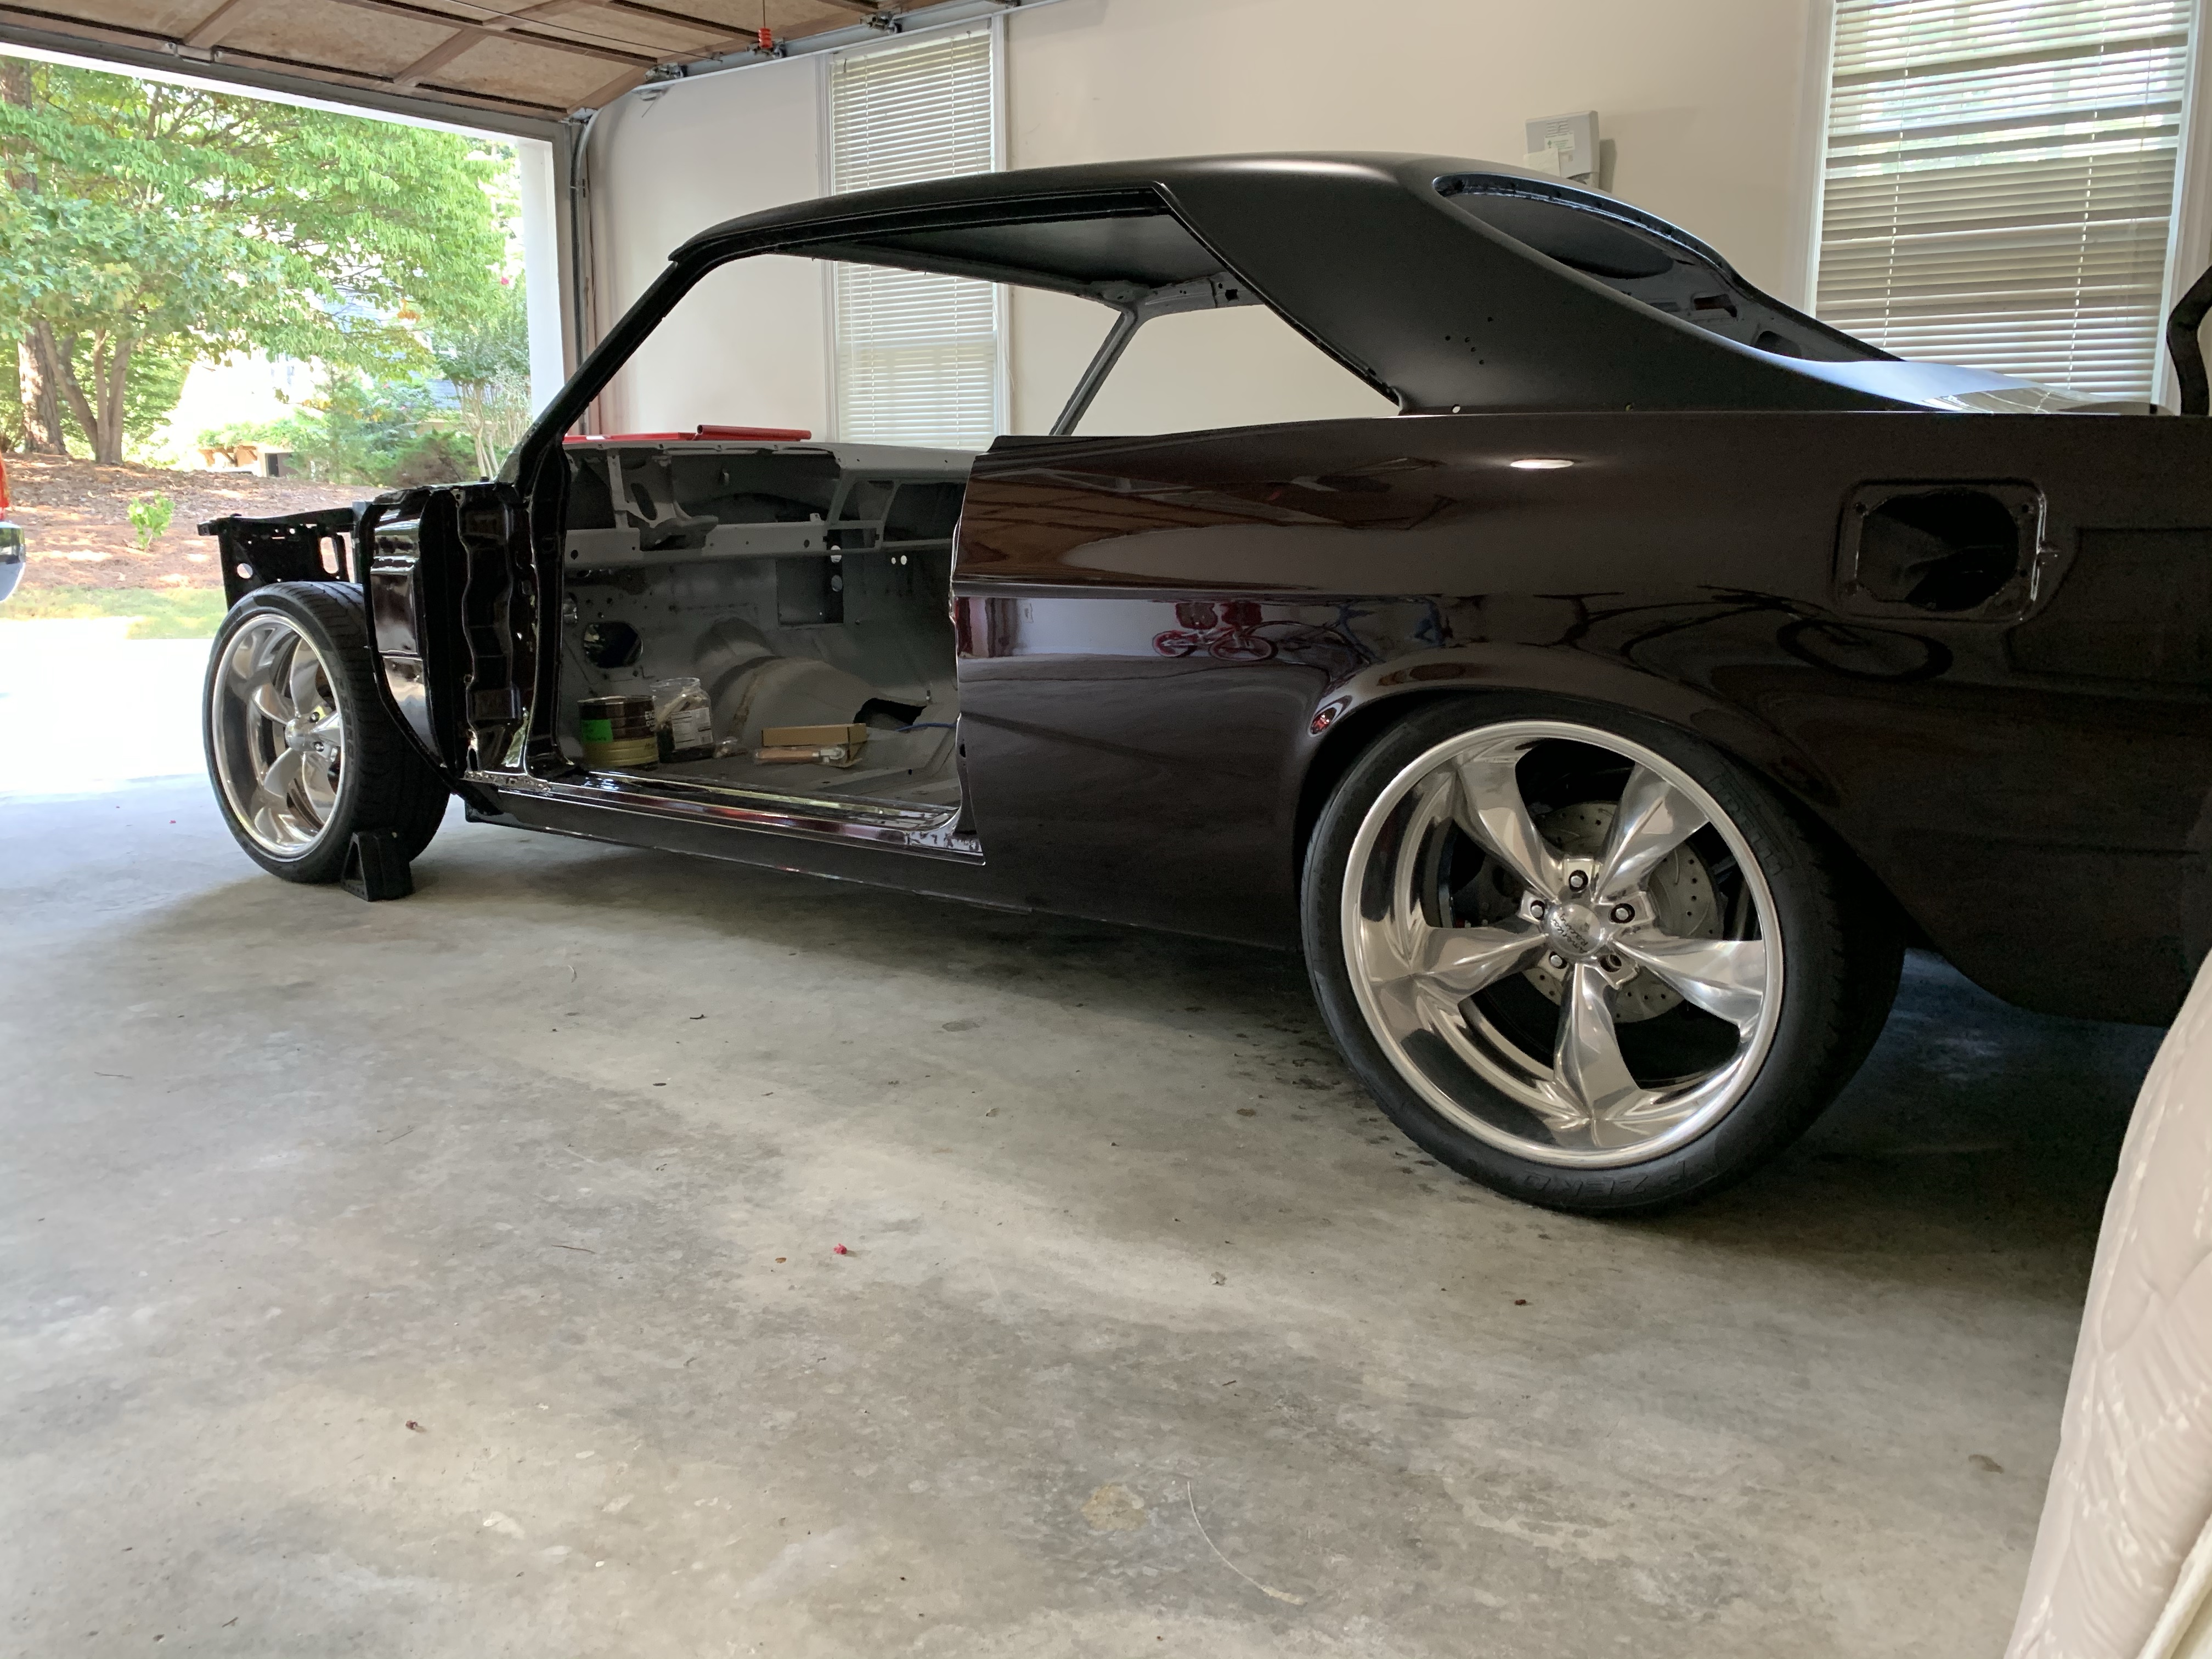

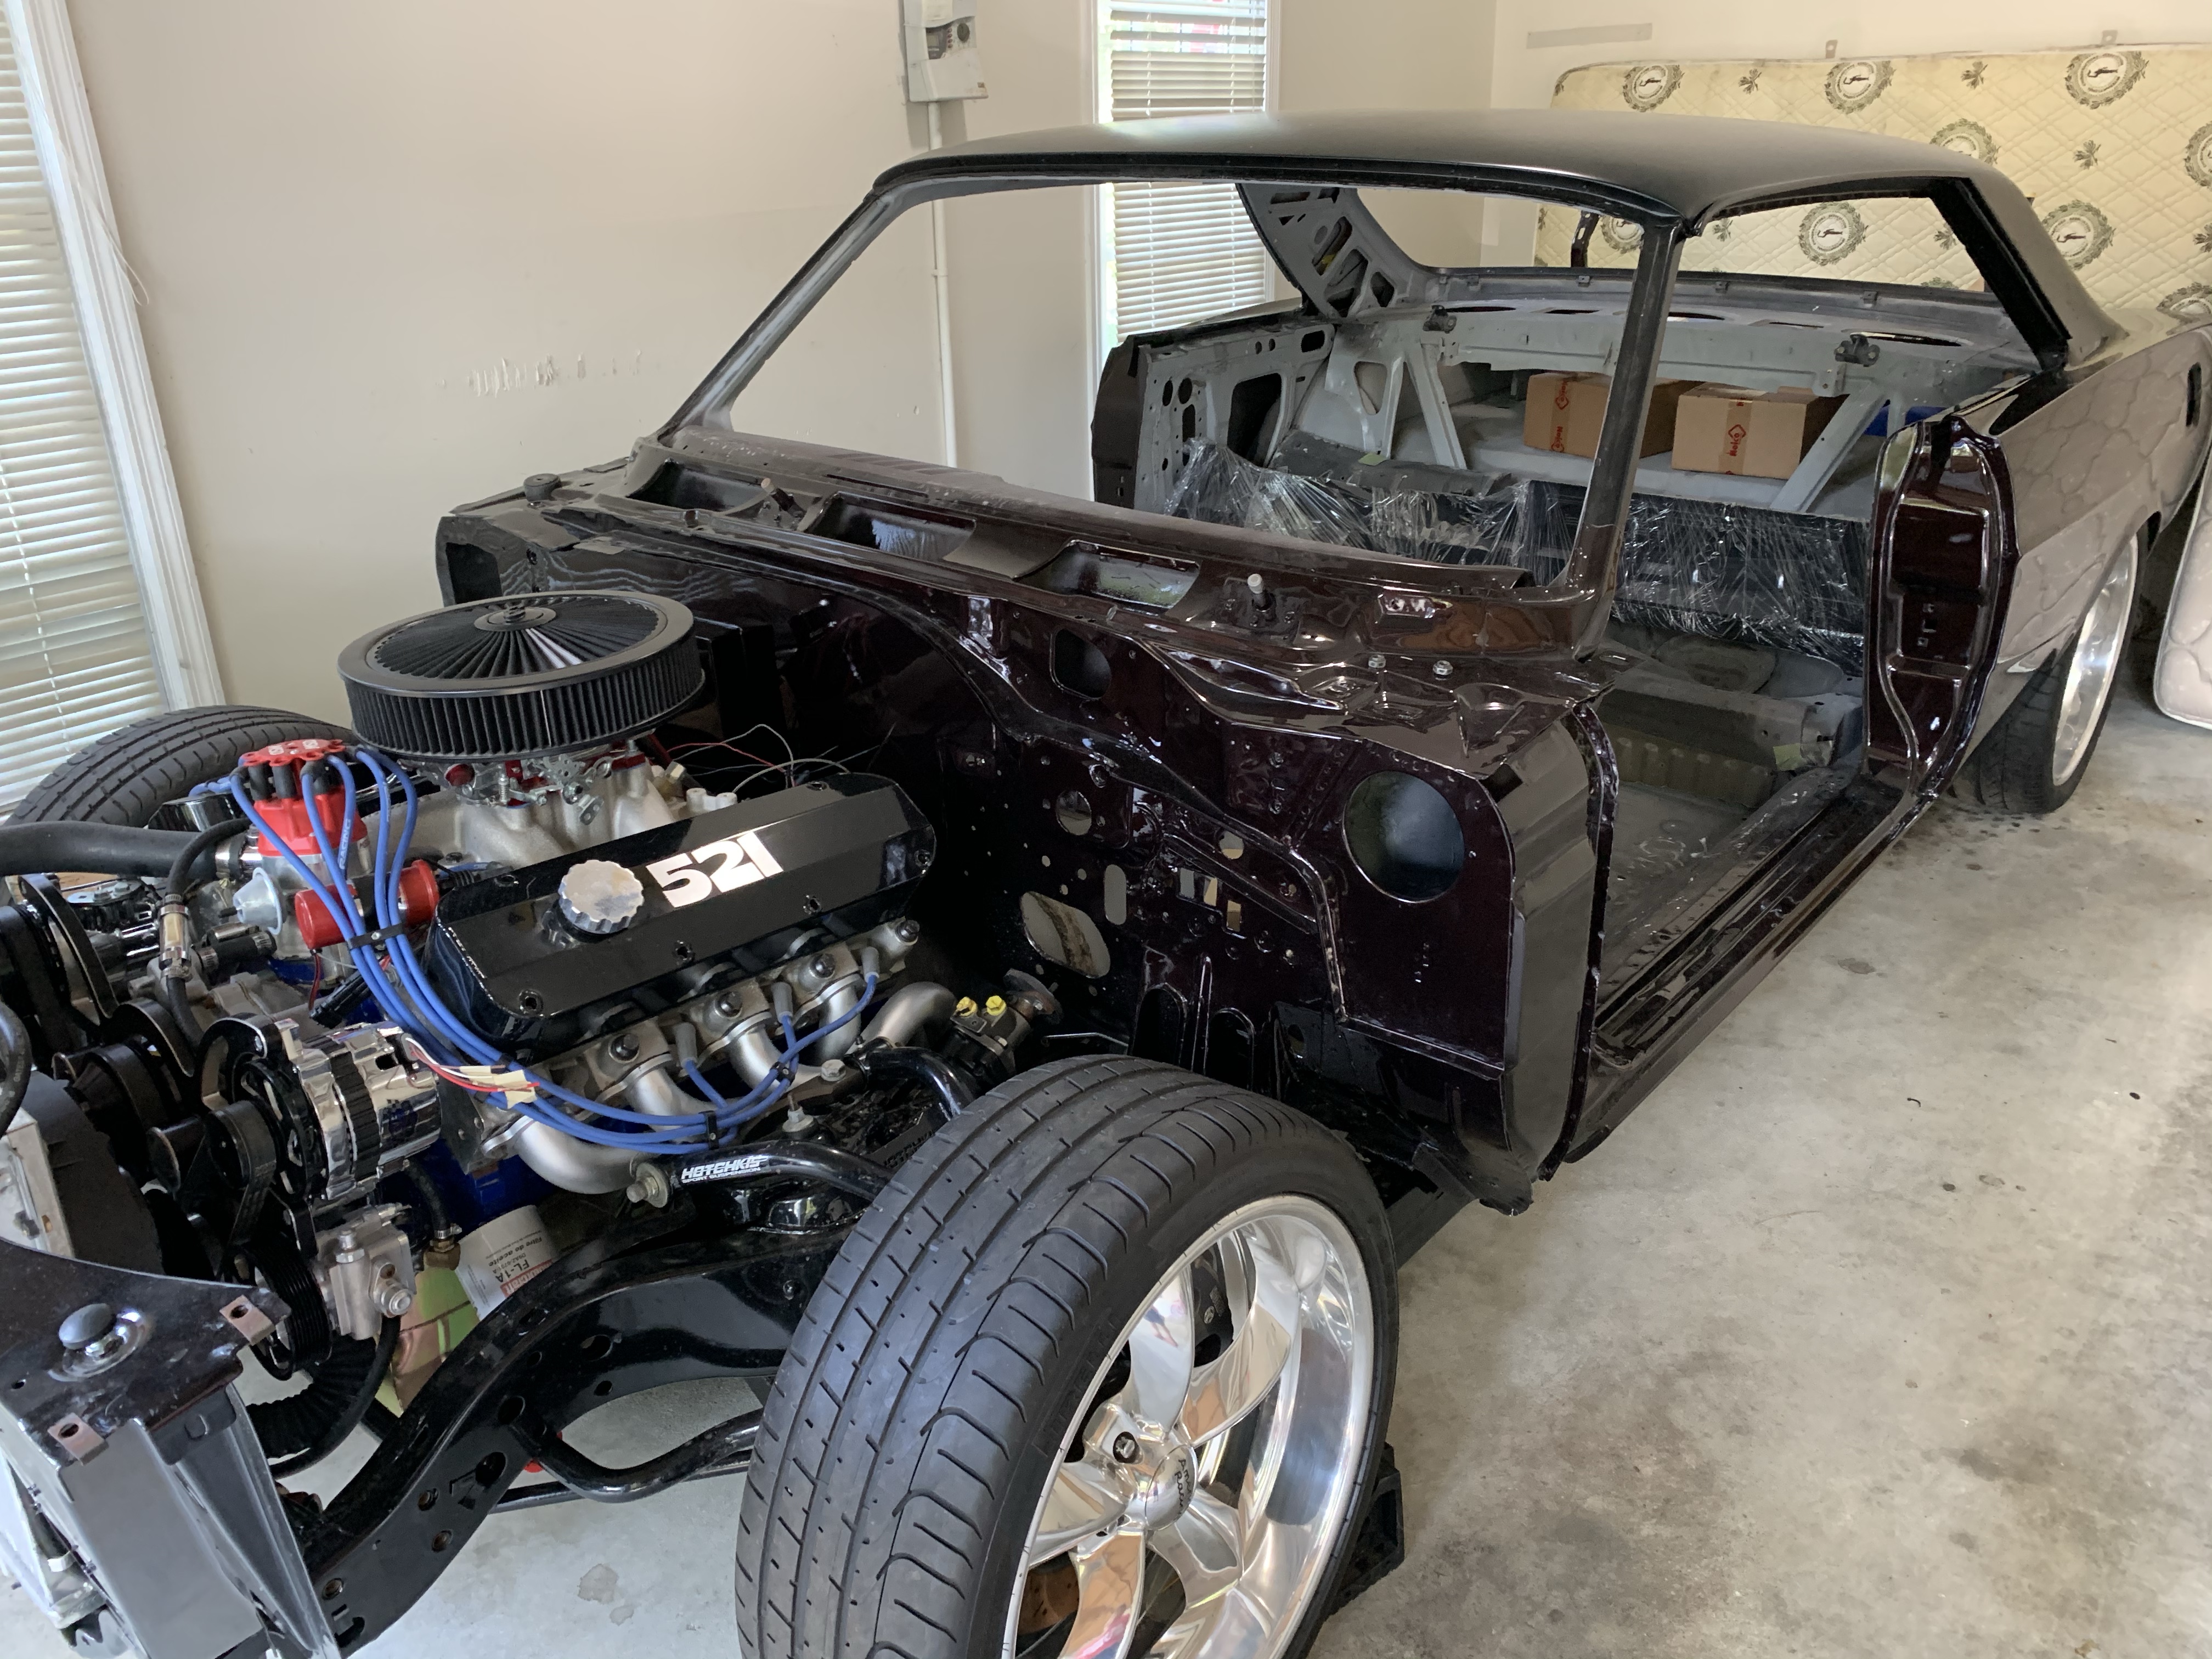
I will keep the fenders, doors and truck off until interior, wiring, brake lines, fuel line, etc is complete

An amazing job. I saw this back when you started posting it . I had contacted you when I lived in Ohio about galaxie parts. I had bought another galaxie 66 and the guy had a lot of parts to go with the car . Hoods doors trunk fenders etc. I had to move to Louisiana and sold a lot of stuff that I was going to put on both 66 s I have. Long story but I practically gave the stuff away. Do you have any passenger side fenders wells for a 66 ? Also where did you get your rubber body kit (I.e.) . That car is a very nice.
LikeLike
Hey Tom, appreciate the kind words. I do have several passenger fenders but not the inner fenders. Feel free to email me at 521galaxie@gmail.com
LikeLike
Beautiful work – thank you for sharing this! Did you need to go with the teardrop hood because the Crites mounts put the engine too high for the stock hood?
LikeLiked by 1 person
Thank you! Yes, I am using the teardrop hood
LikeLike
Teardrop because of the engine height? Or just for extra airflow/cool factor? Asking because I’m doing the same conversion but am not going to modify hood. Thanks!
LikeLike
Mainly because of the engine height. But airflow and the look of it as well
LikeLike
Did you just use your old core support and just blast and powdercoat? I have done the same but I was looking for any companies that sell core supports and of course none for this car.
LikeLike
Nogal, that is correct. I used the factory core support. Had it sandblasted and powder coated. Nobody makes one in after market as of yet
LikeLike
Thanks!
LikeLike
Just wondering the length of time it took for each process. Body work how long did this part take?
LikeLike
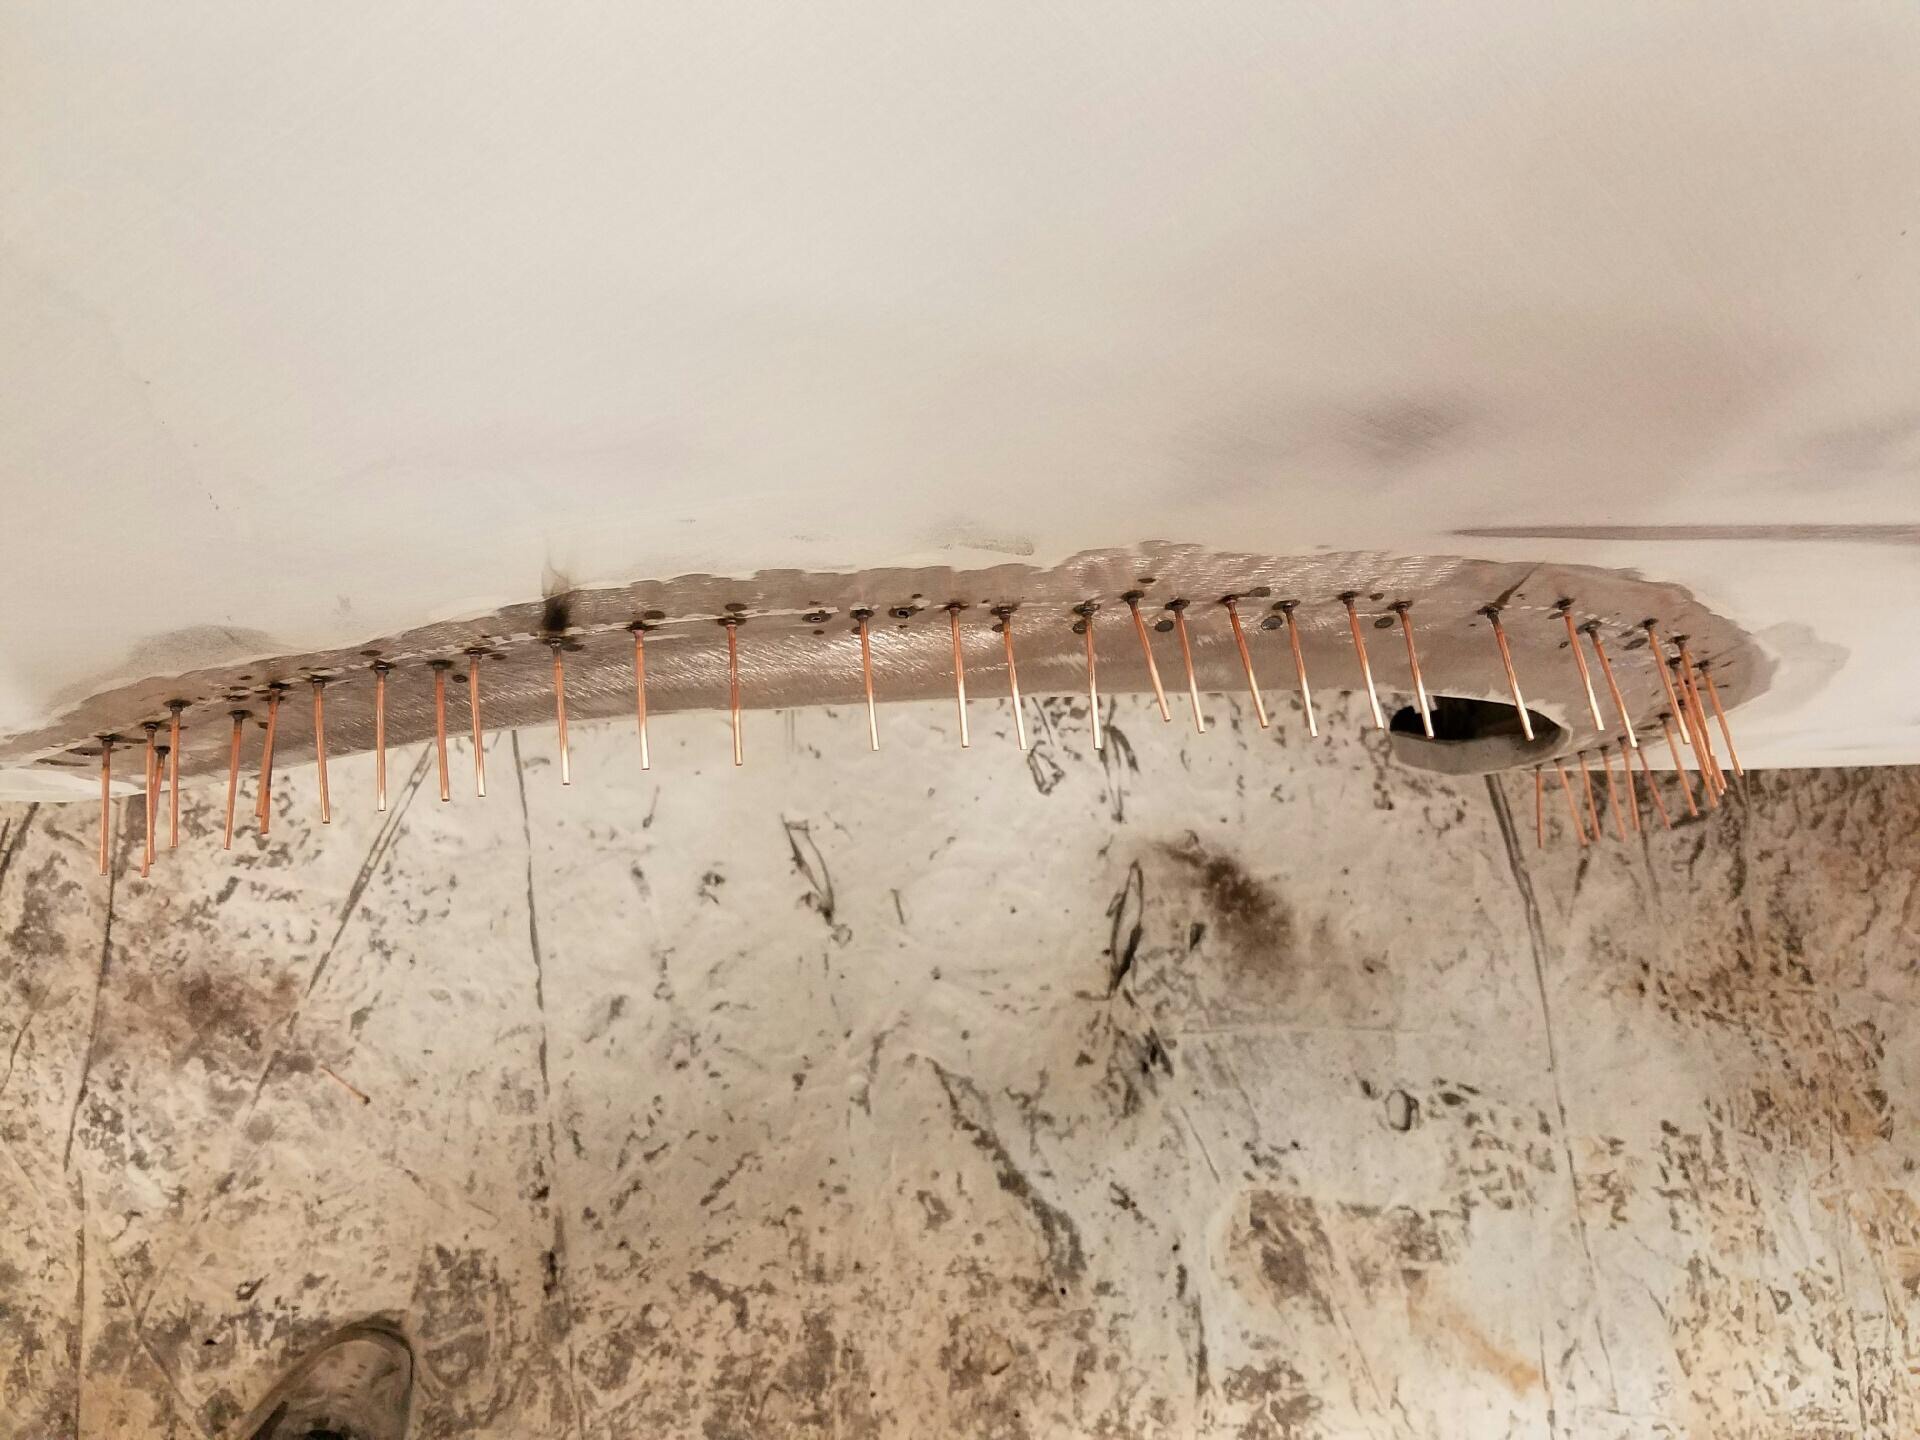
its hard to figure out the time length on this because of the inconstantly of working on it. They major metal replacement & welding took about 6 months. They body filler & sanding & primer has been going on for over 4 years
LikeLike
Geez – that a LOT of metal replacement. Looks like someone who knows what they’re doing tho!
LikeLike
yea, it was a lot of work….. hopefully it pays off good in the end
LikeLike