
")
")
")
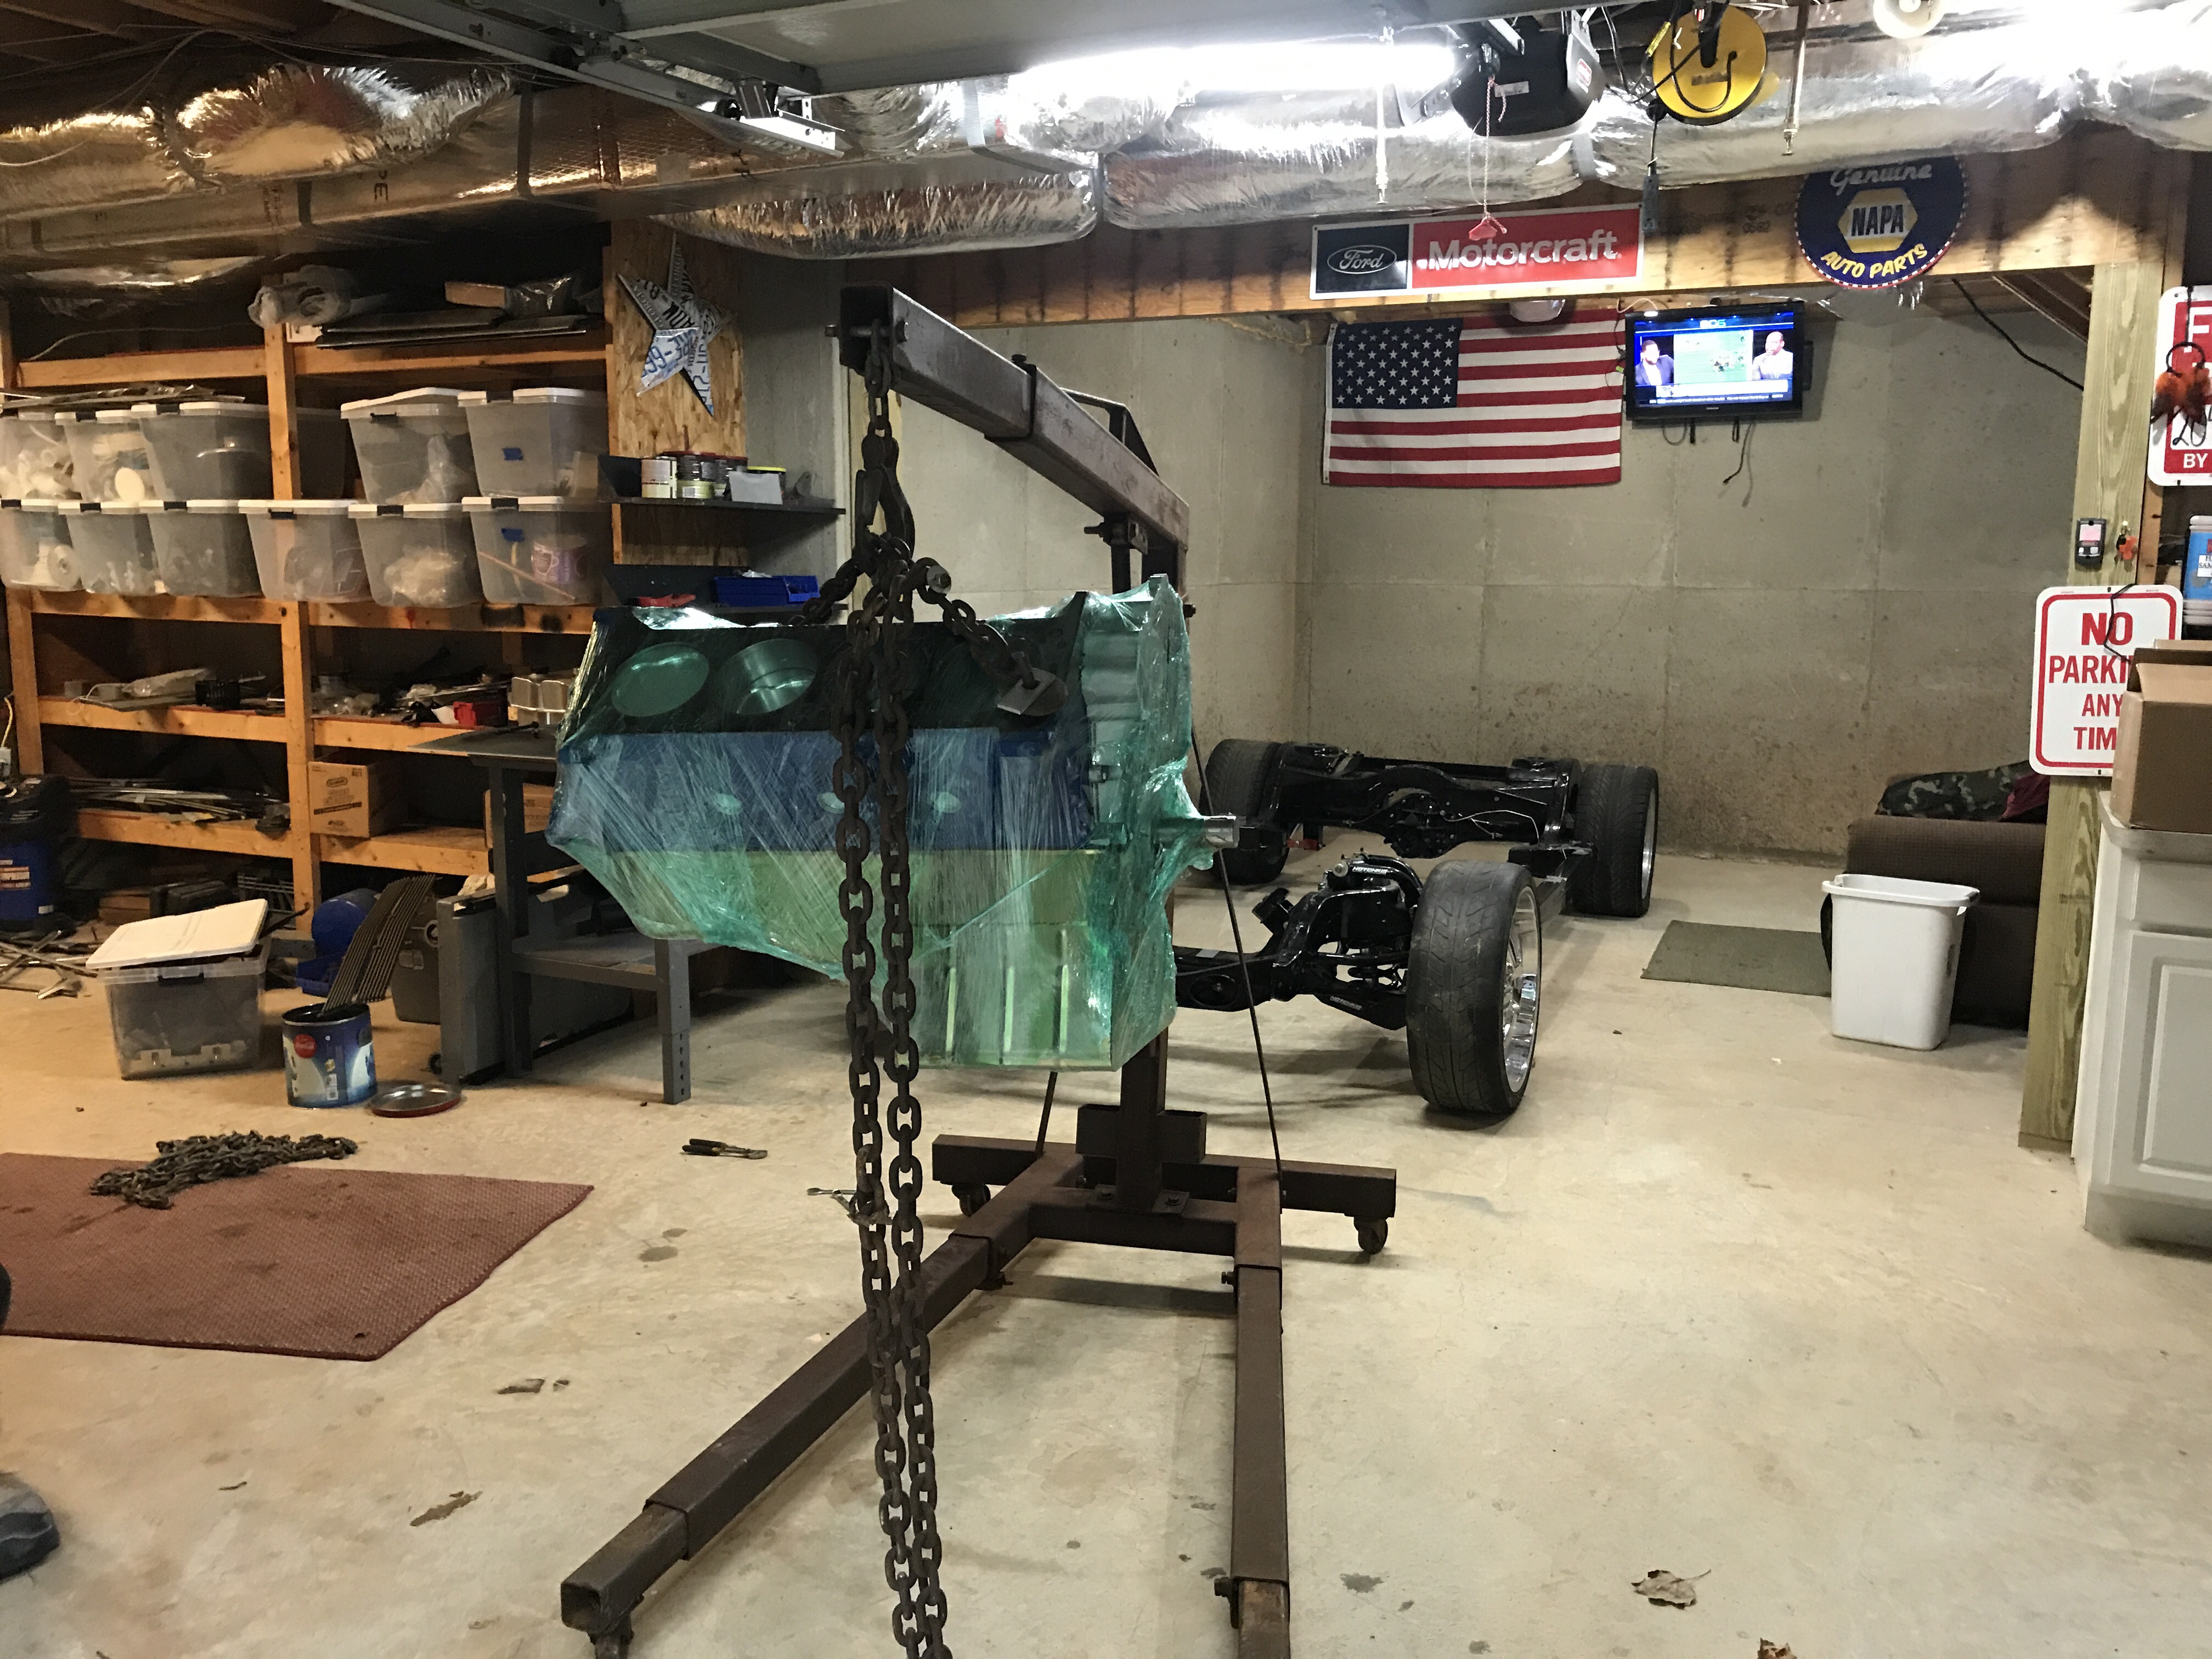
pulling the donor engine from 79 Ford Ranchero
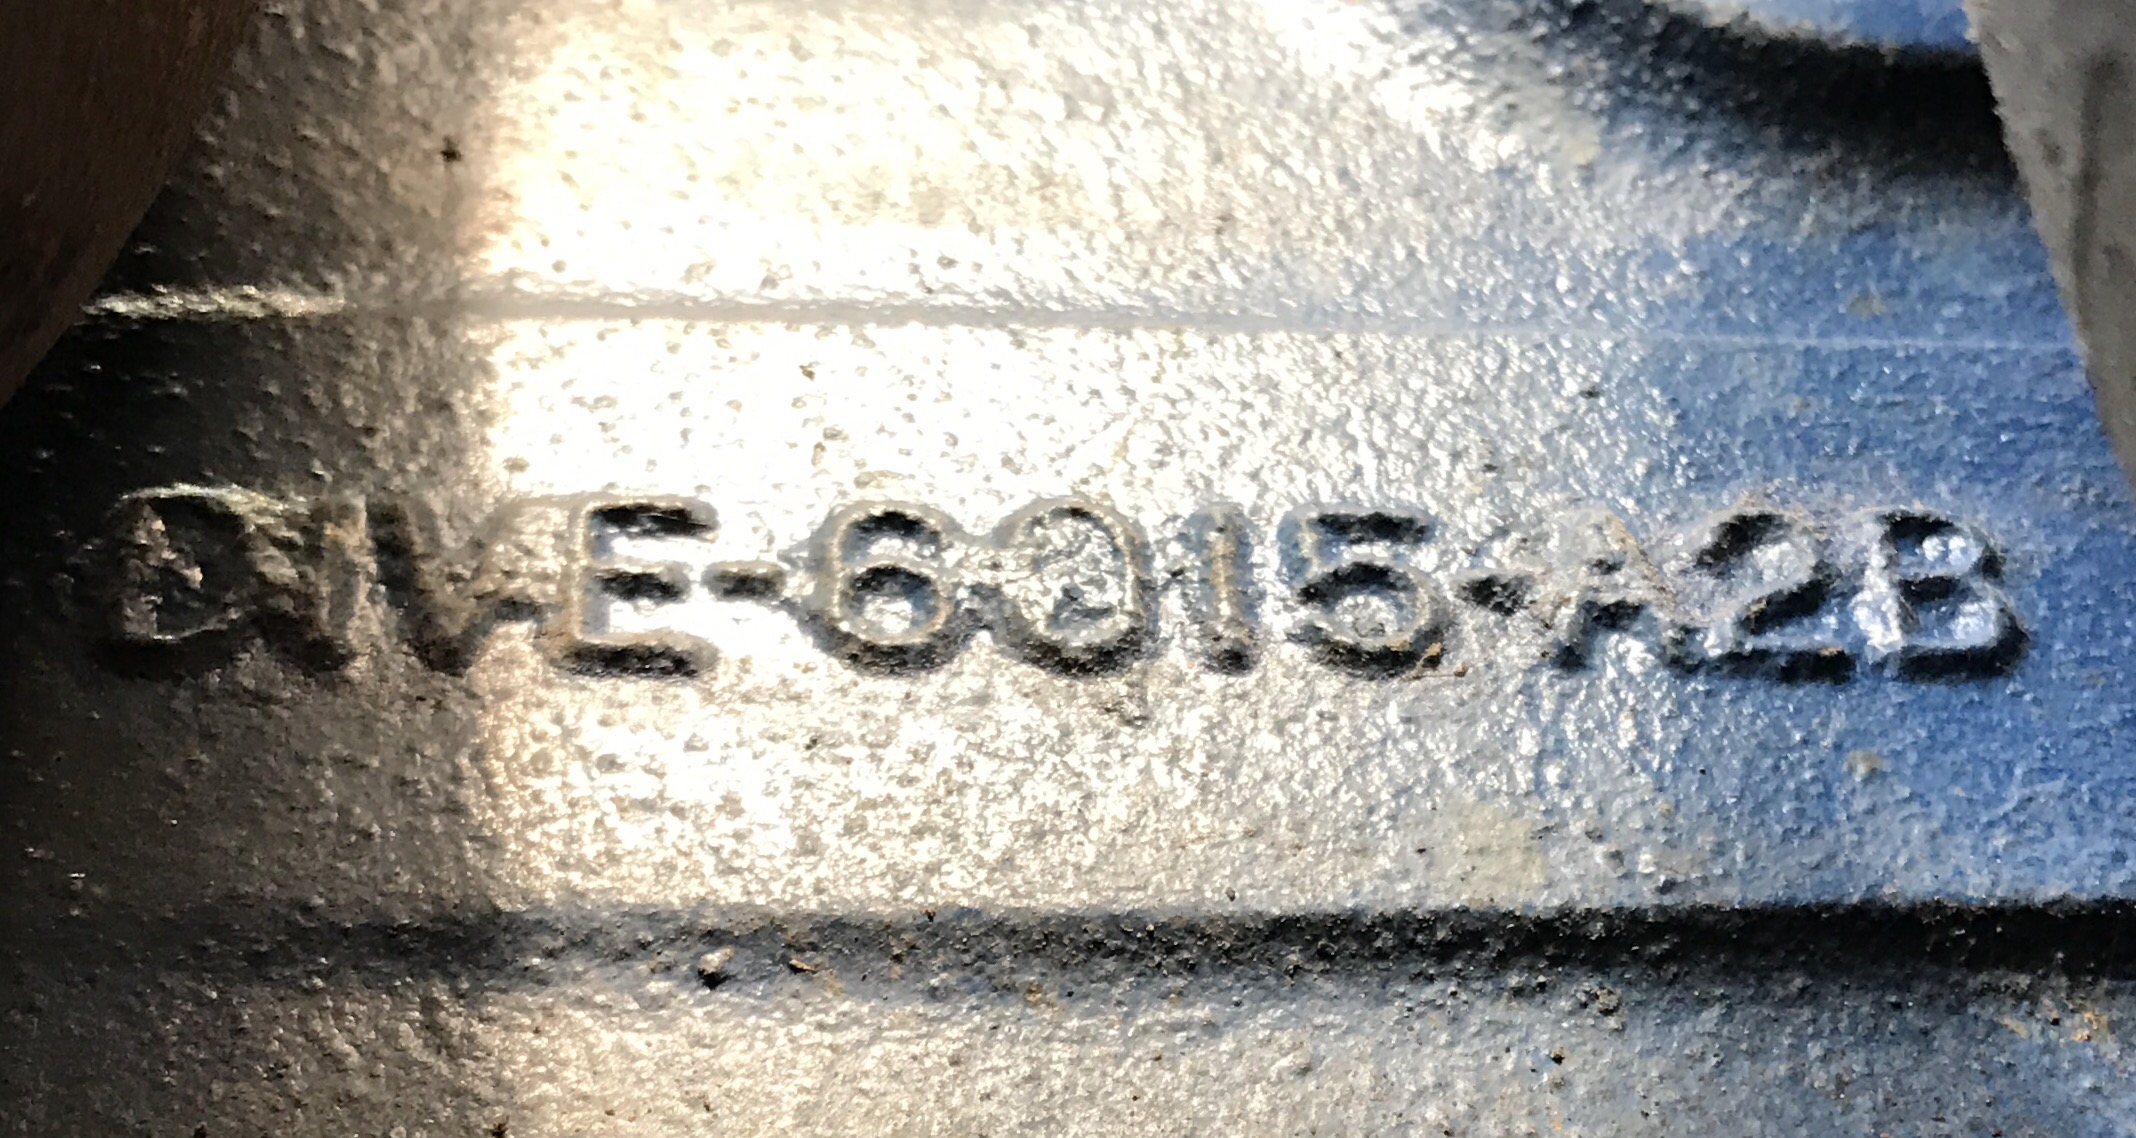 Engine block numbers
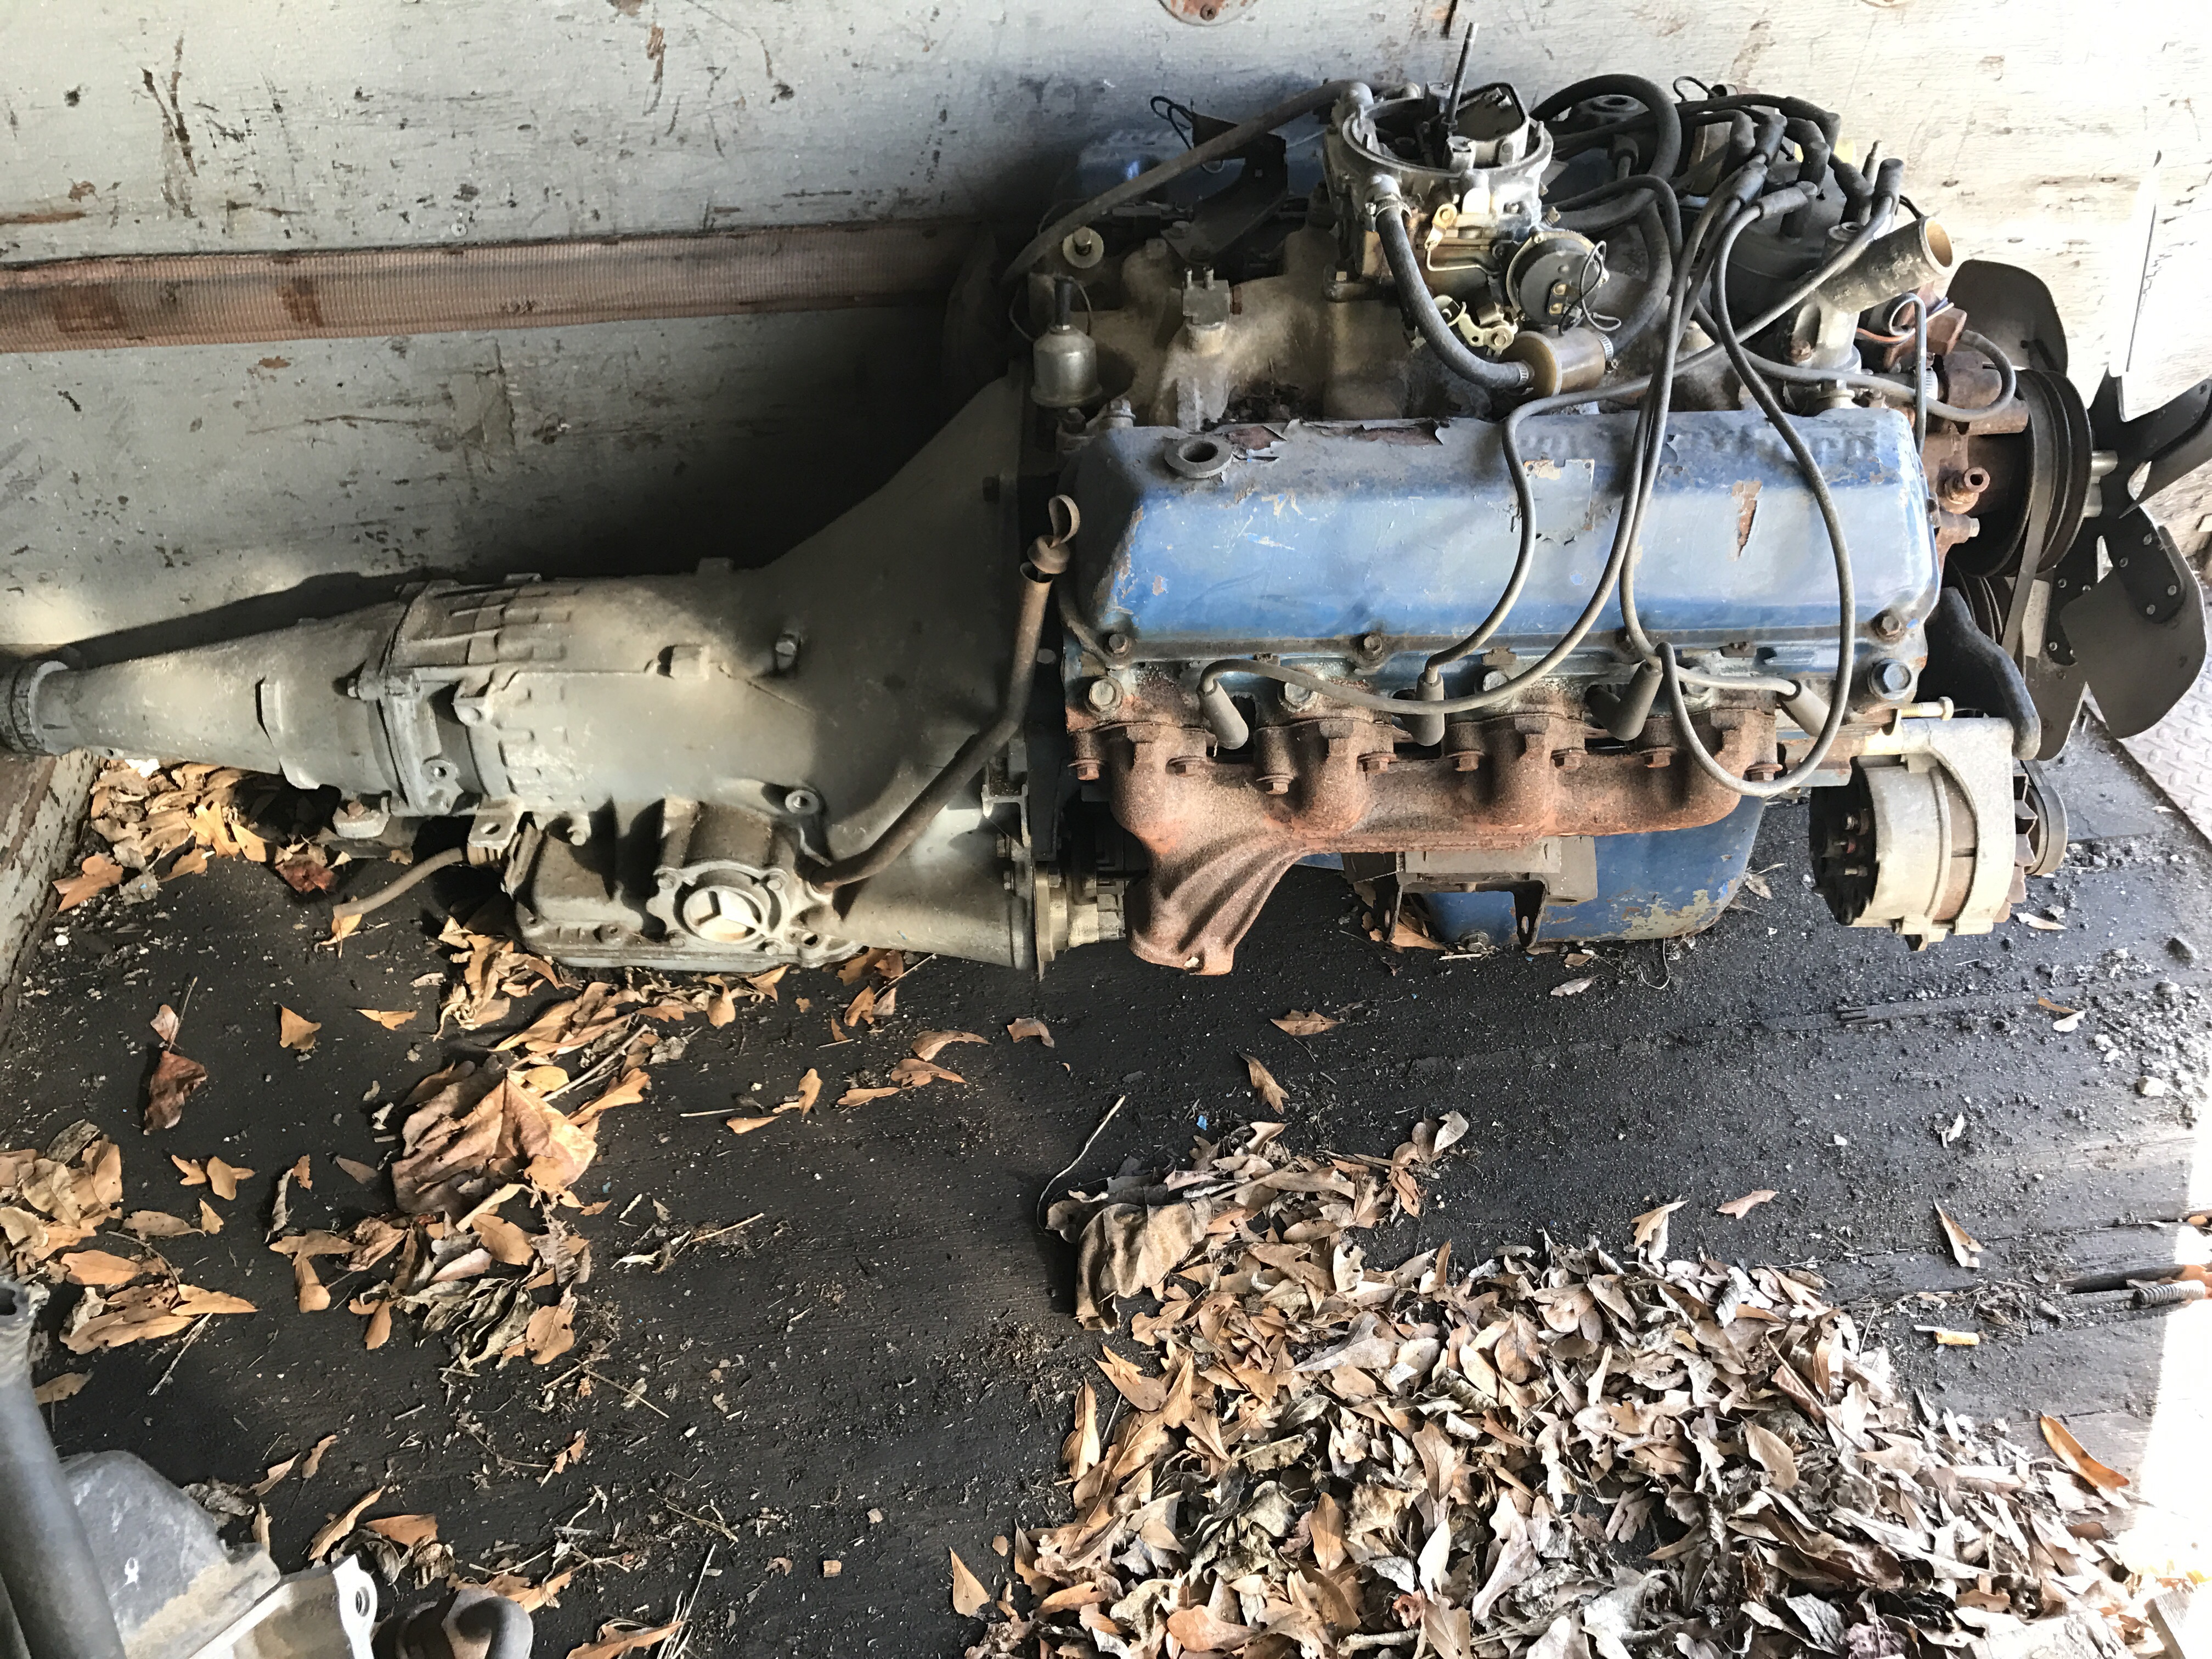 At this point the engine & trans has been in storage for over 5 years


Finally taking it home from work
 Got the engine home & in the basement now


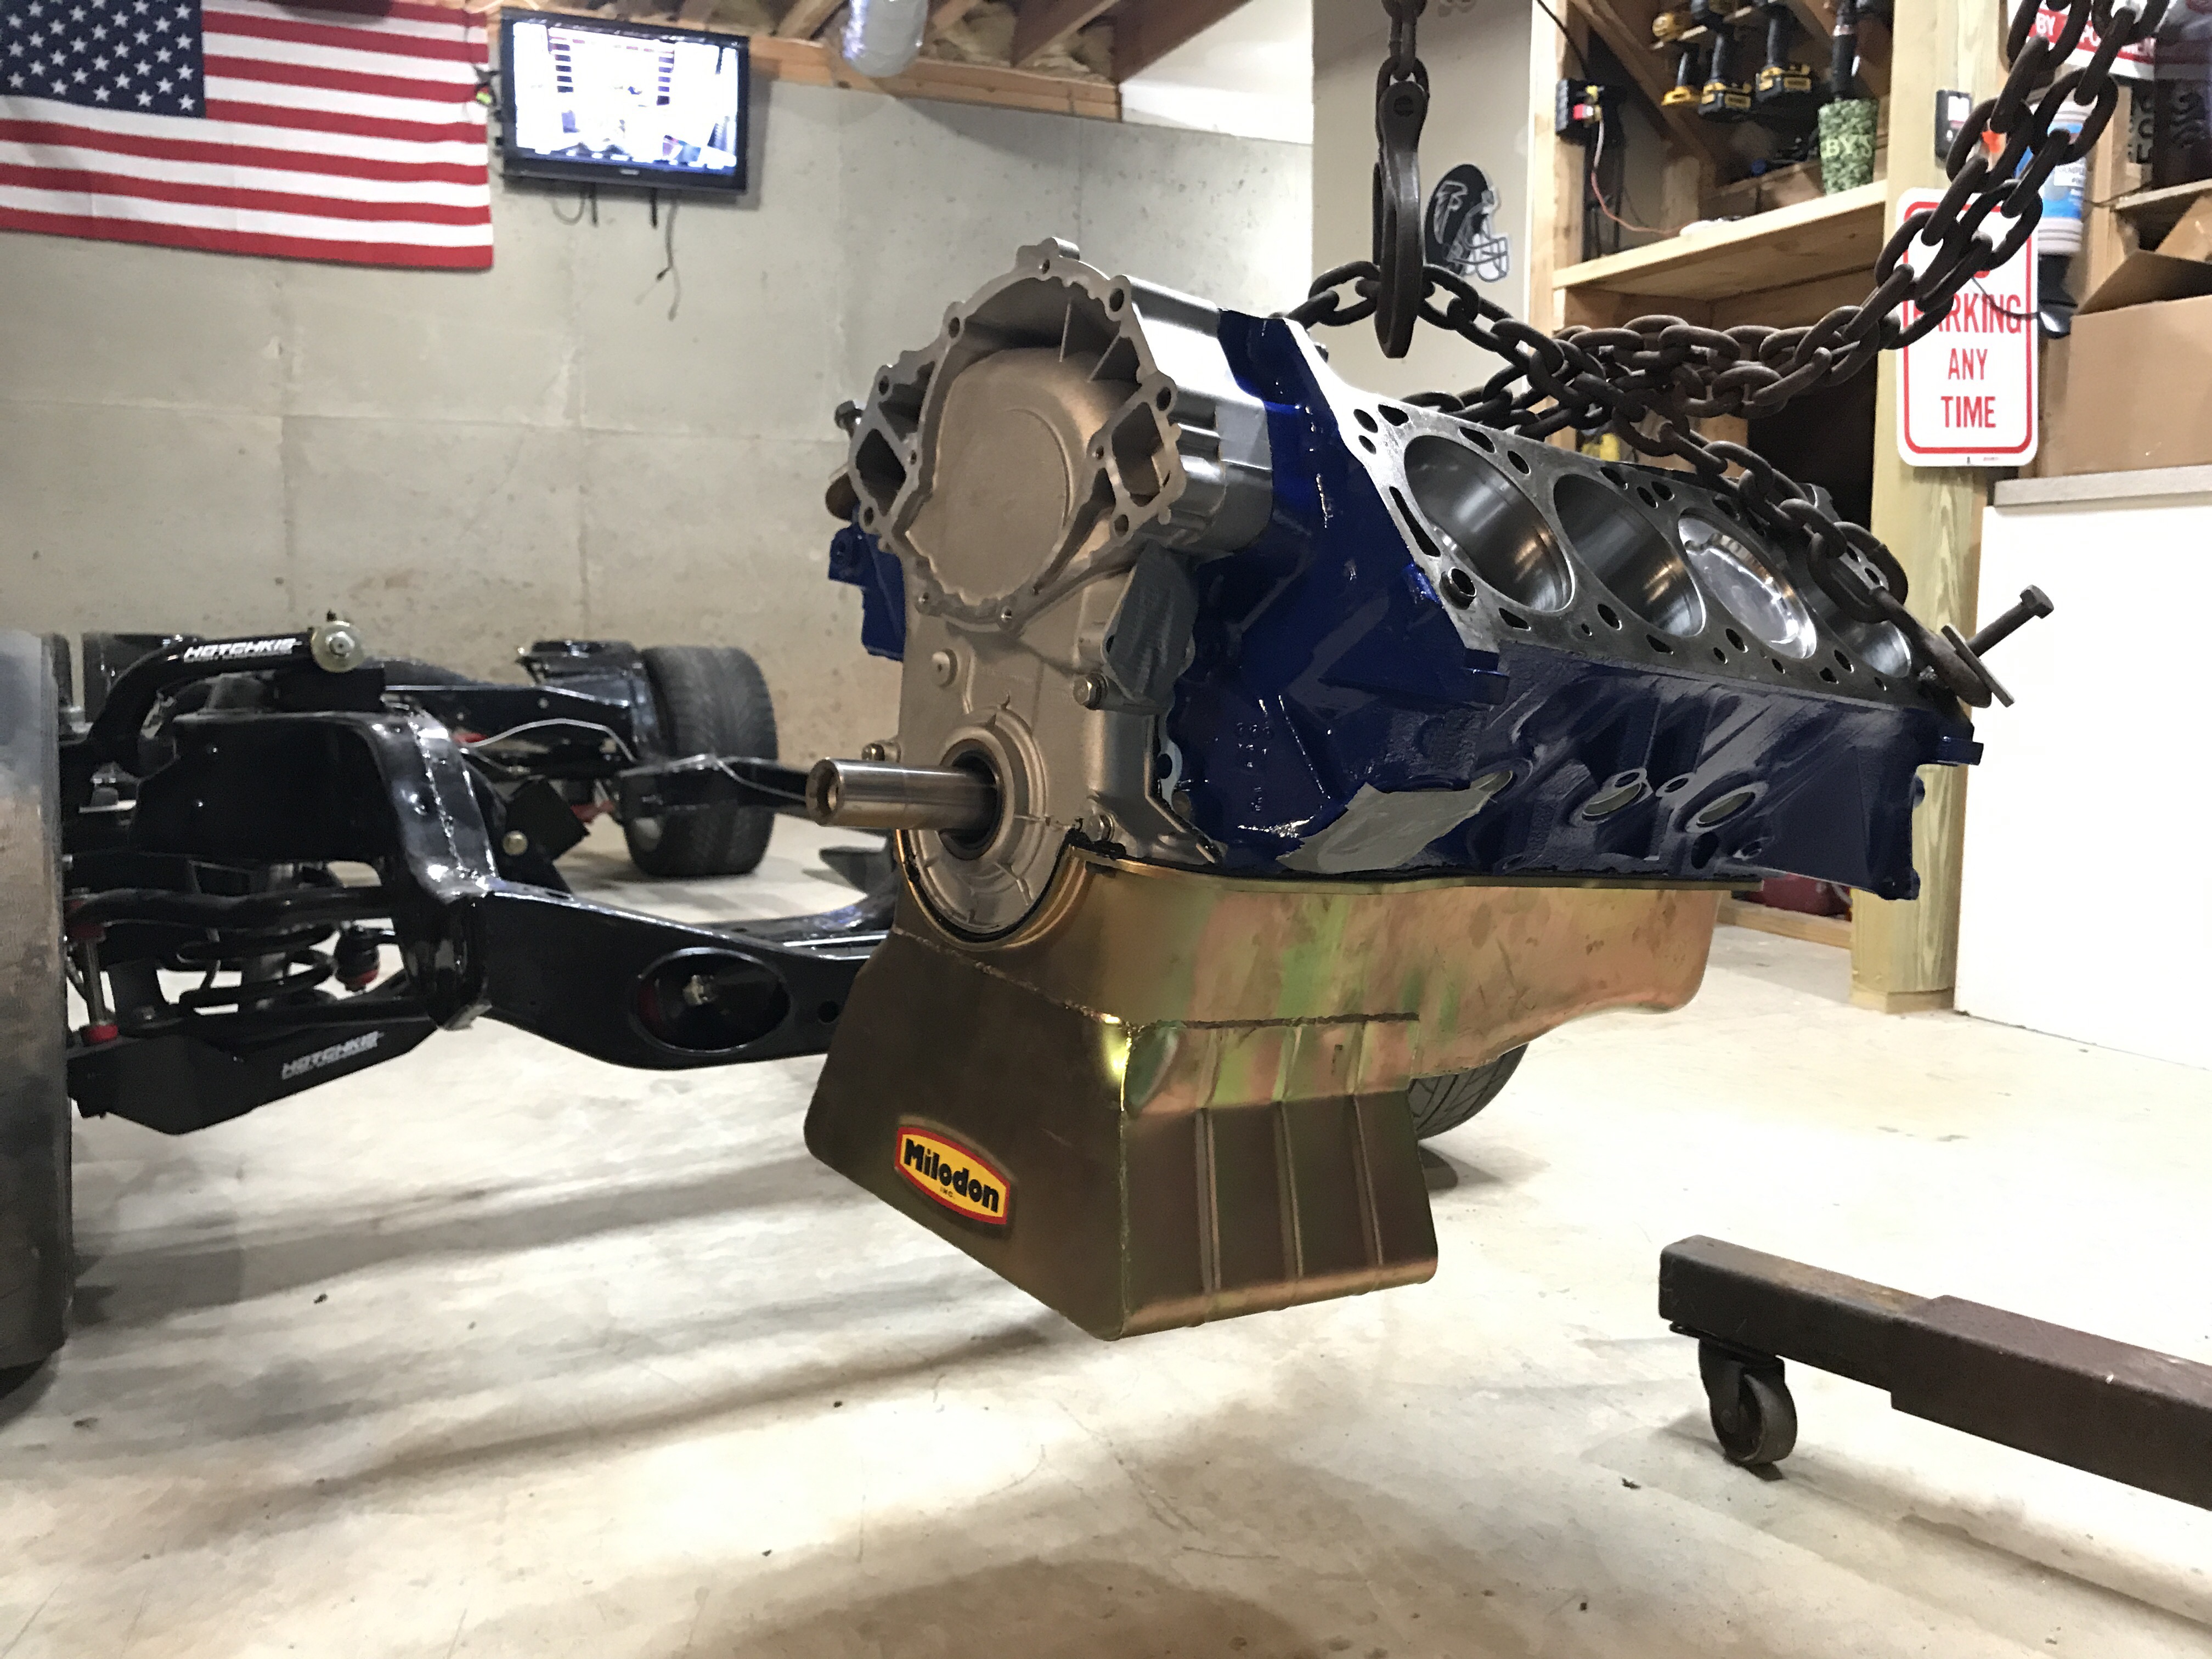
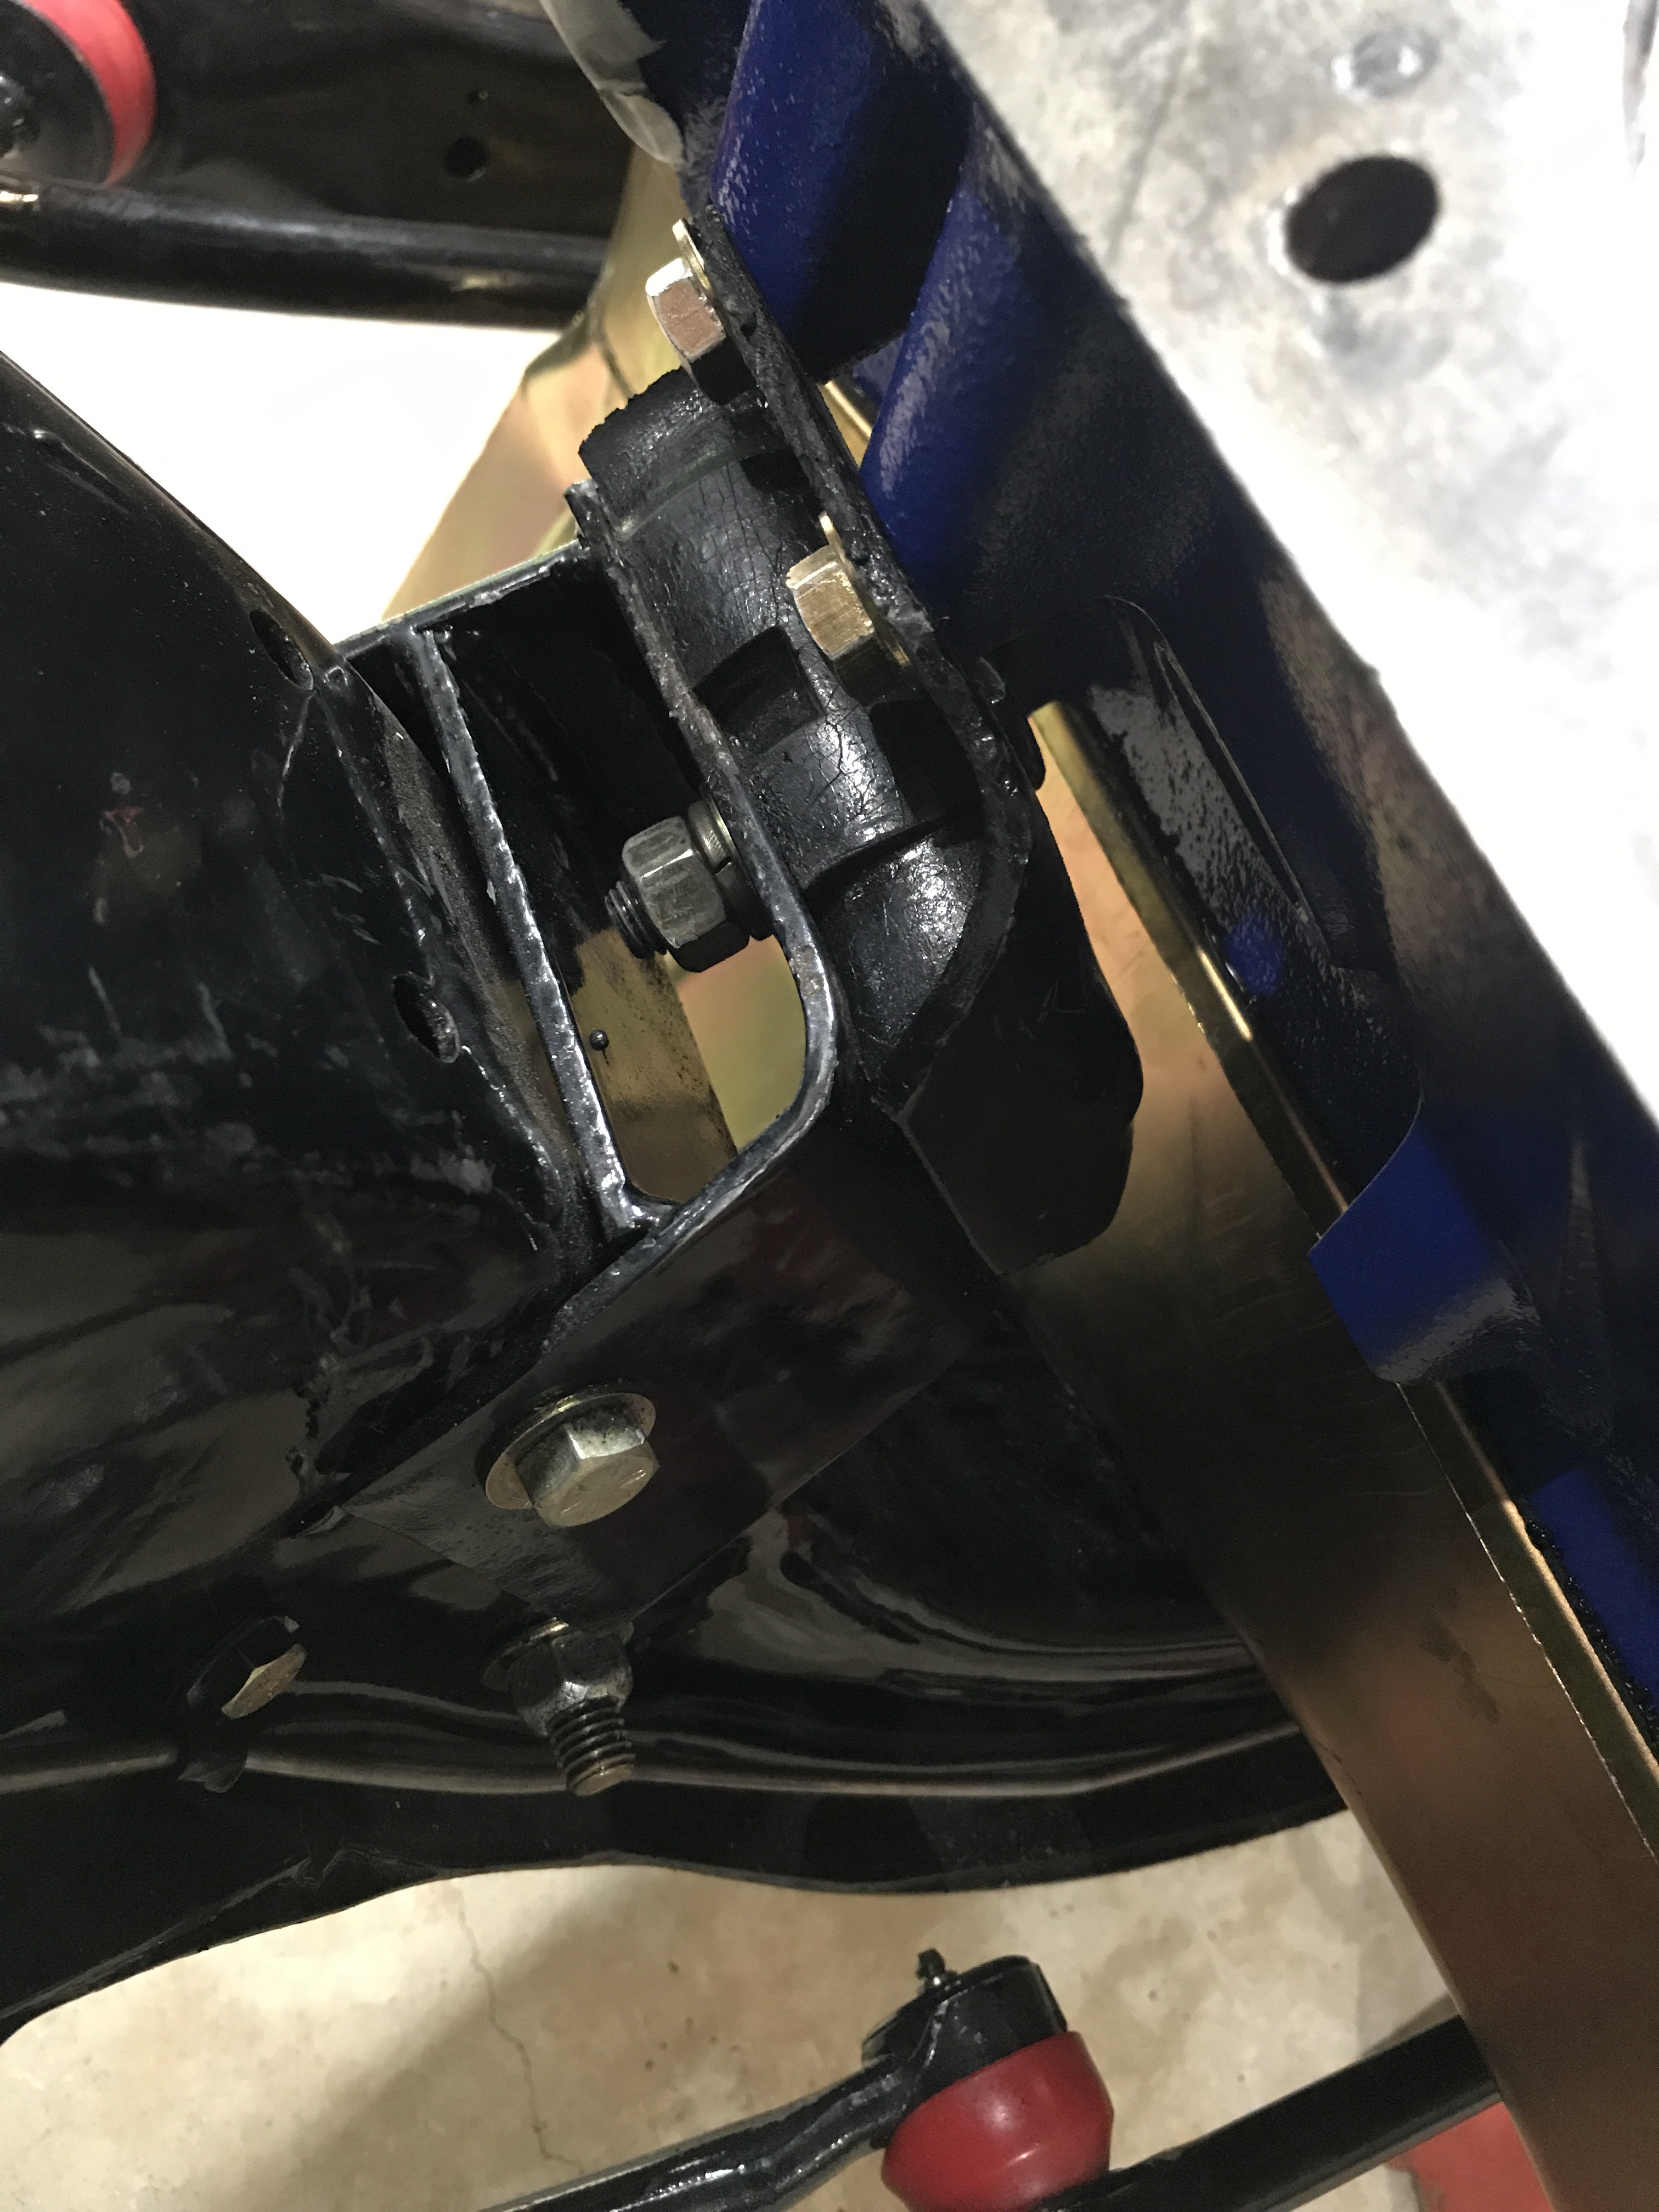
Crites Performance mounts


Test fitting engine so I can mark the new bolt holes needed for the Crites conversion engine mounts


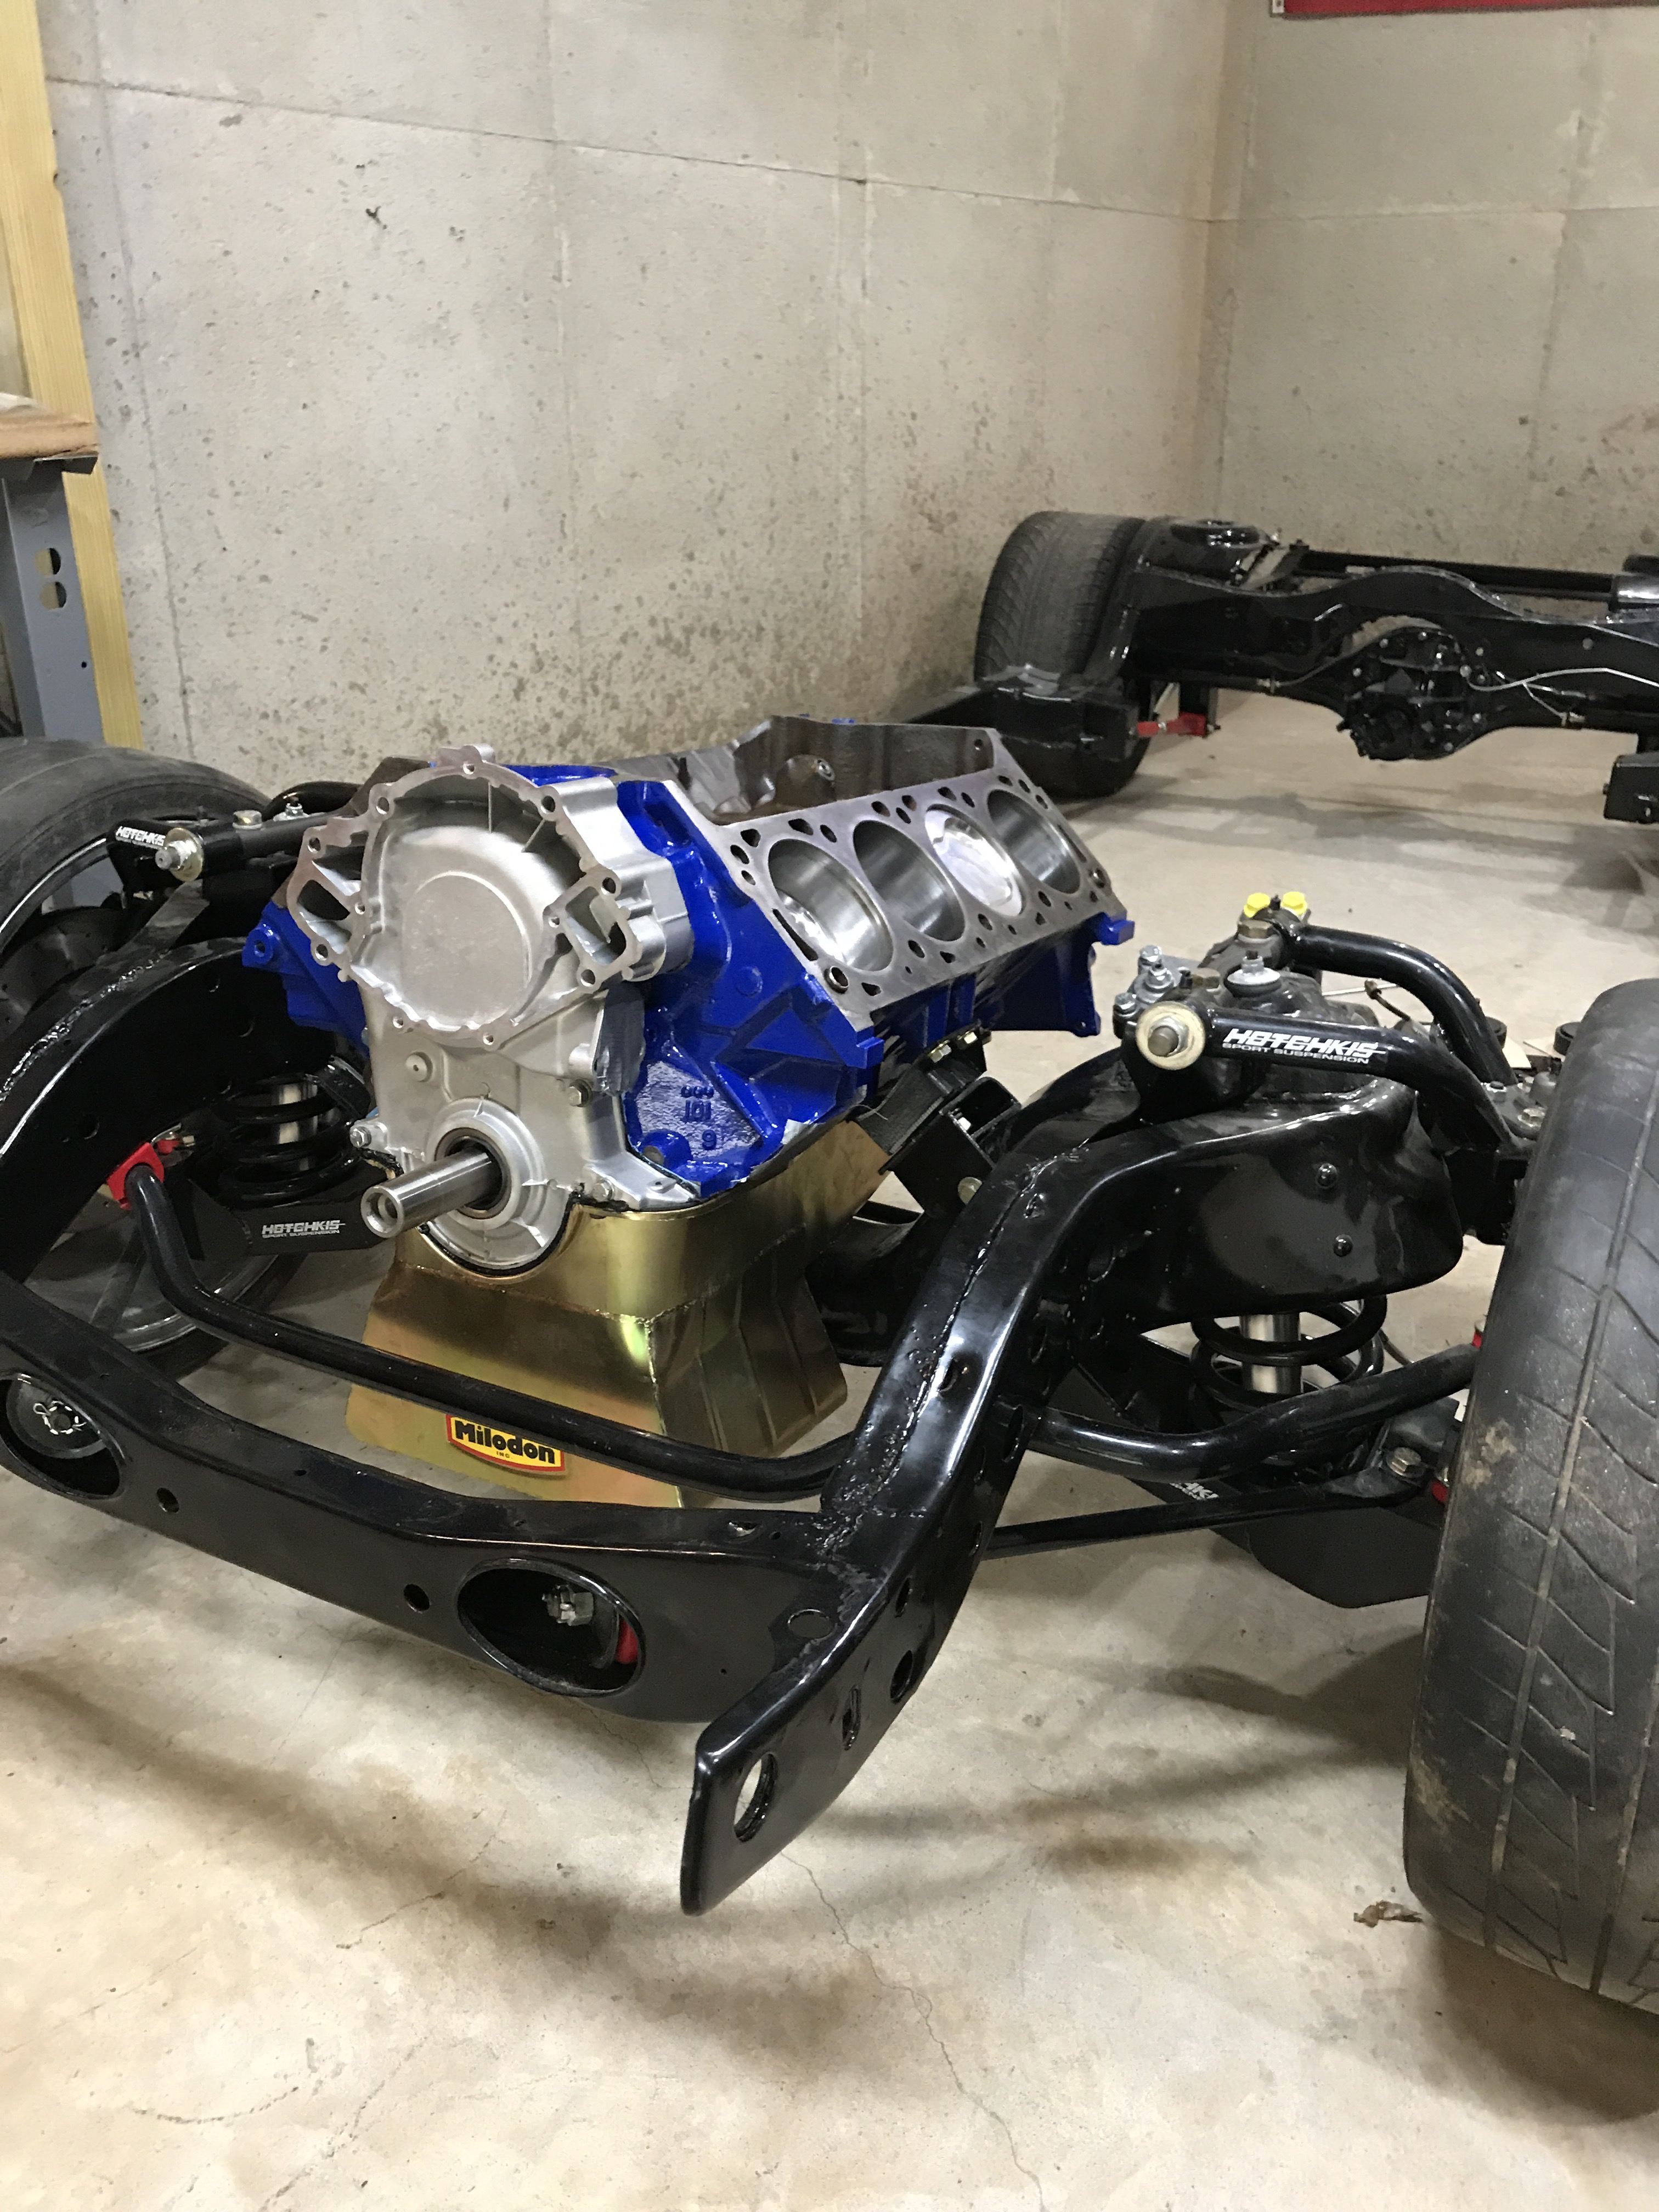
Engine mounts in place & engine leveled out. Ready to mark for the new holes that need to be drilled out
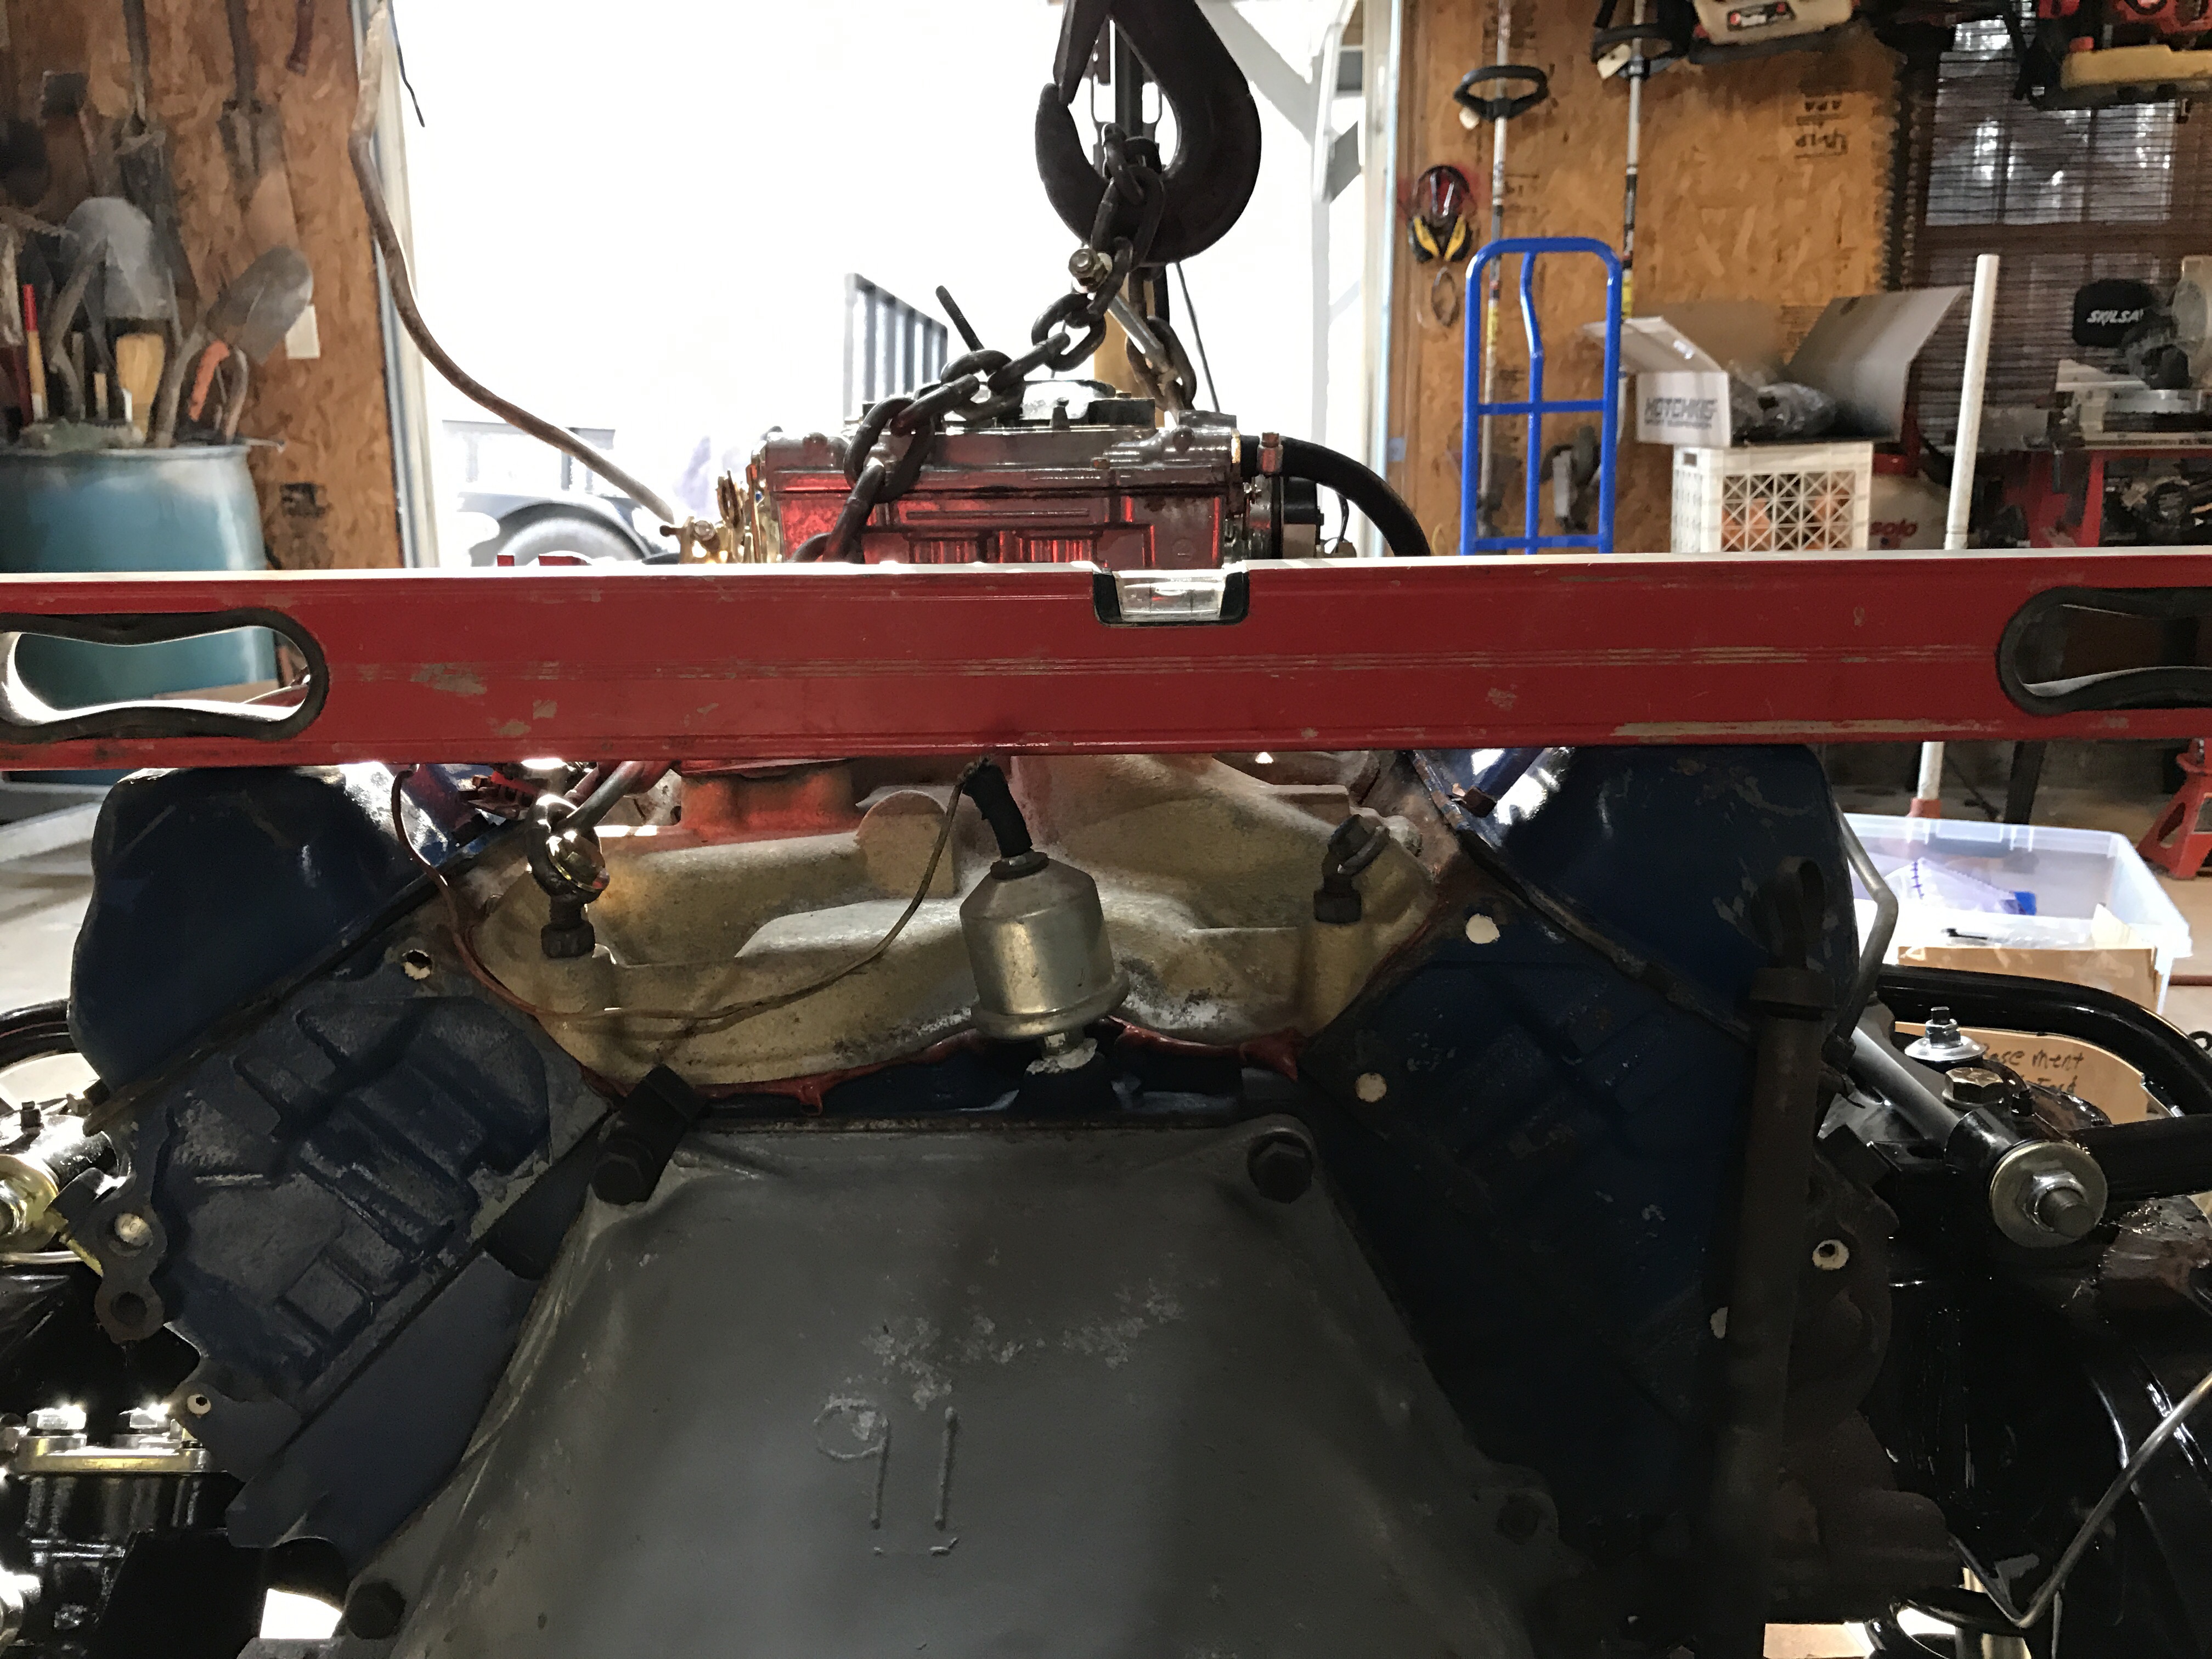 Engine leveled out & motor mount bolt holes marked


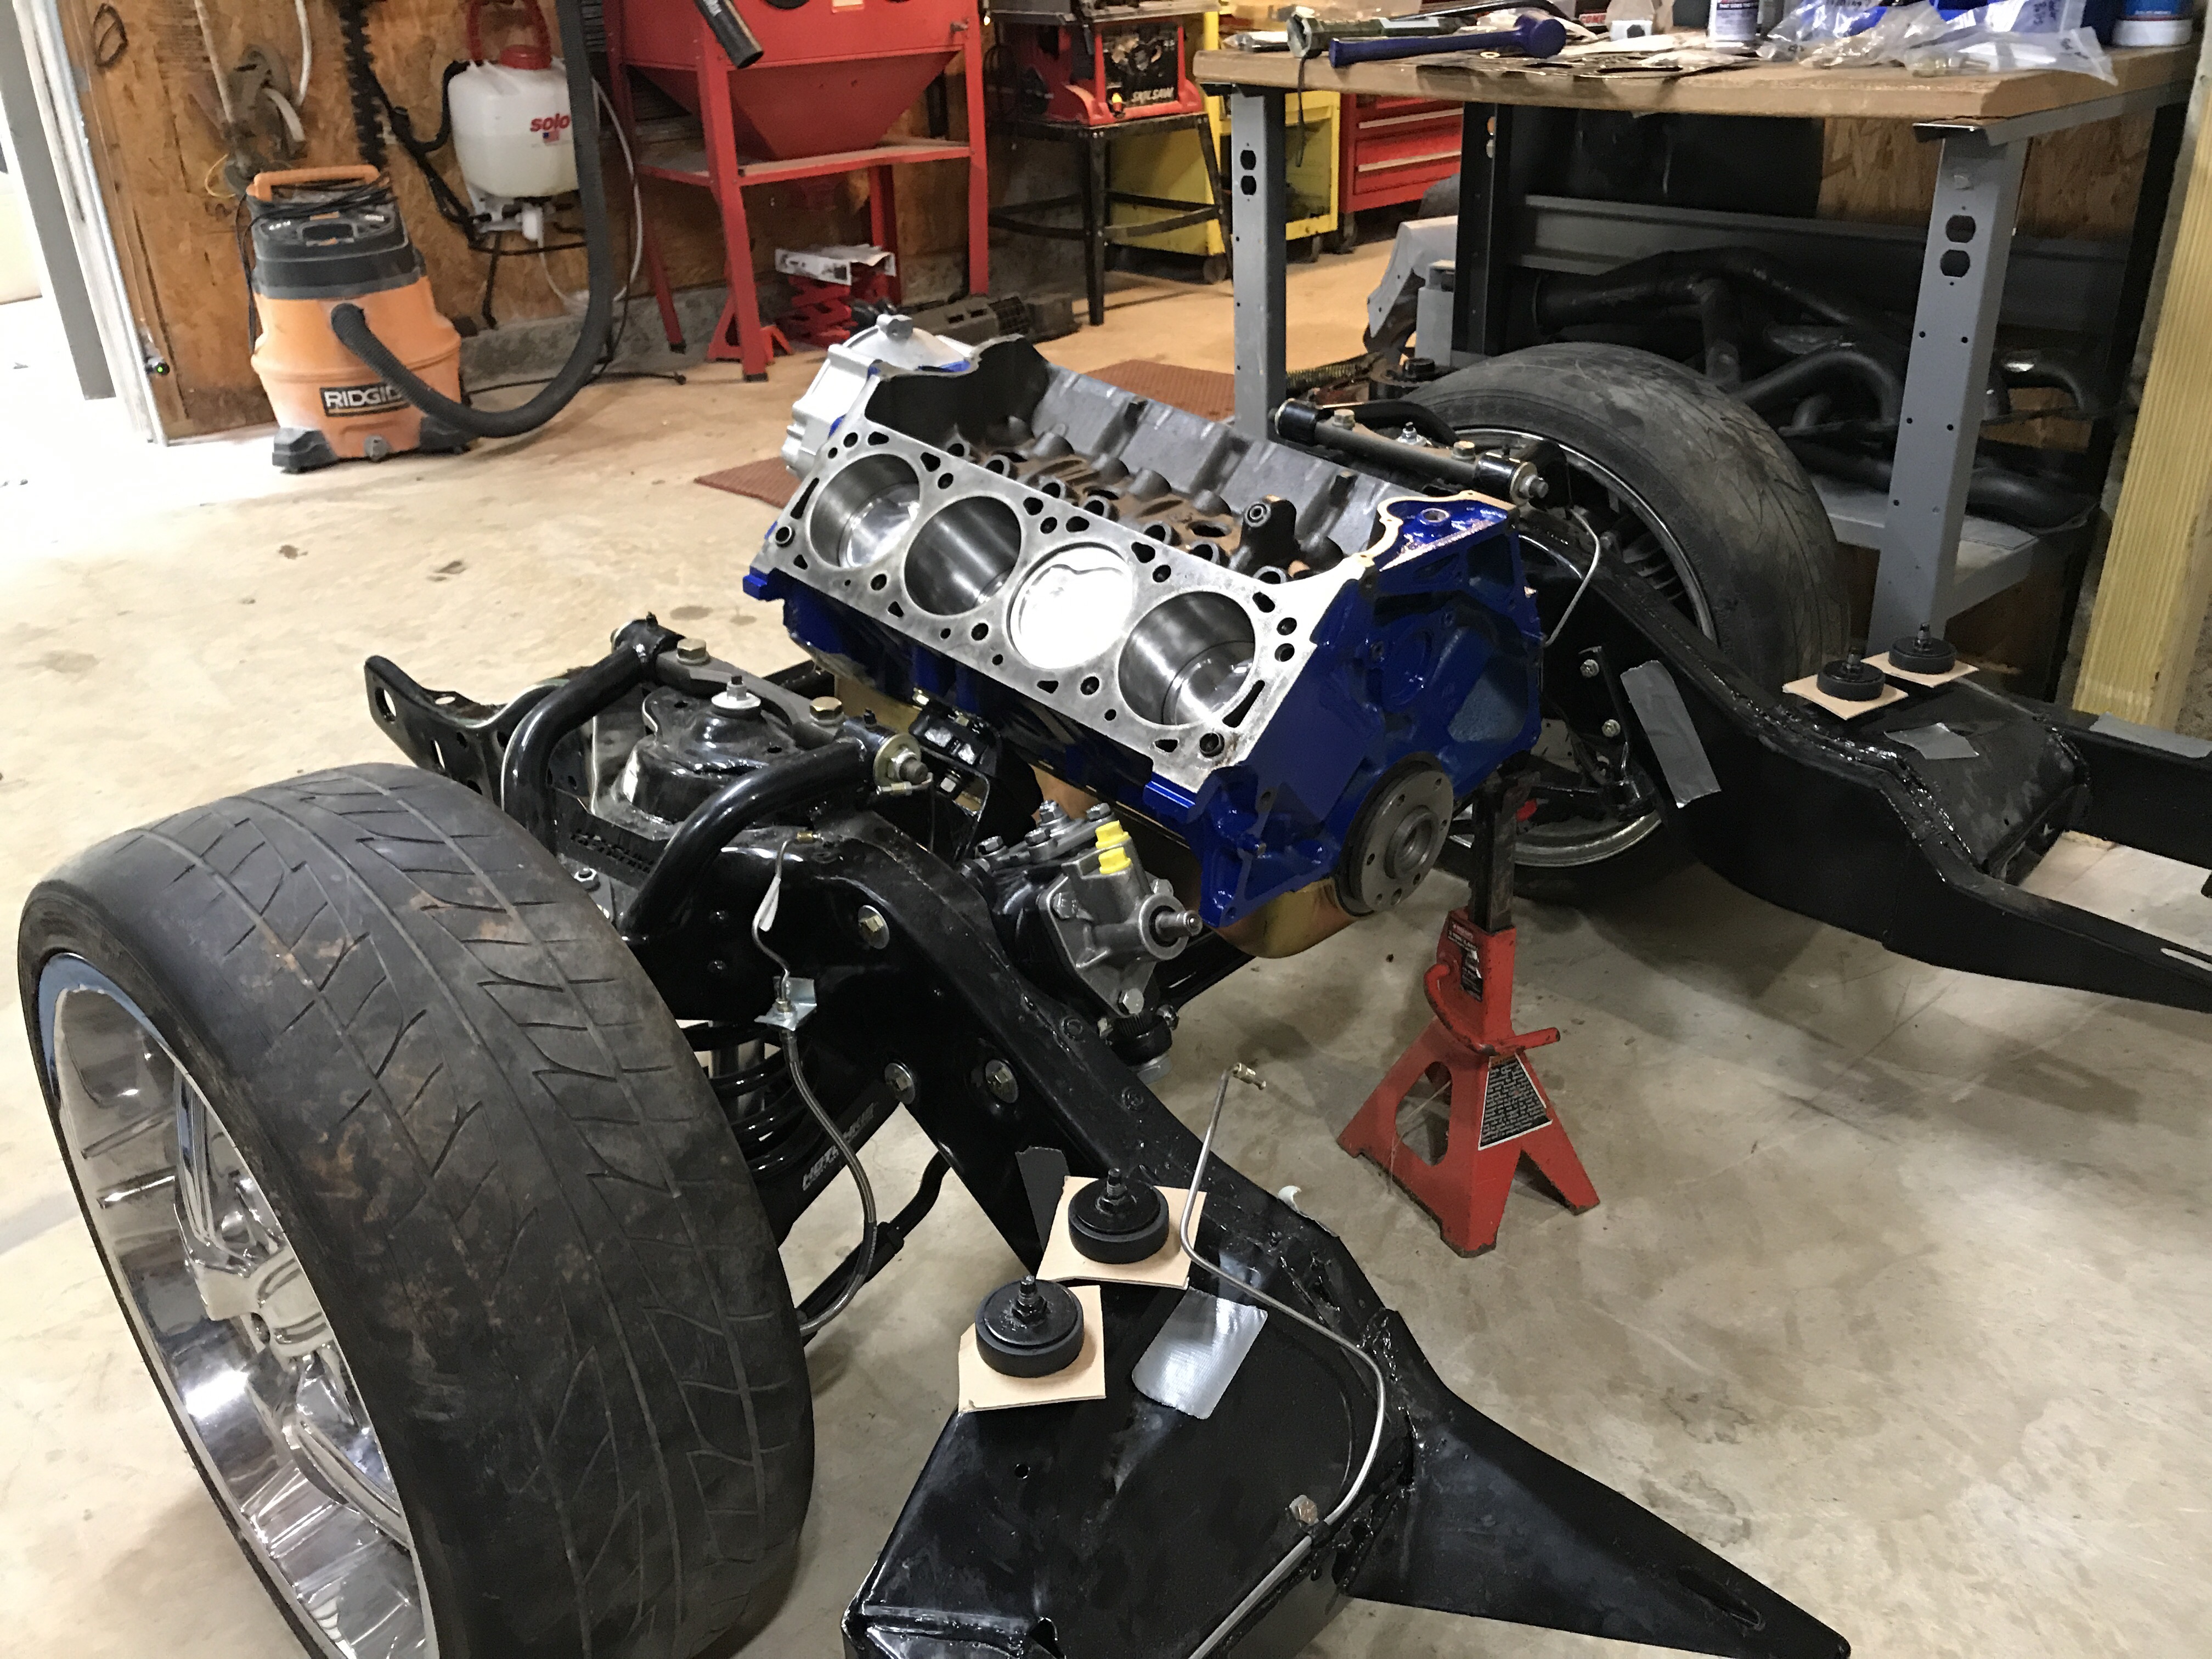
Bolted to the engine stand & ready to tear it down


7/16″ holes drilled for the Crites 460 mounts – Scratched up the powder coating some… Mounts bolted on – The nuts were very difficult to access with the lower control arm installed


Breaking the engine down


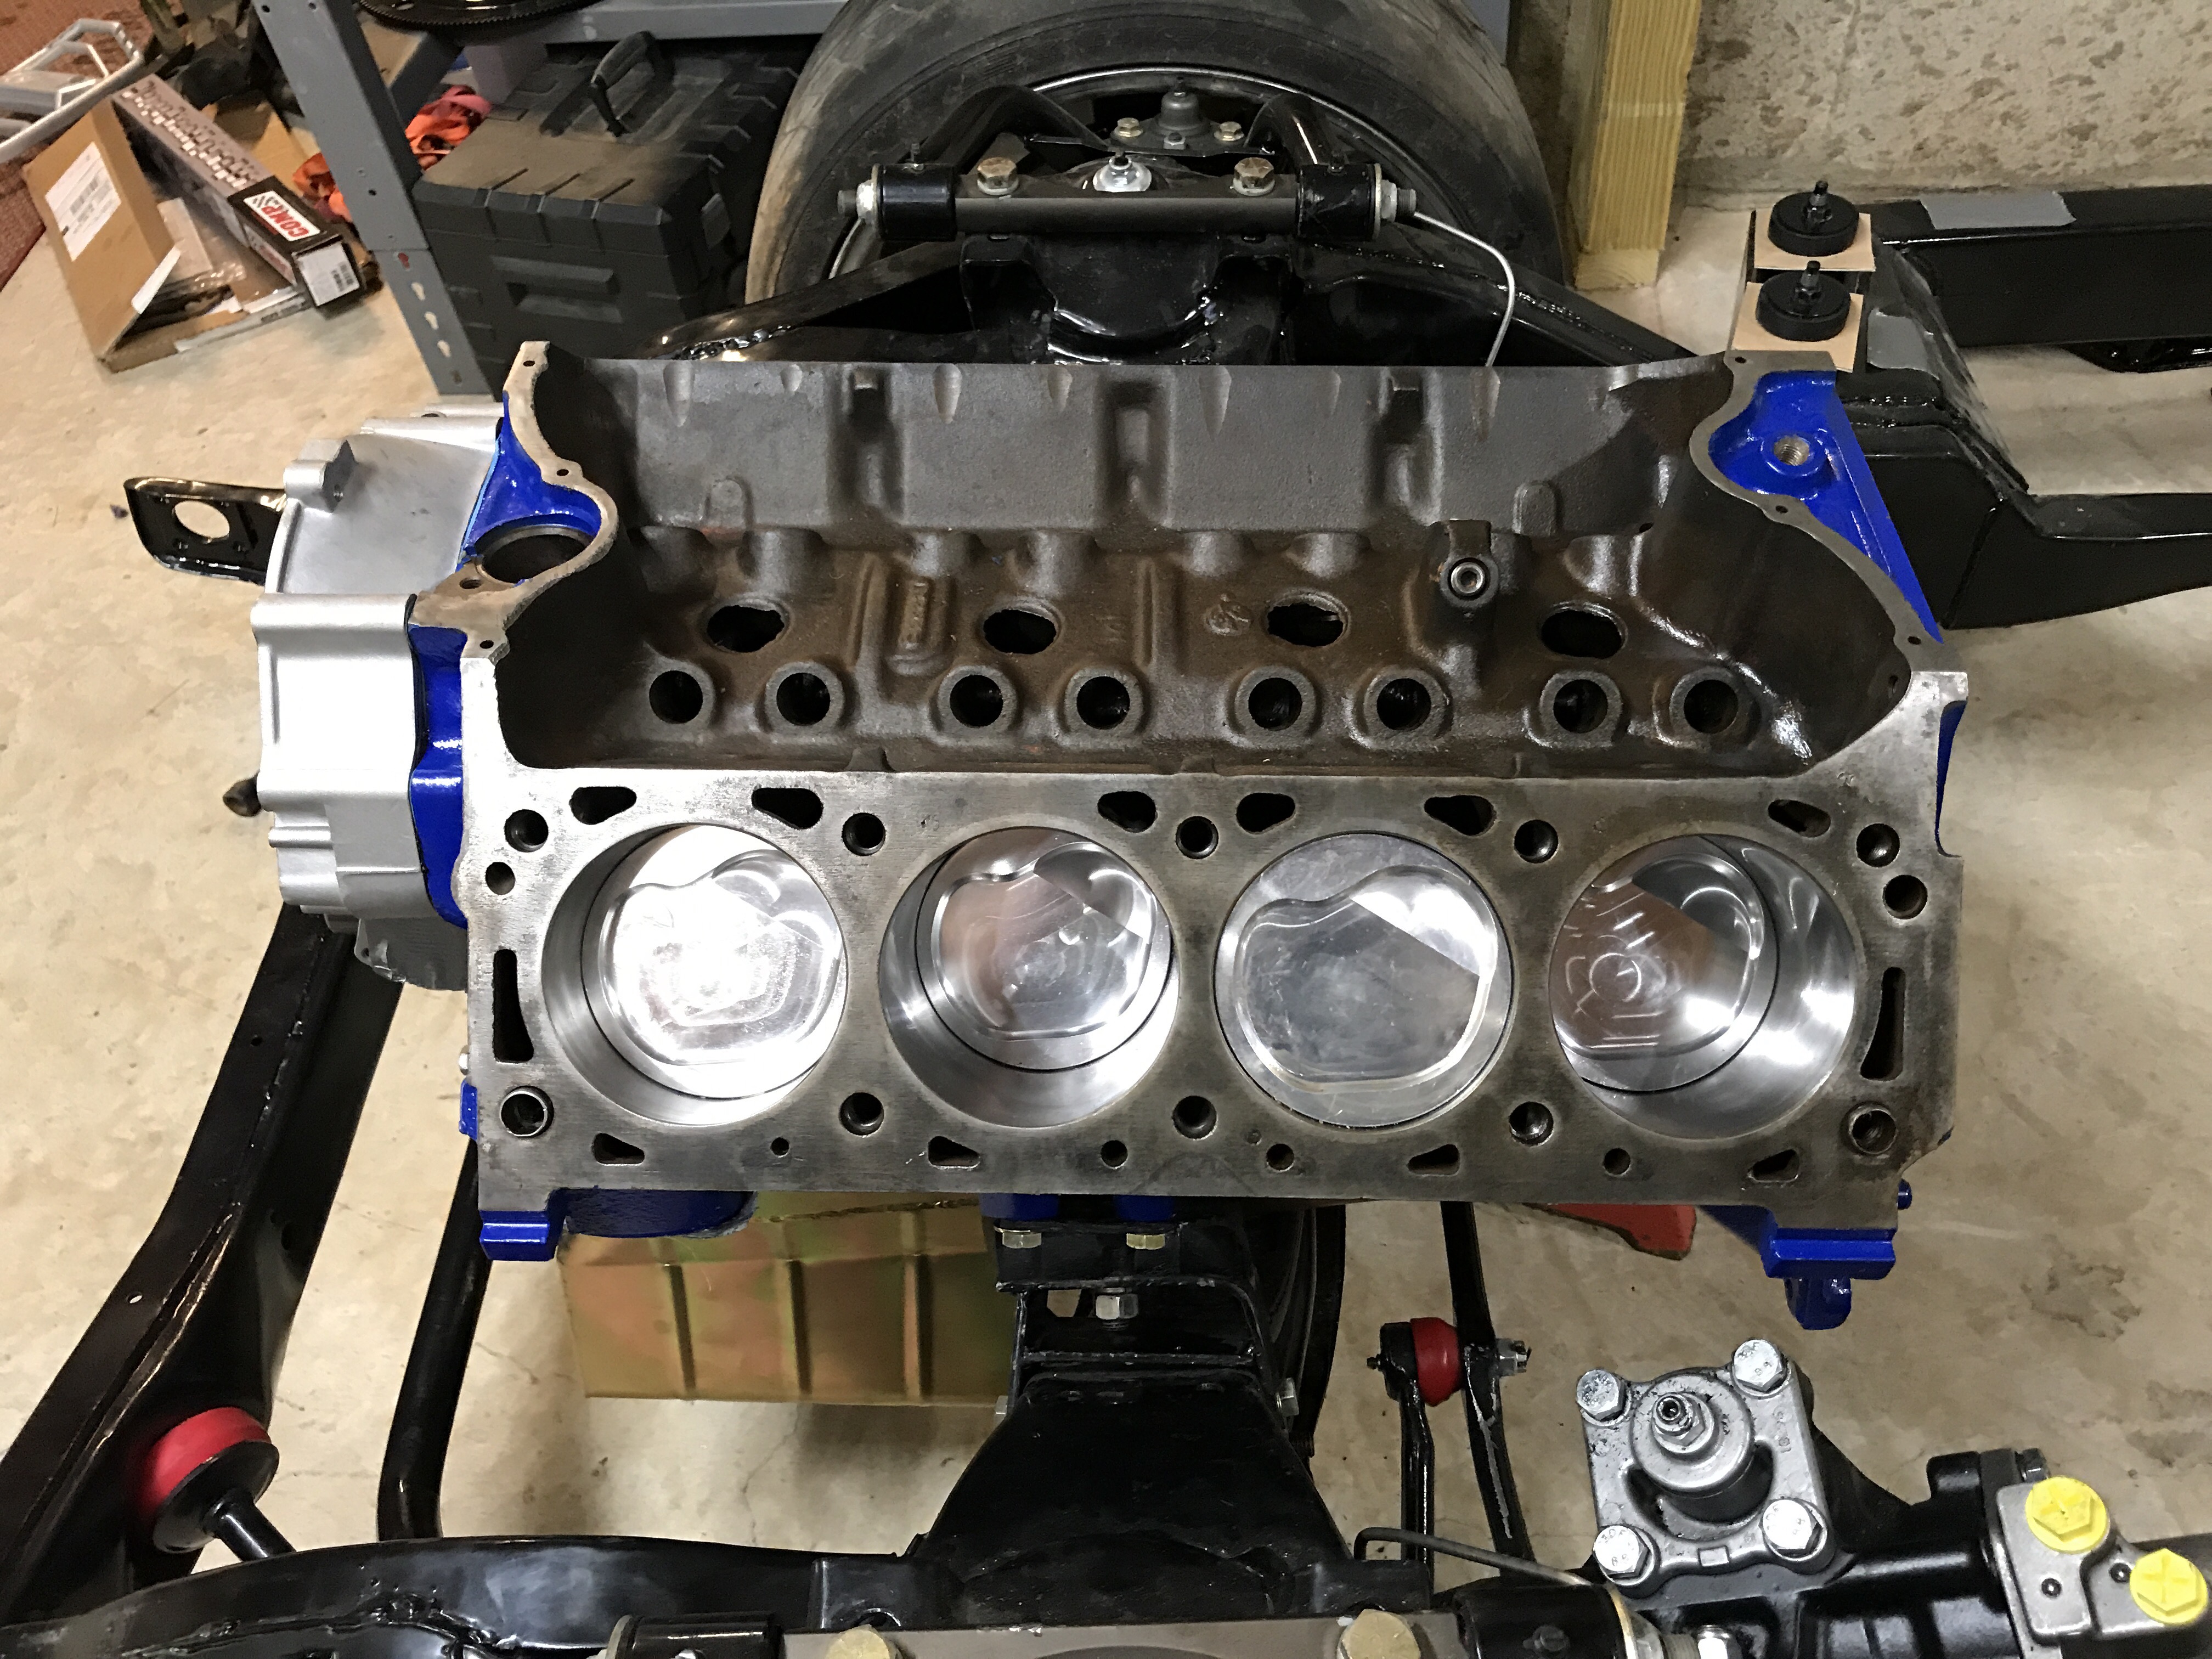
All pistons were 30 over as expected – engine had been rebuilt not many miles ago according to previous owner – All bearings were standard size


3 hrs later of breaking it down & cleaning up the block is ready for the machine shop


dropping the block off at machine shop


got the block block back from machine shop – Vatted & honed. New cam bearings & freeze plugs installed – $150


High Flow Dynamics oil pump – They also provided the tubing to modify the oil pick up tube – Rear sump pump modified to work as a front sump – Pickup is now about 5/8″ from bottom of pan
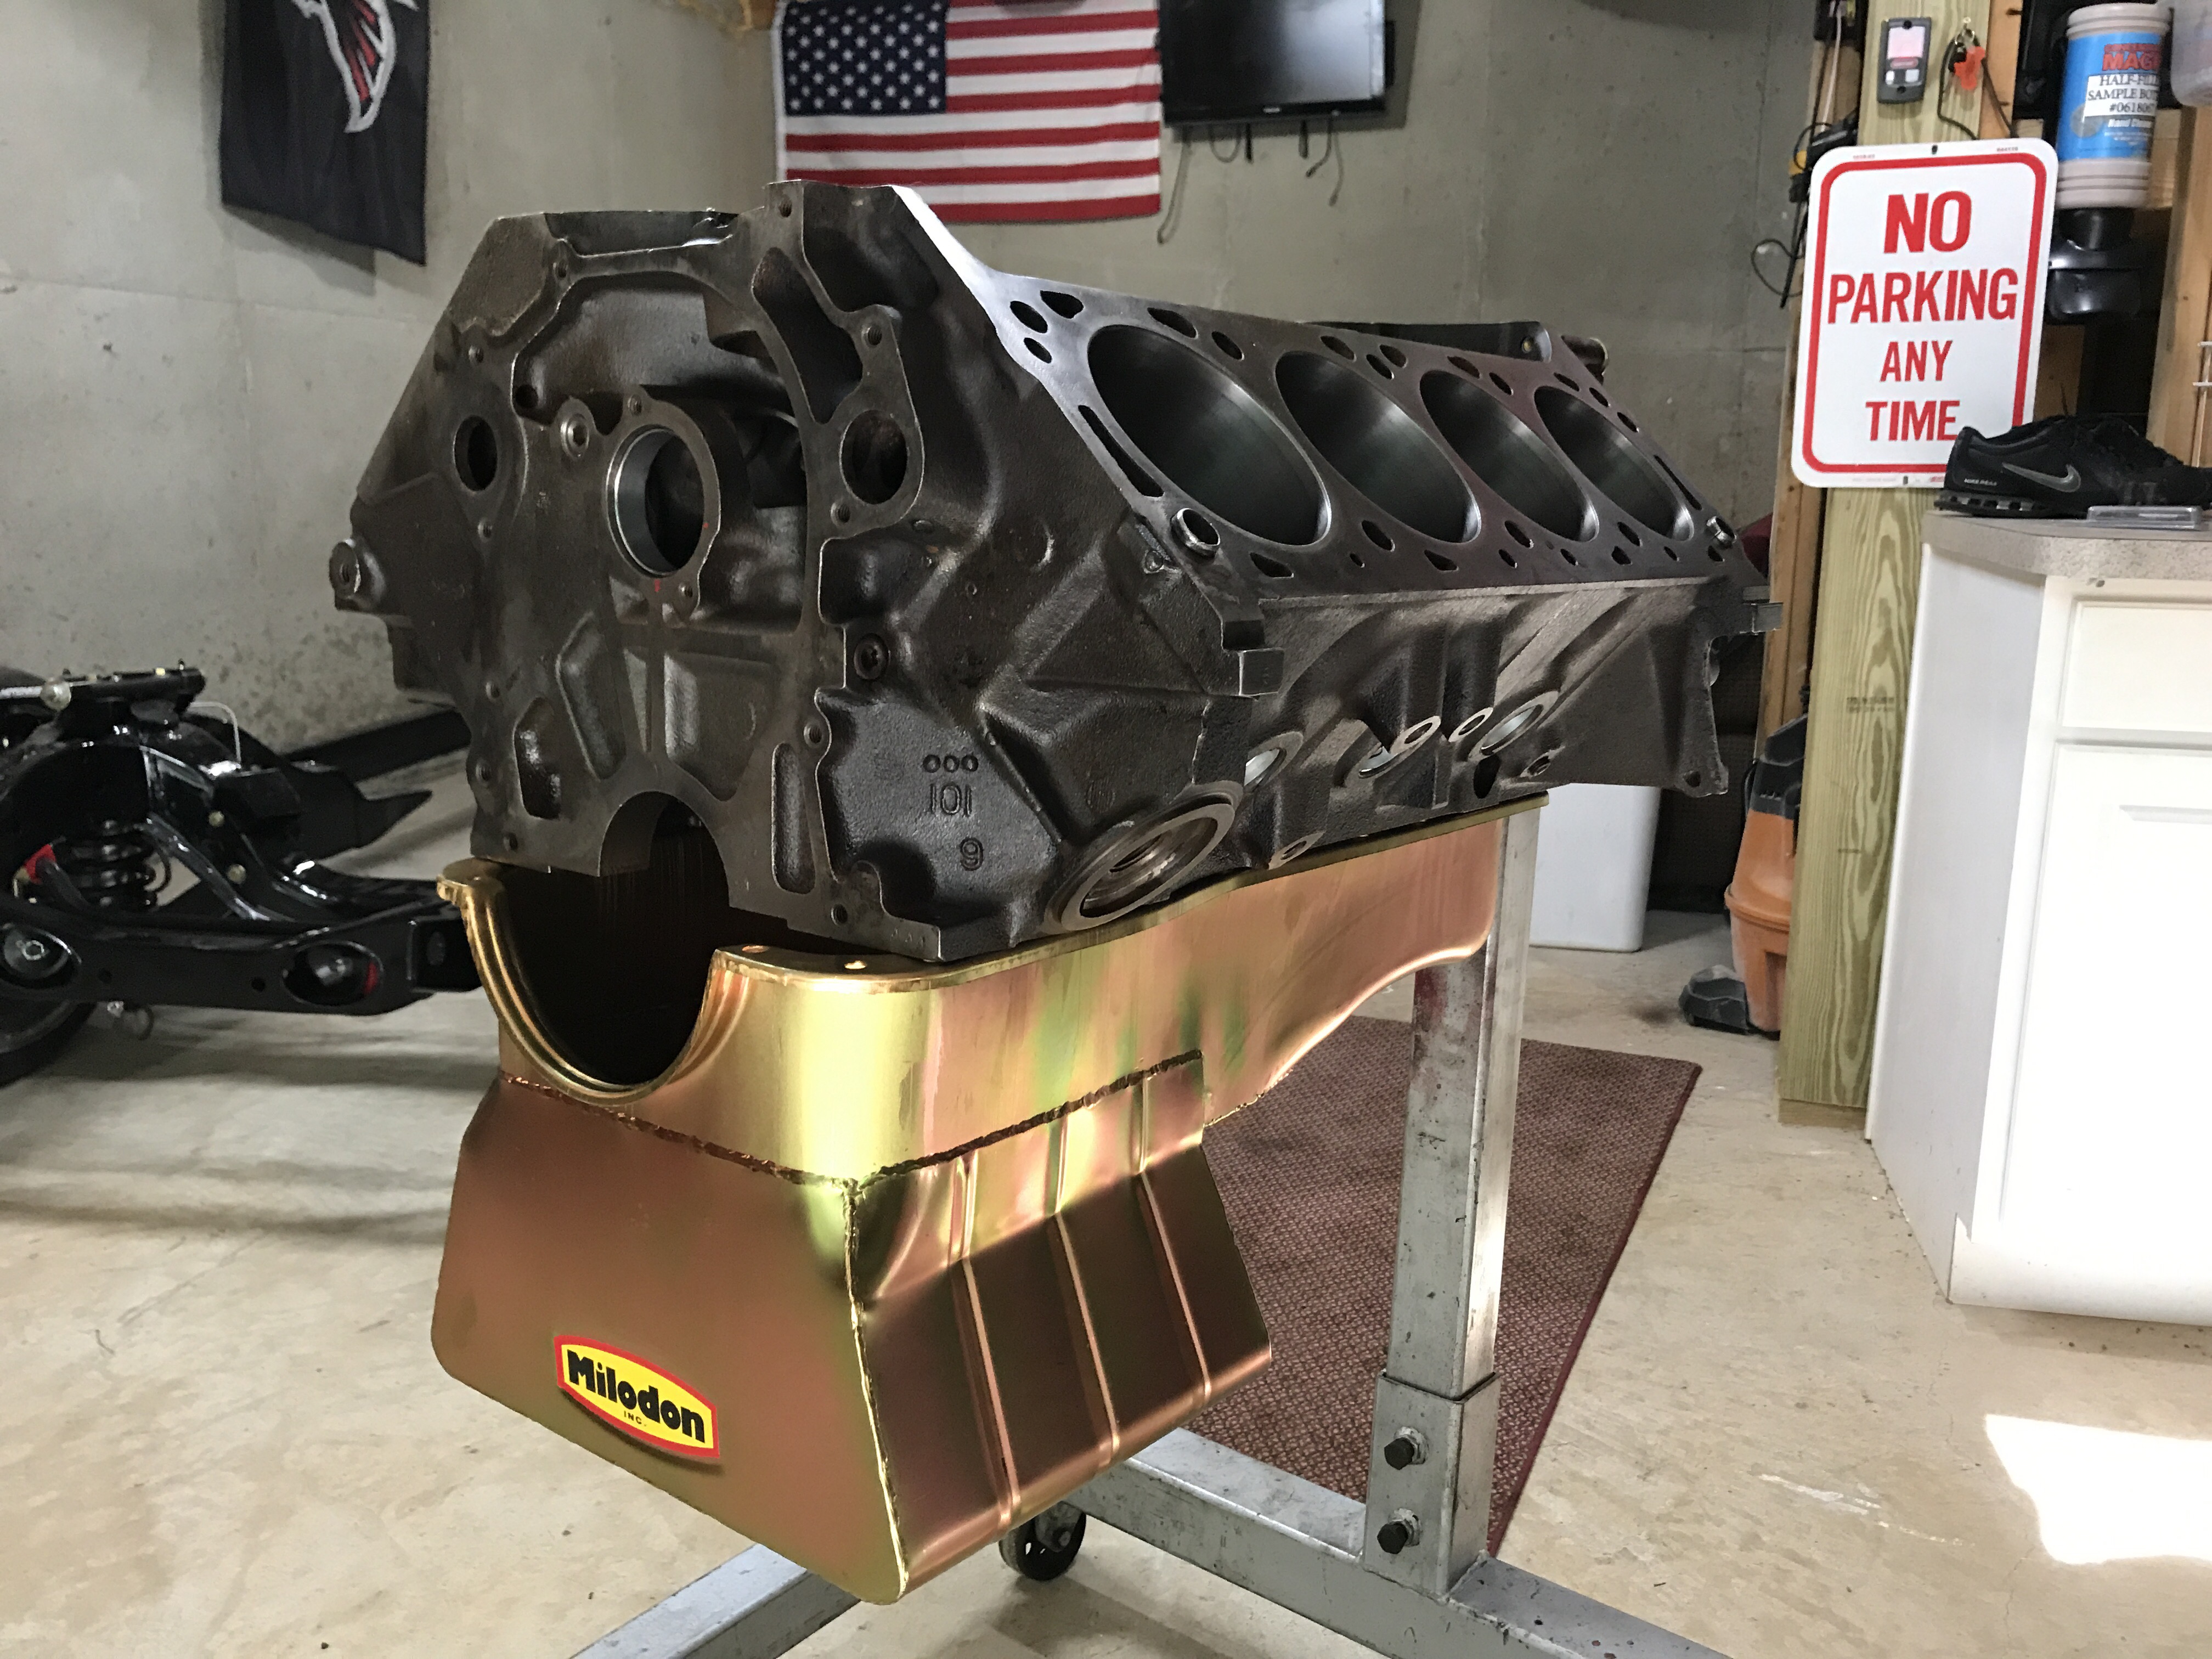 Oil pan test fit


Test fitting oil pan for clearance


Prepping block for paint


Priming the block


The blue turned out pretty good


paint codes
Dropping off to have the rotating assembly balanced & assembled @ Acworth Engine & Machine
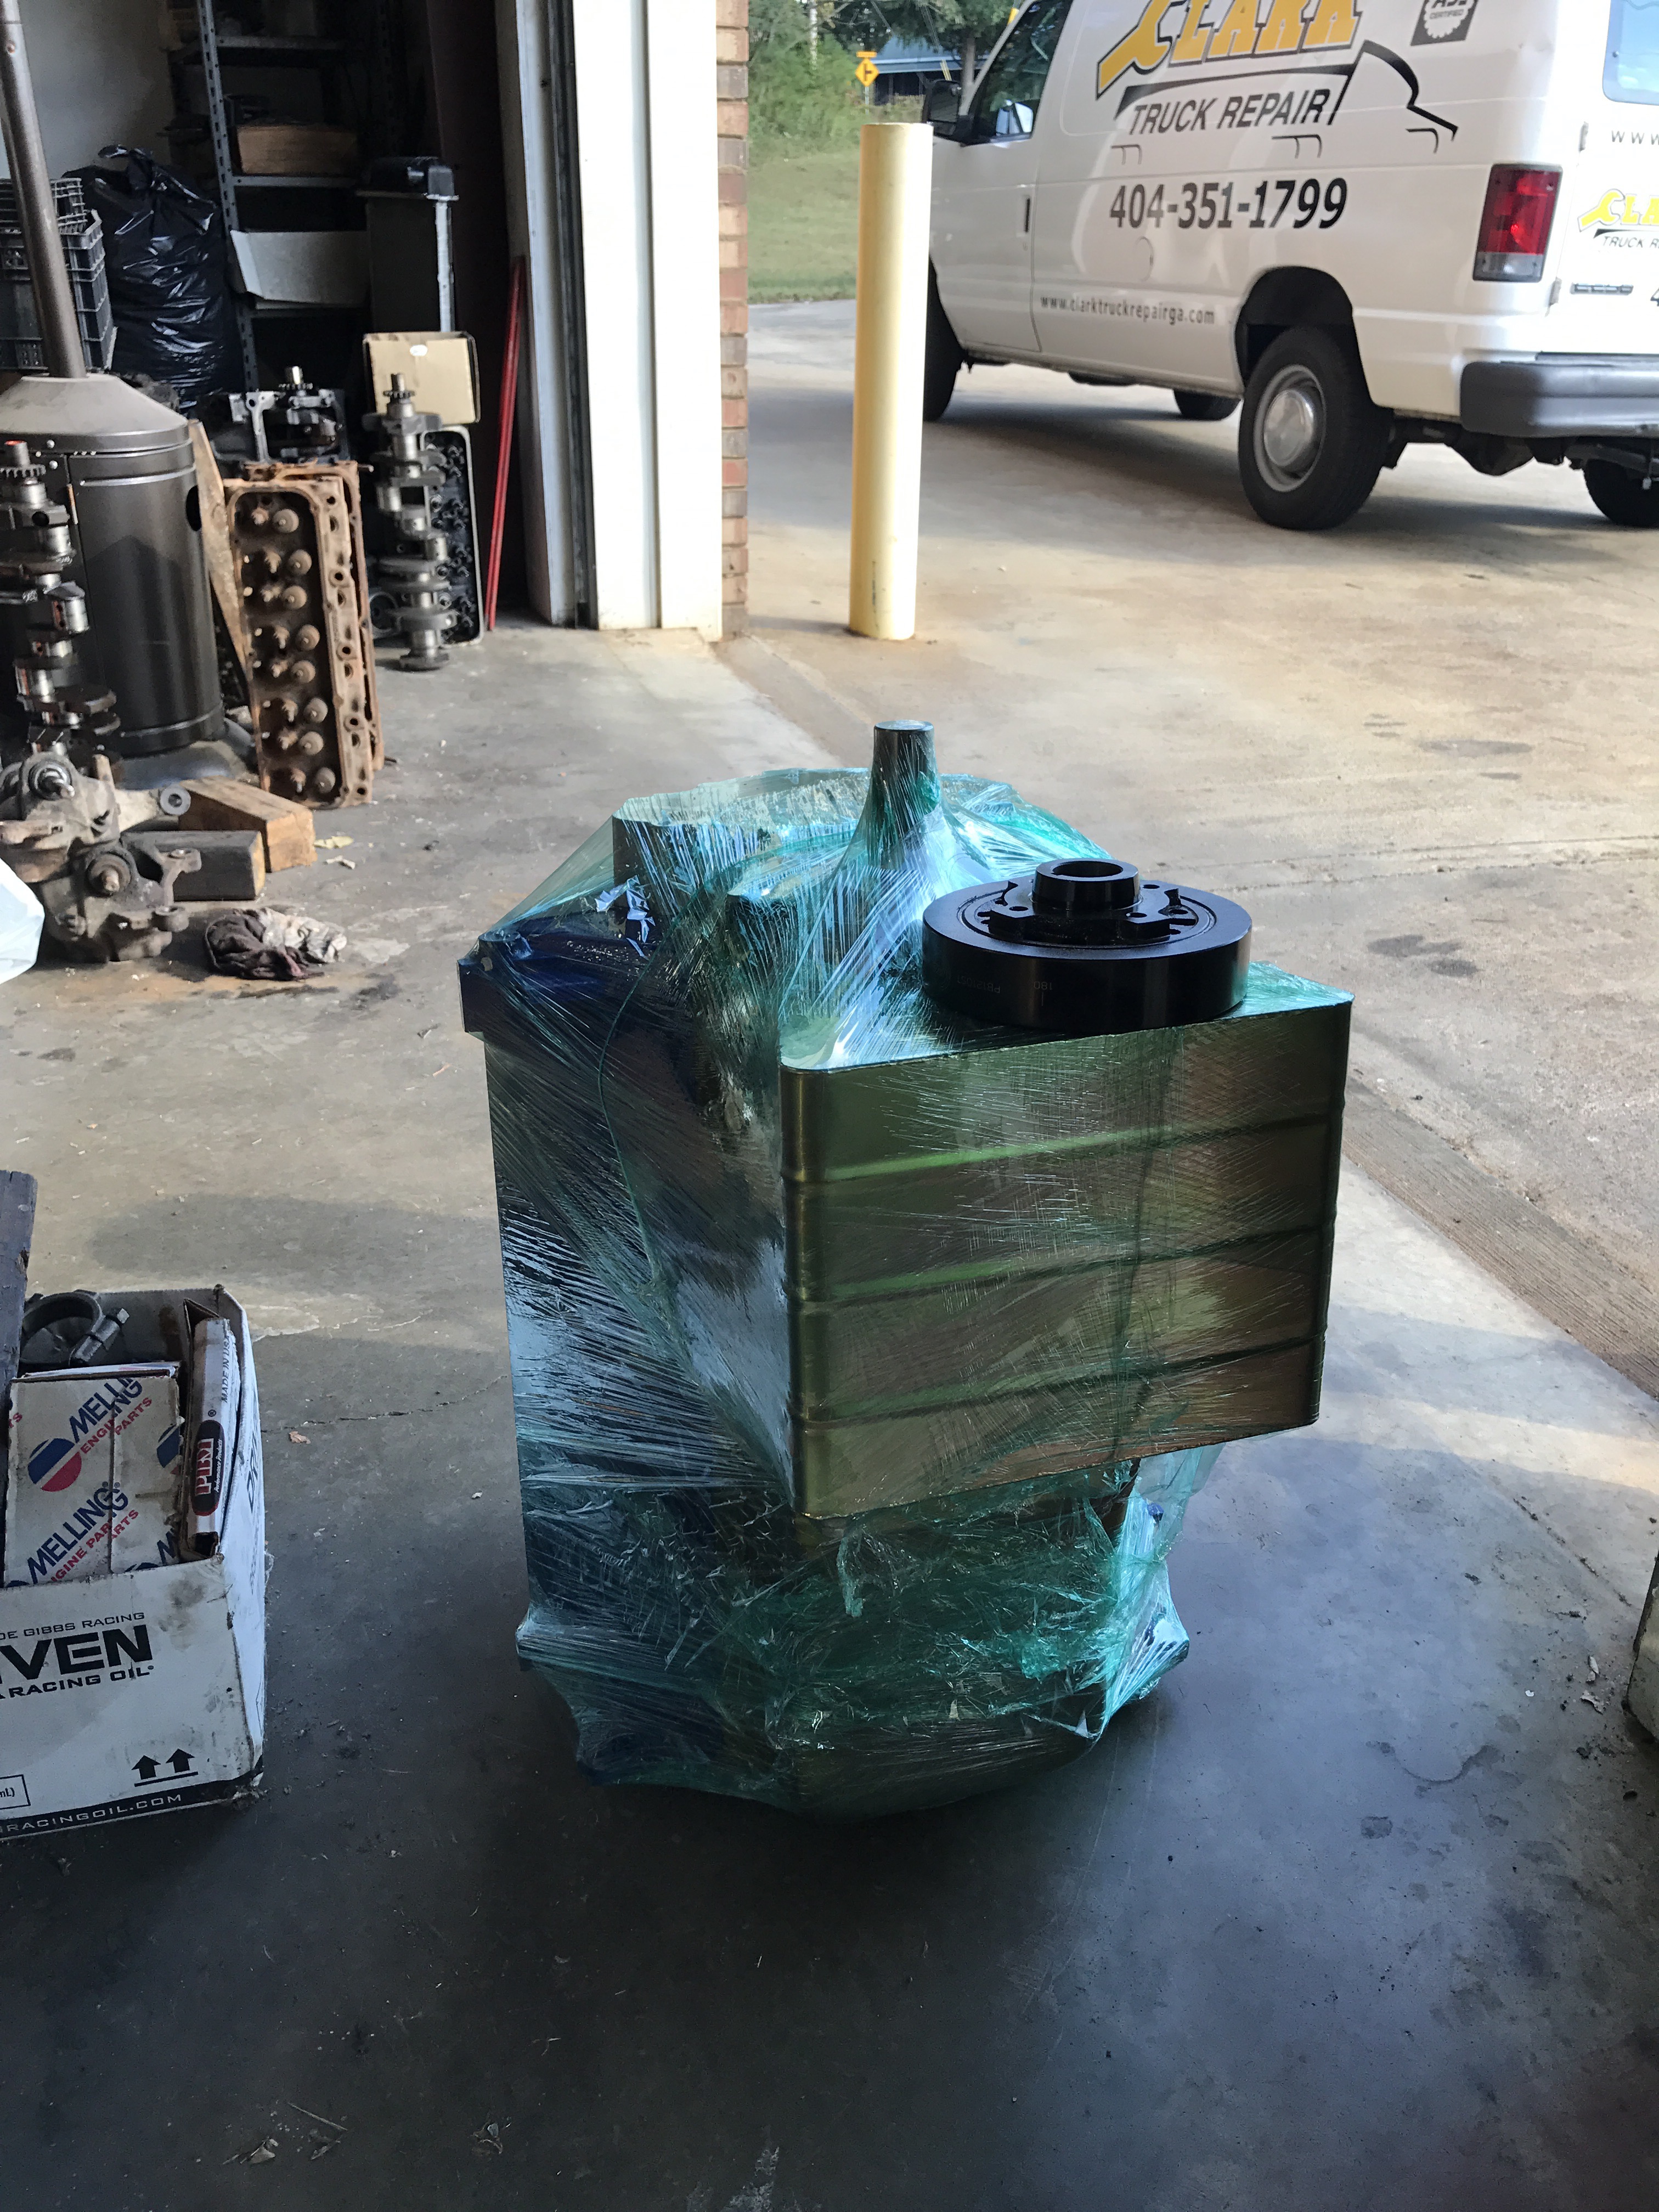
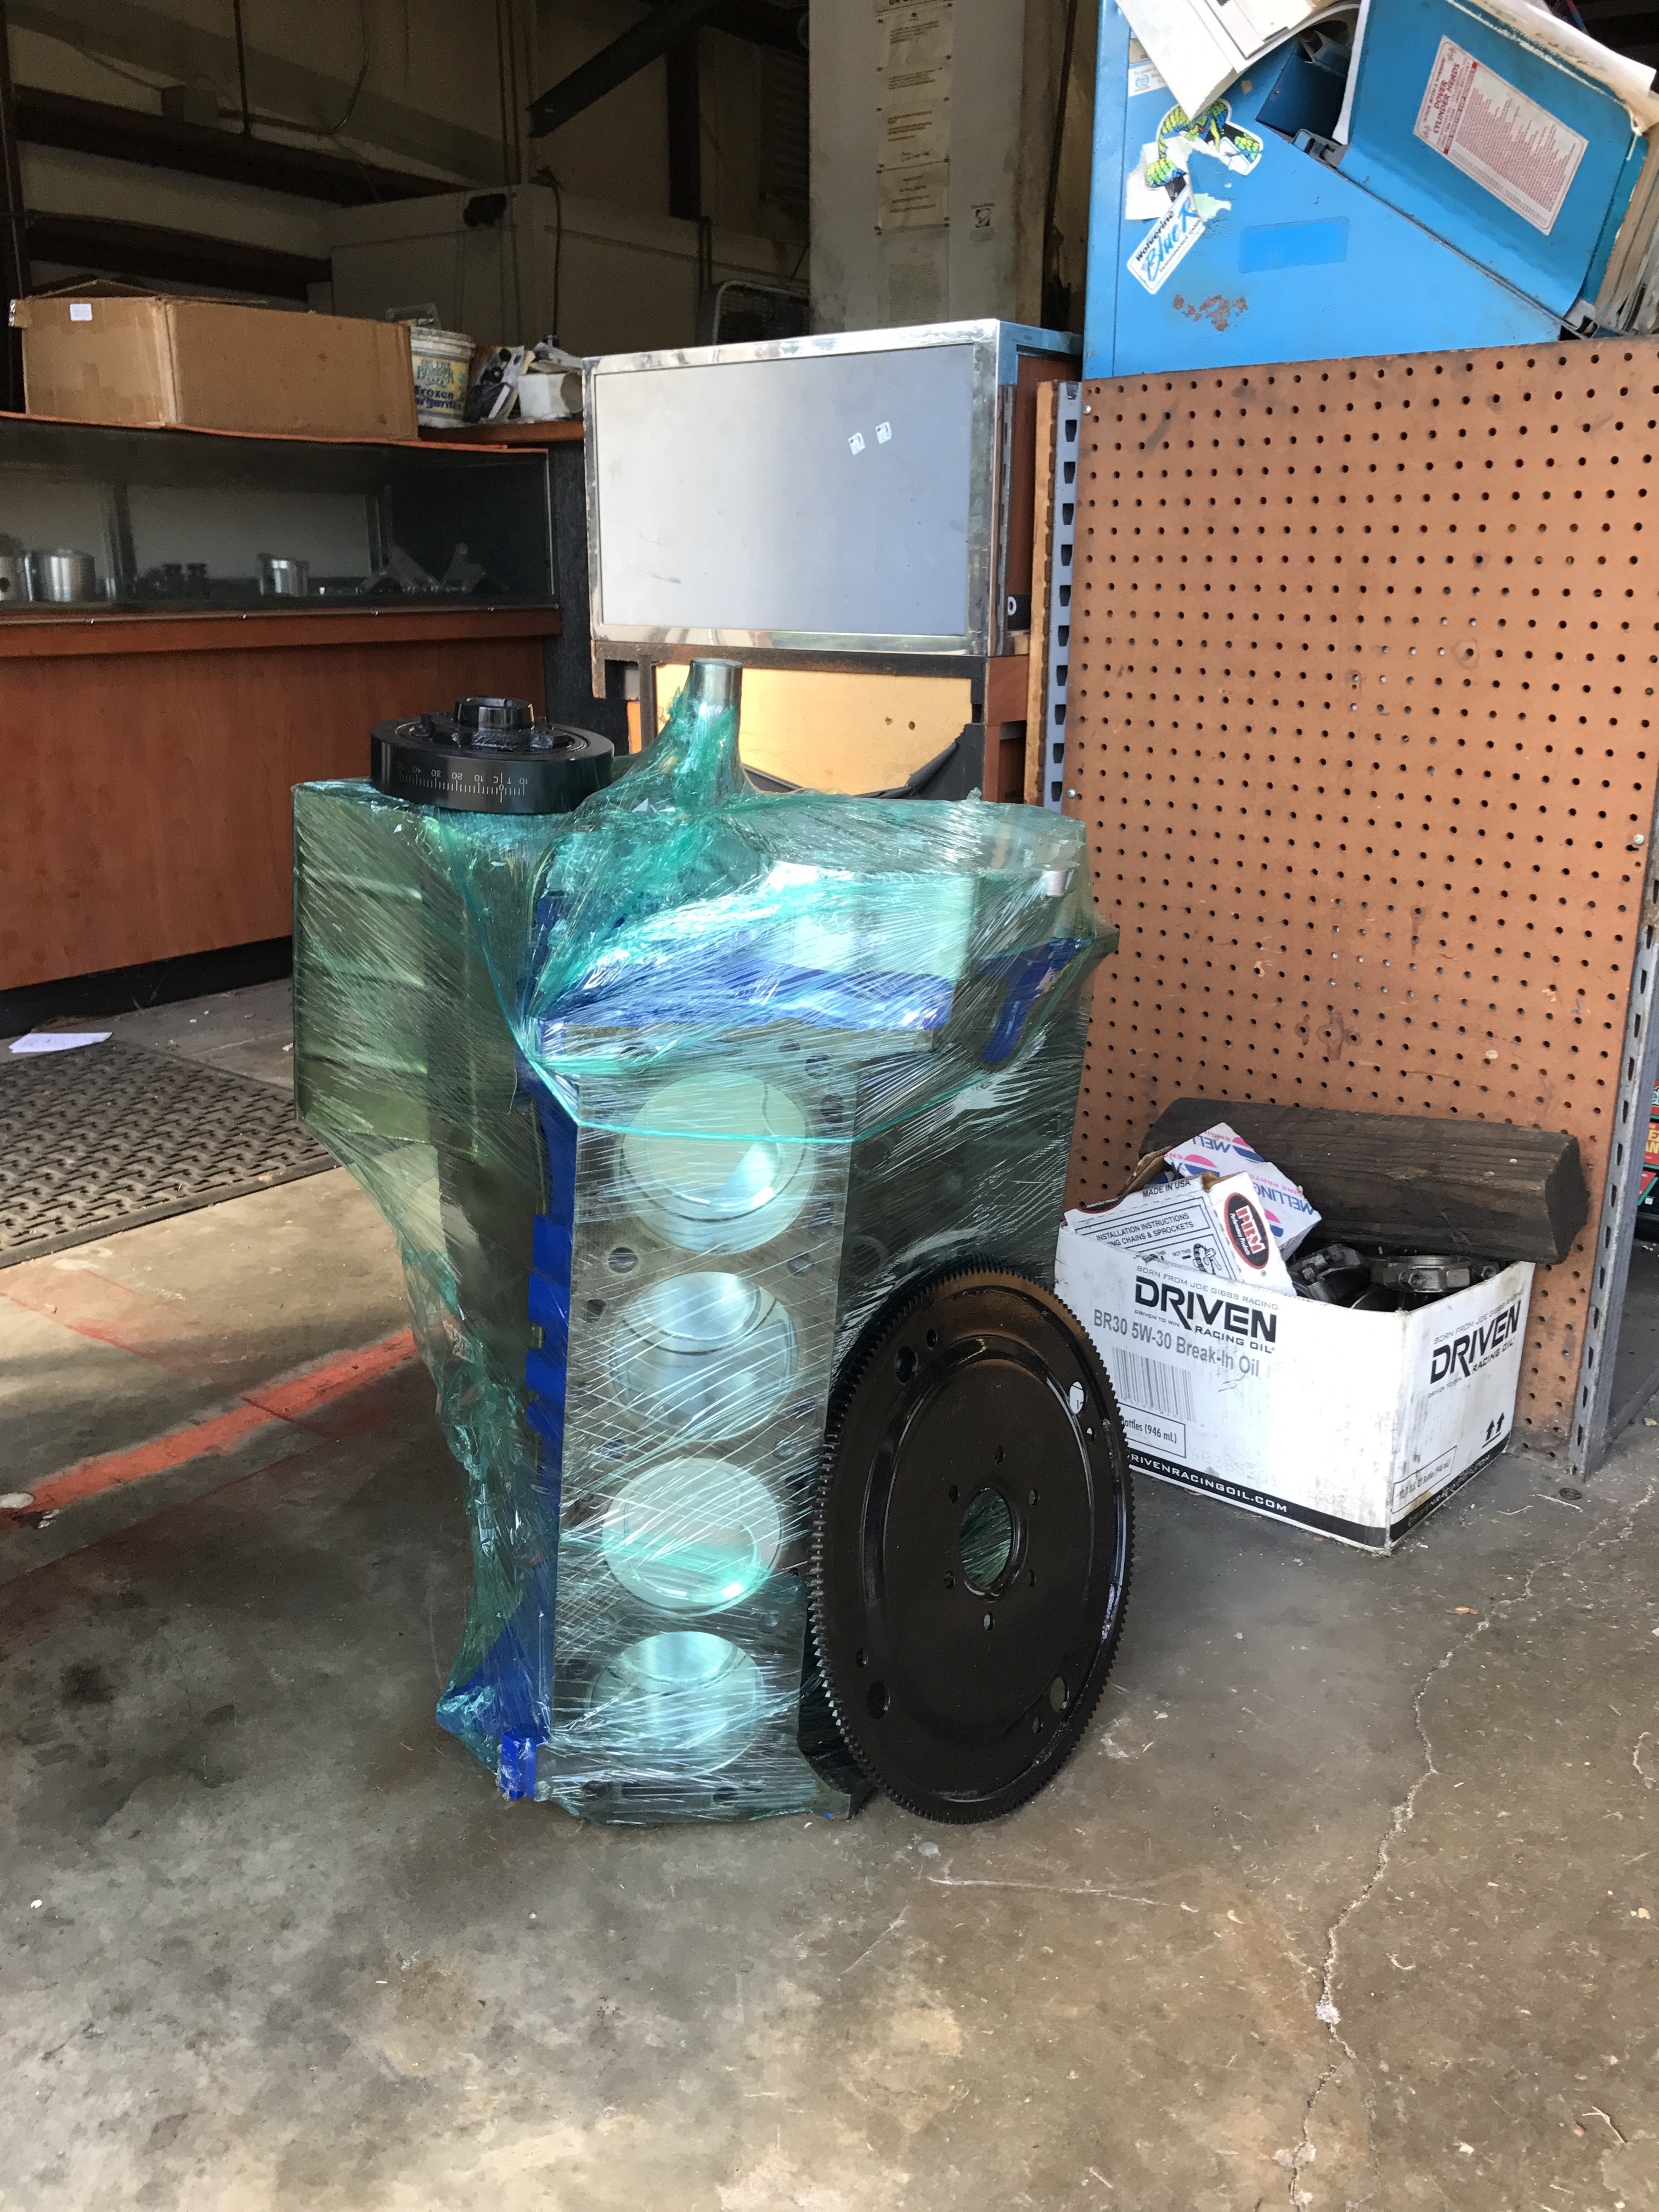 Short block is complete…balanced & assembled
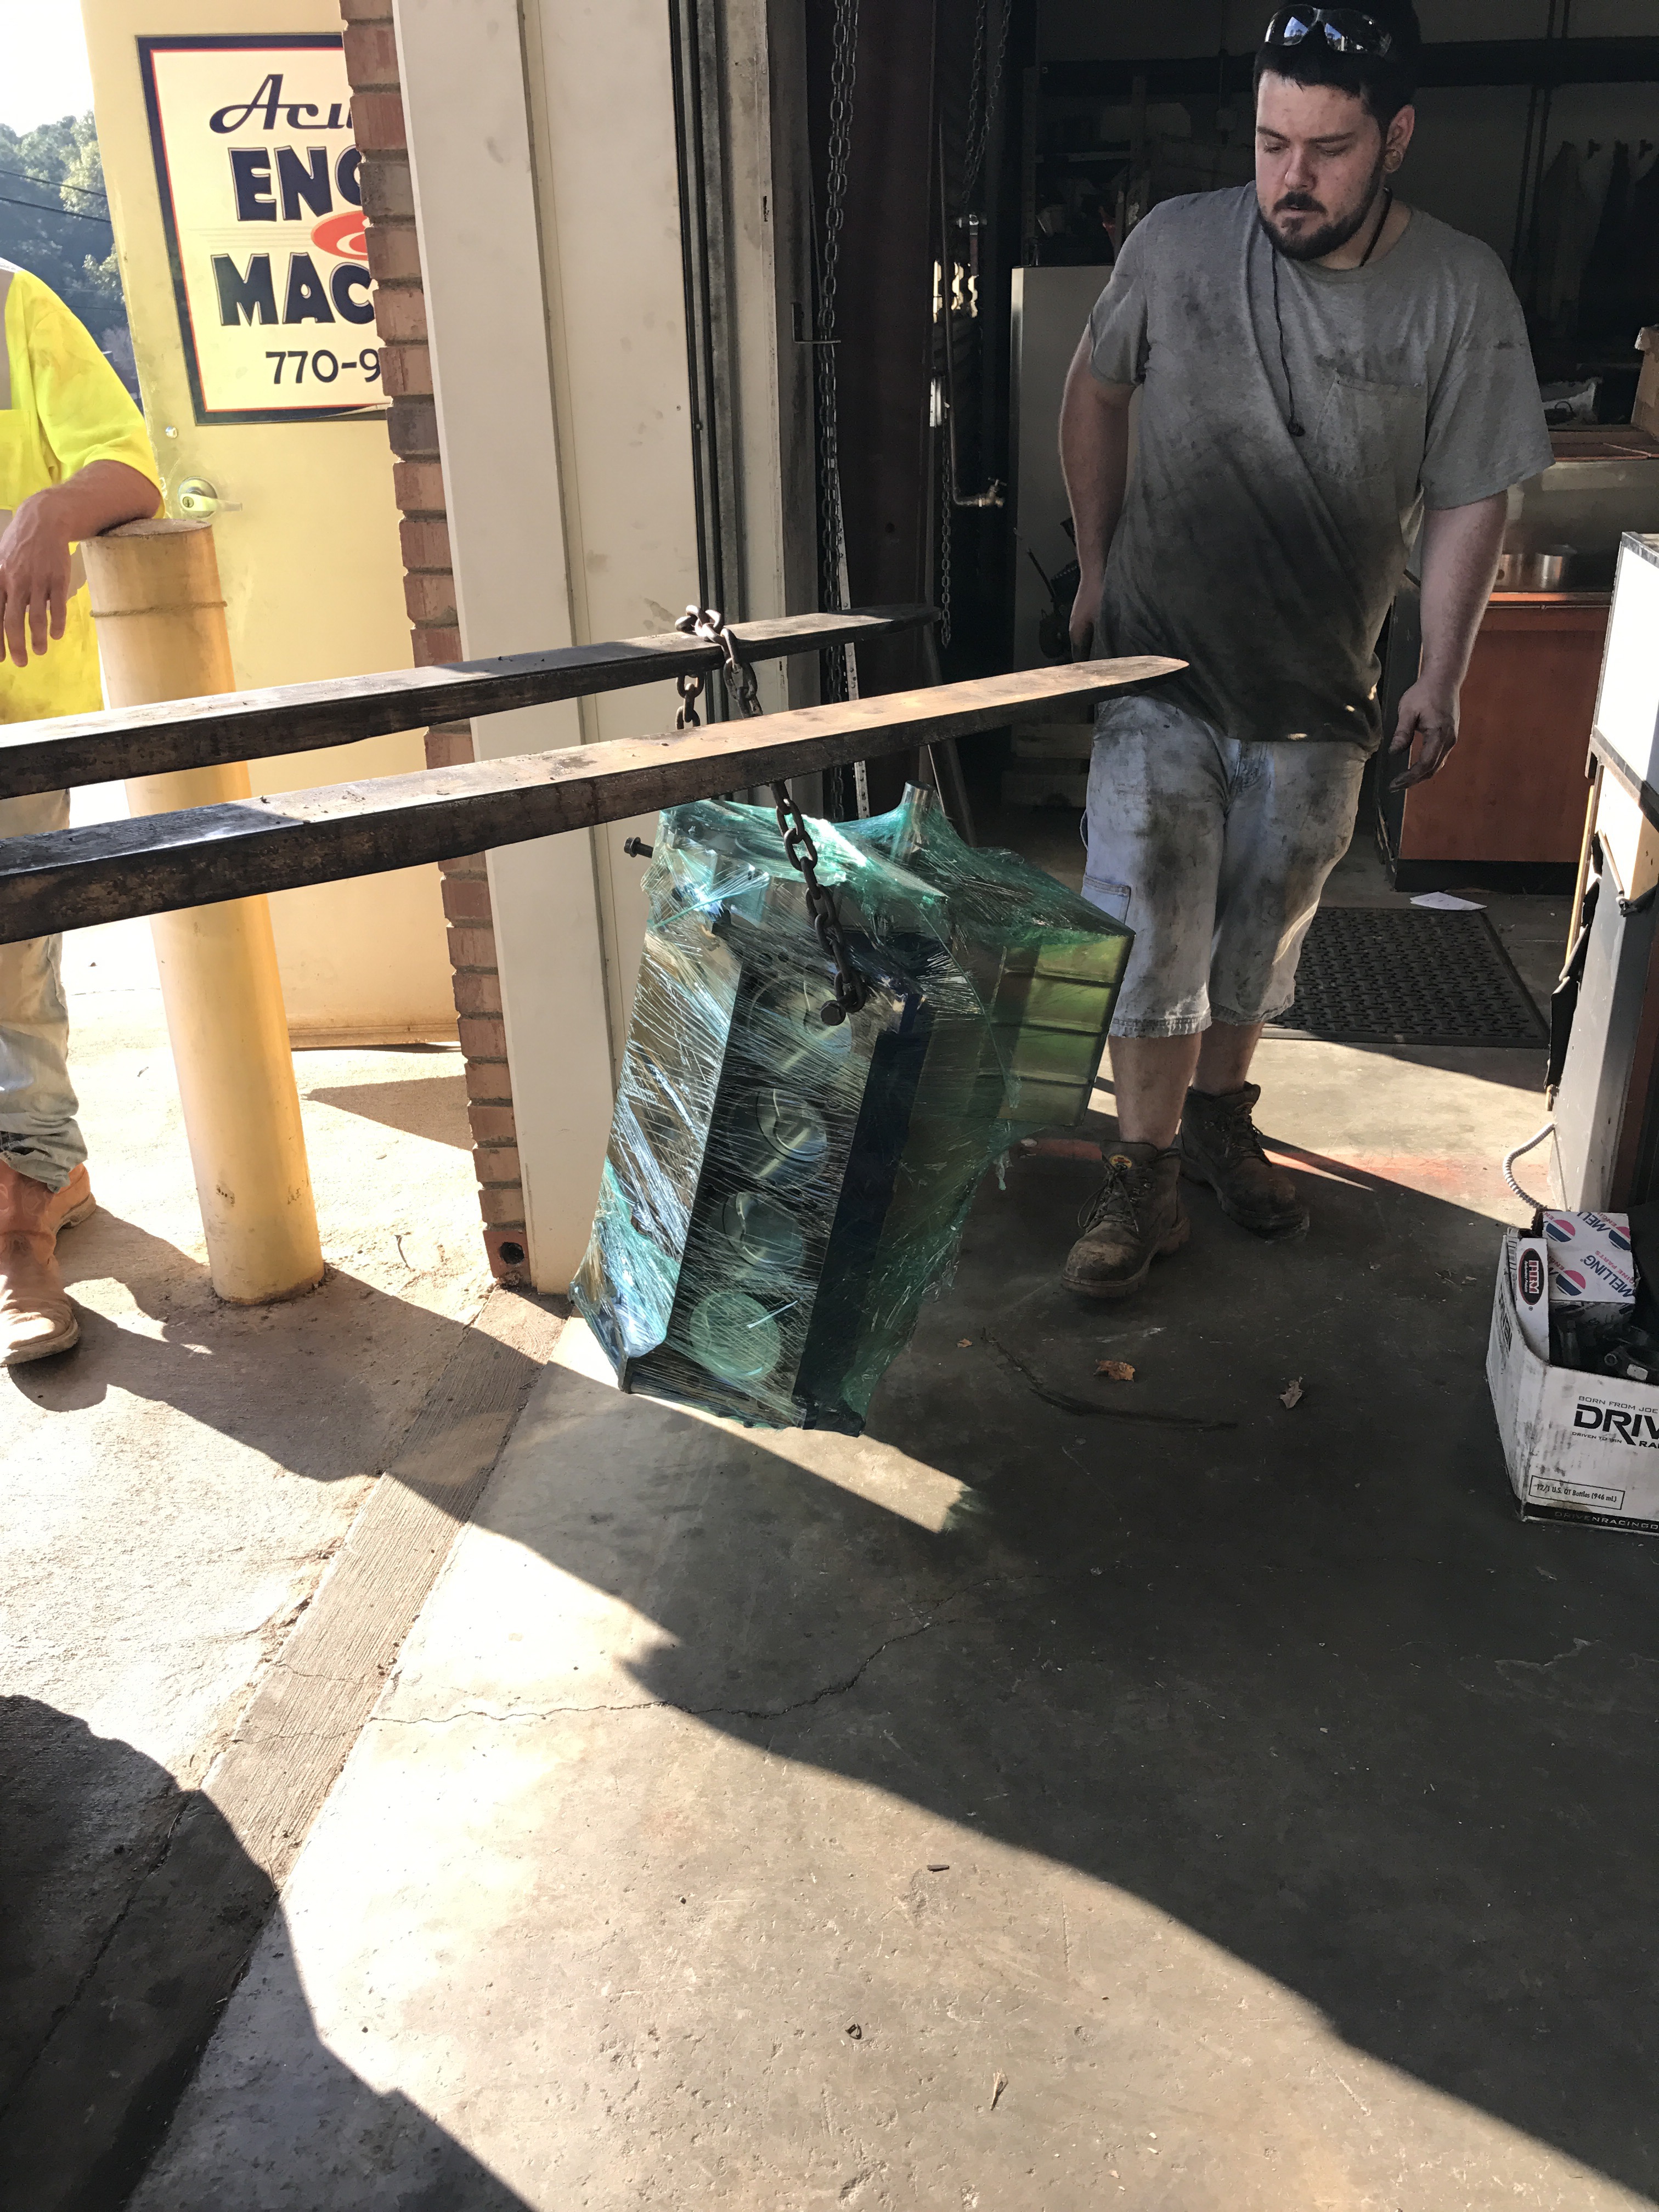
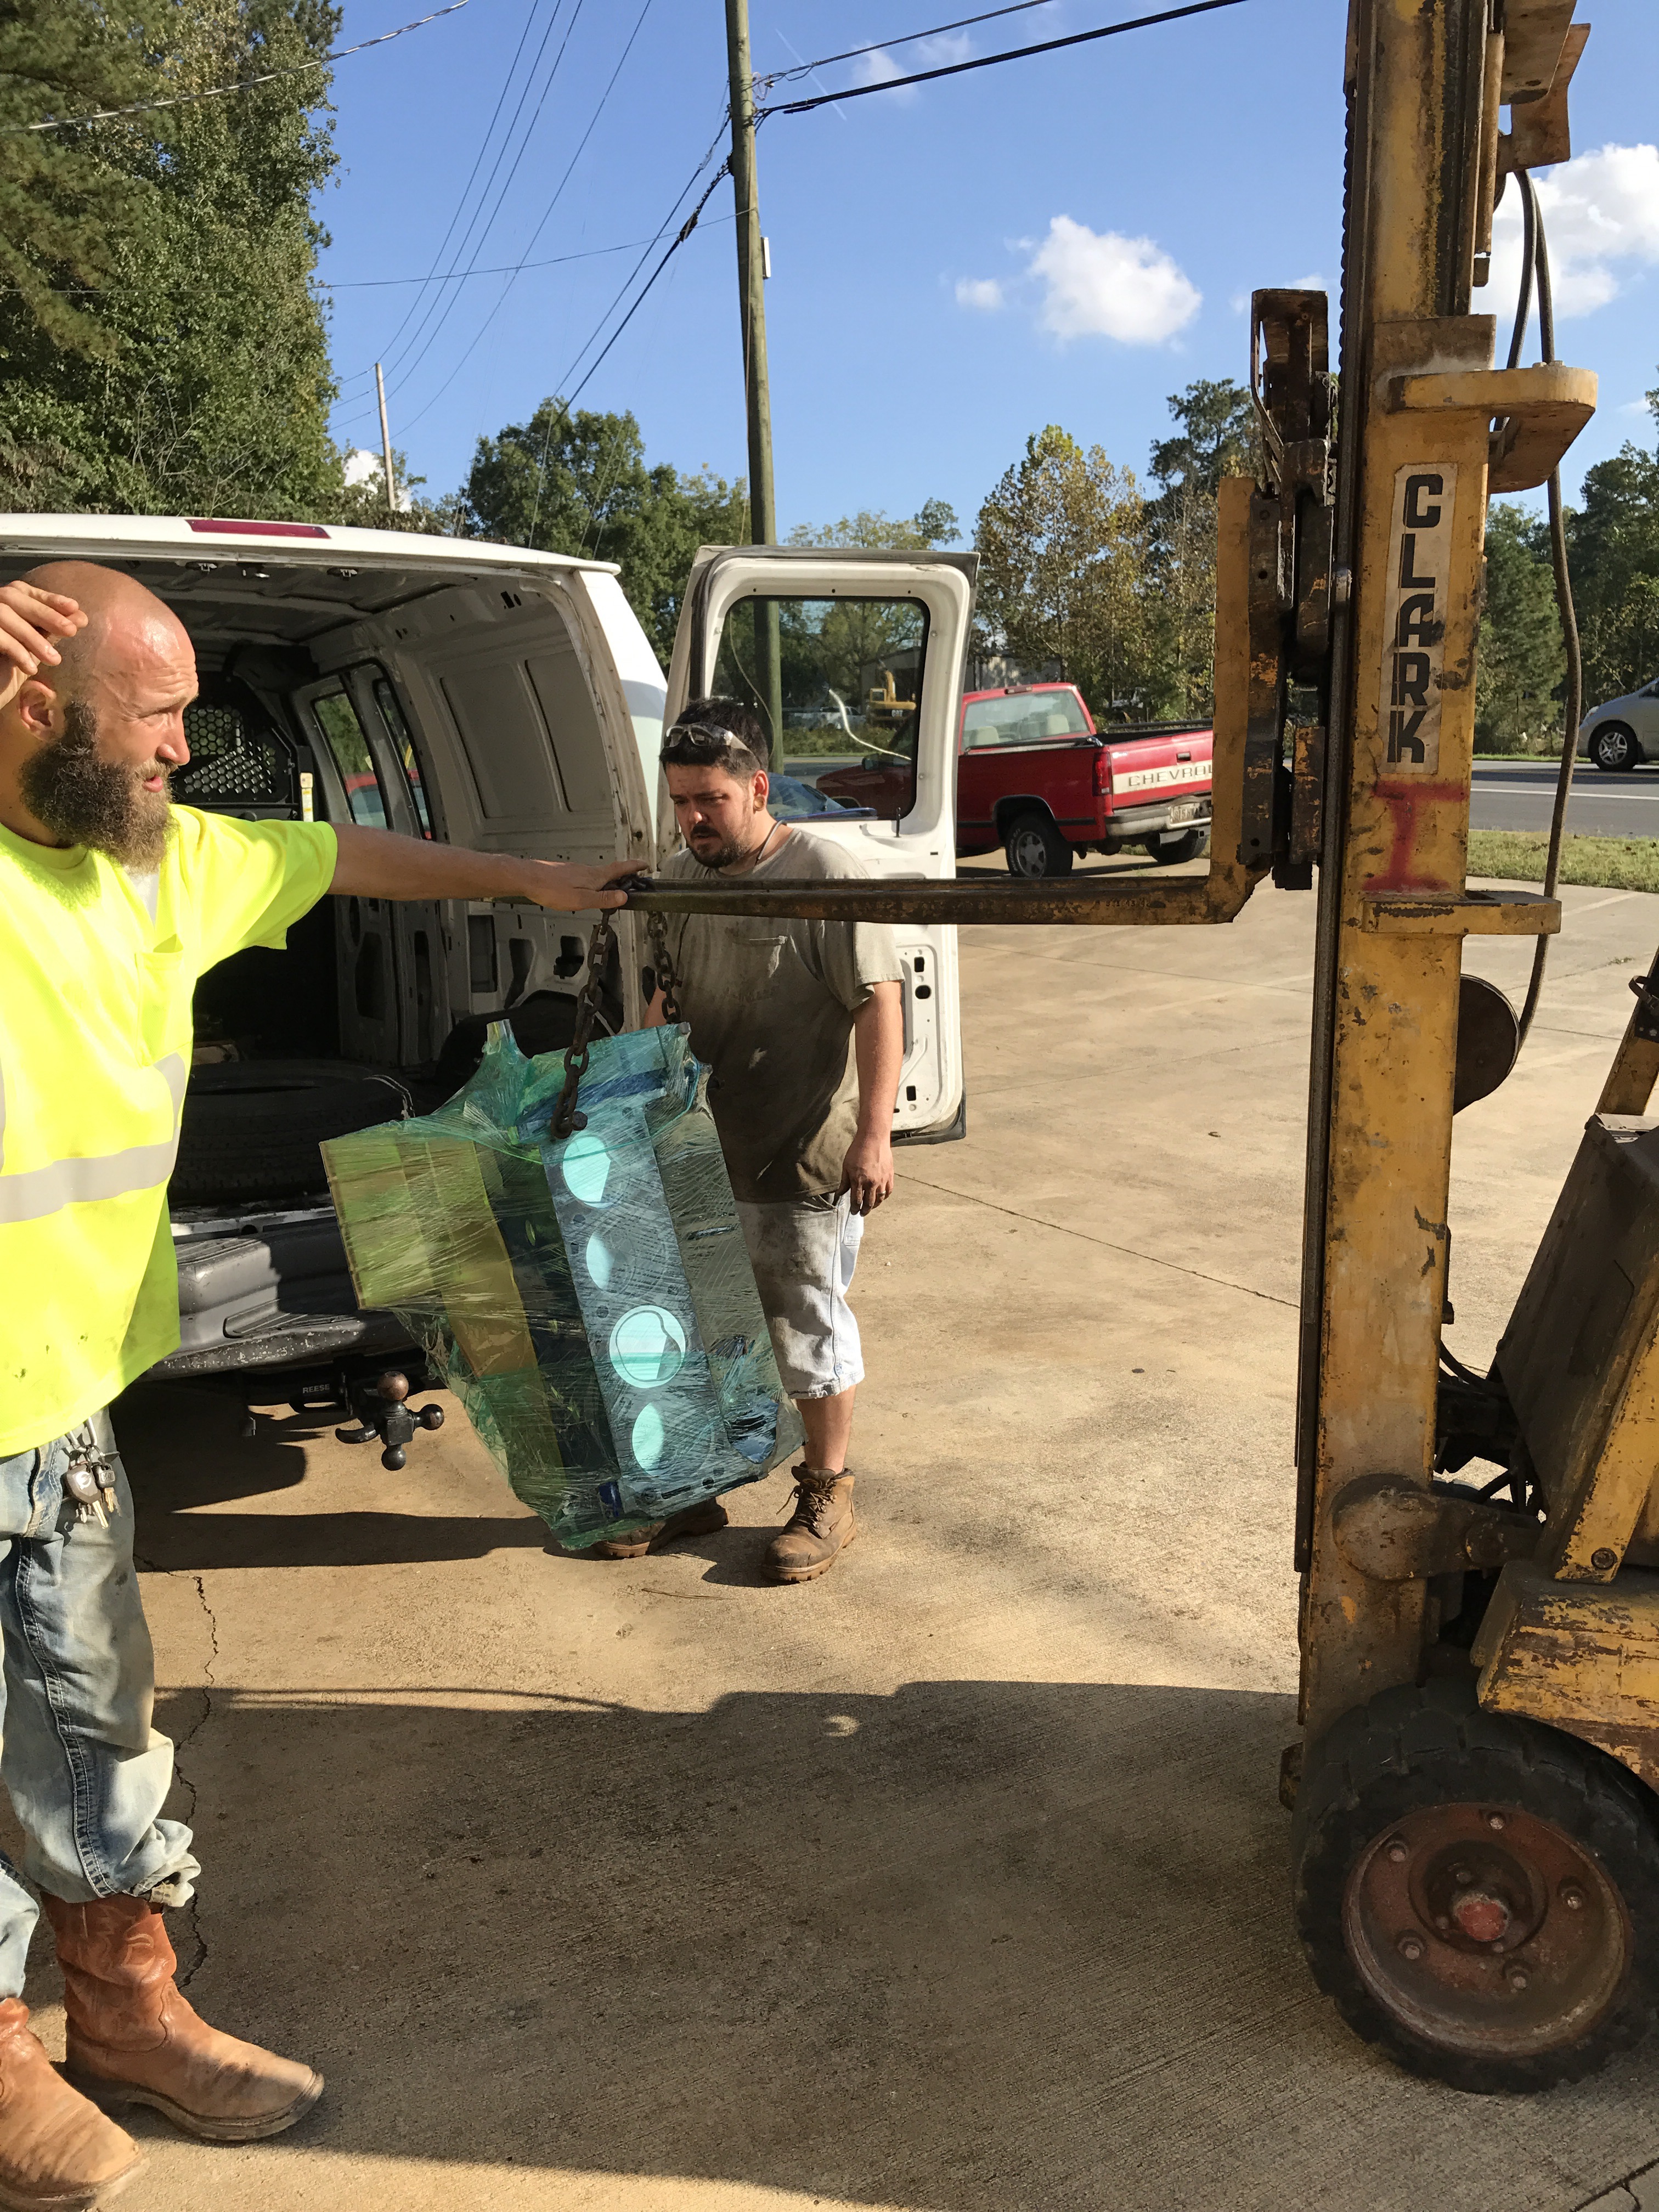 Loading
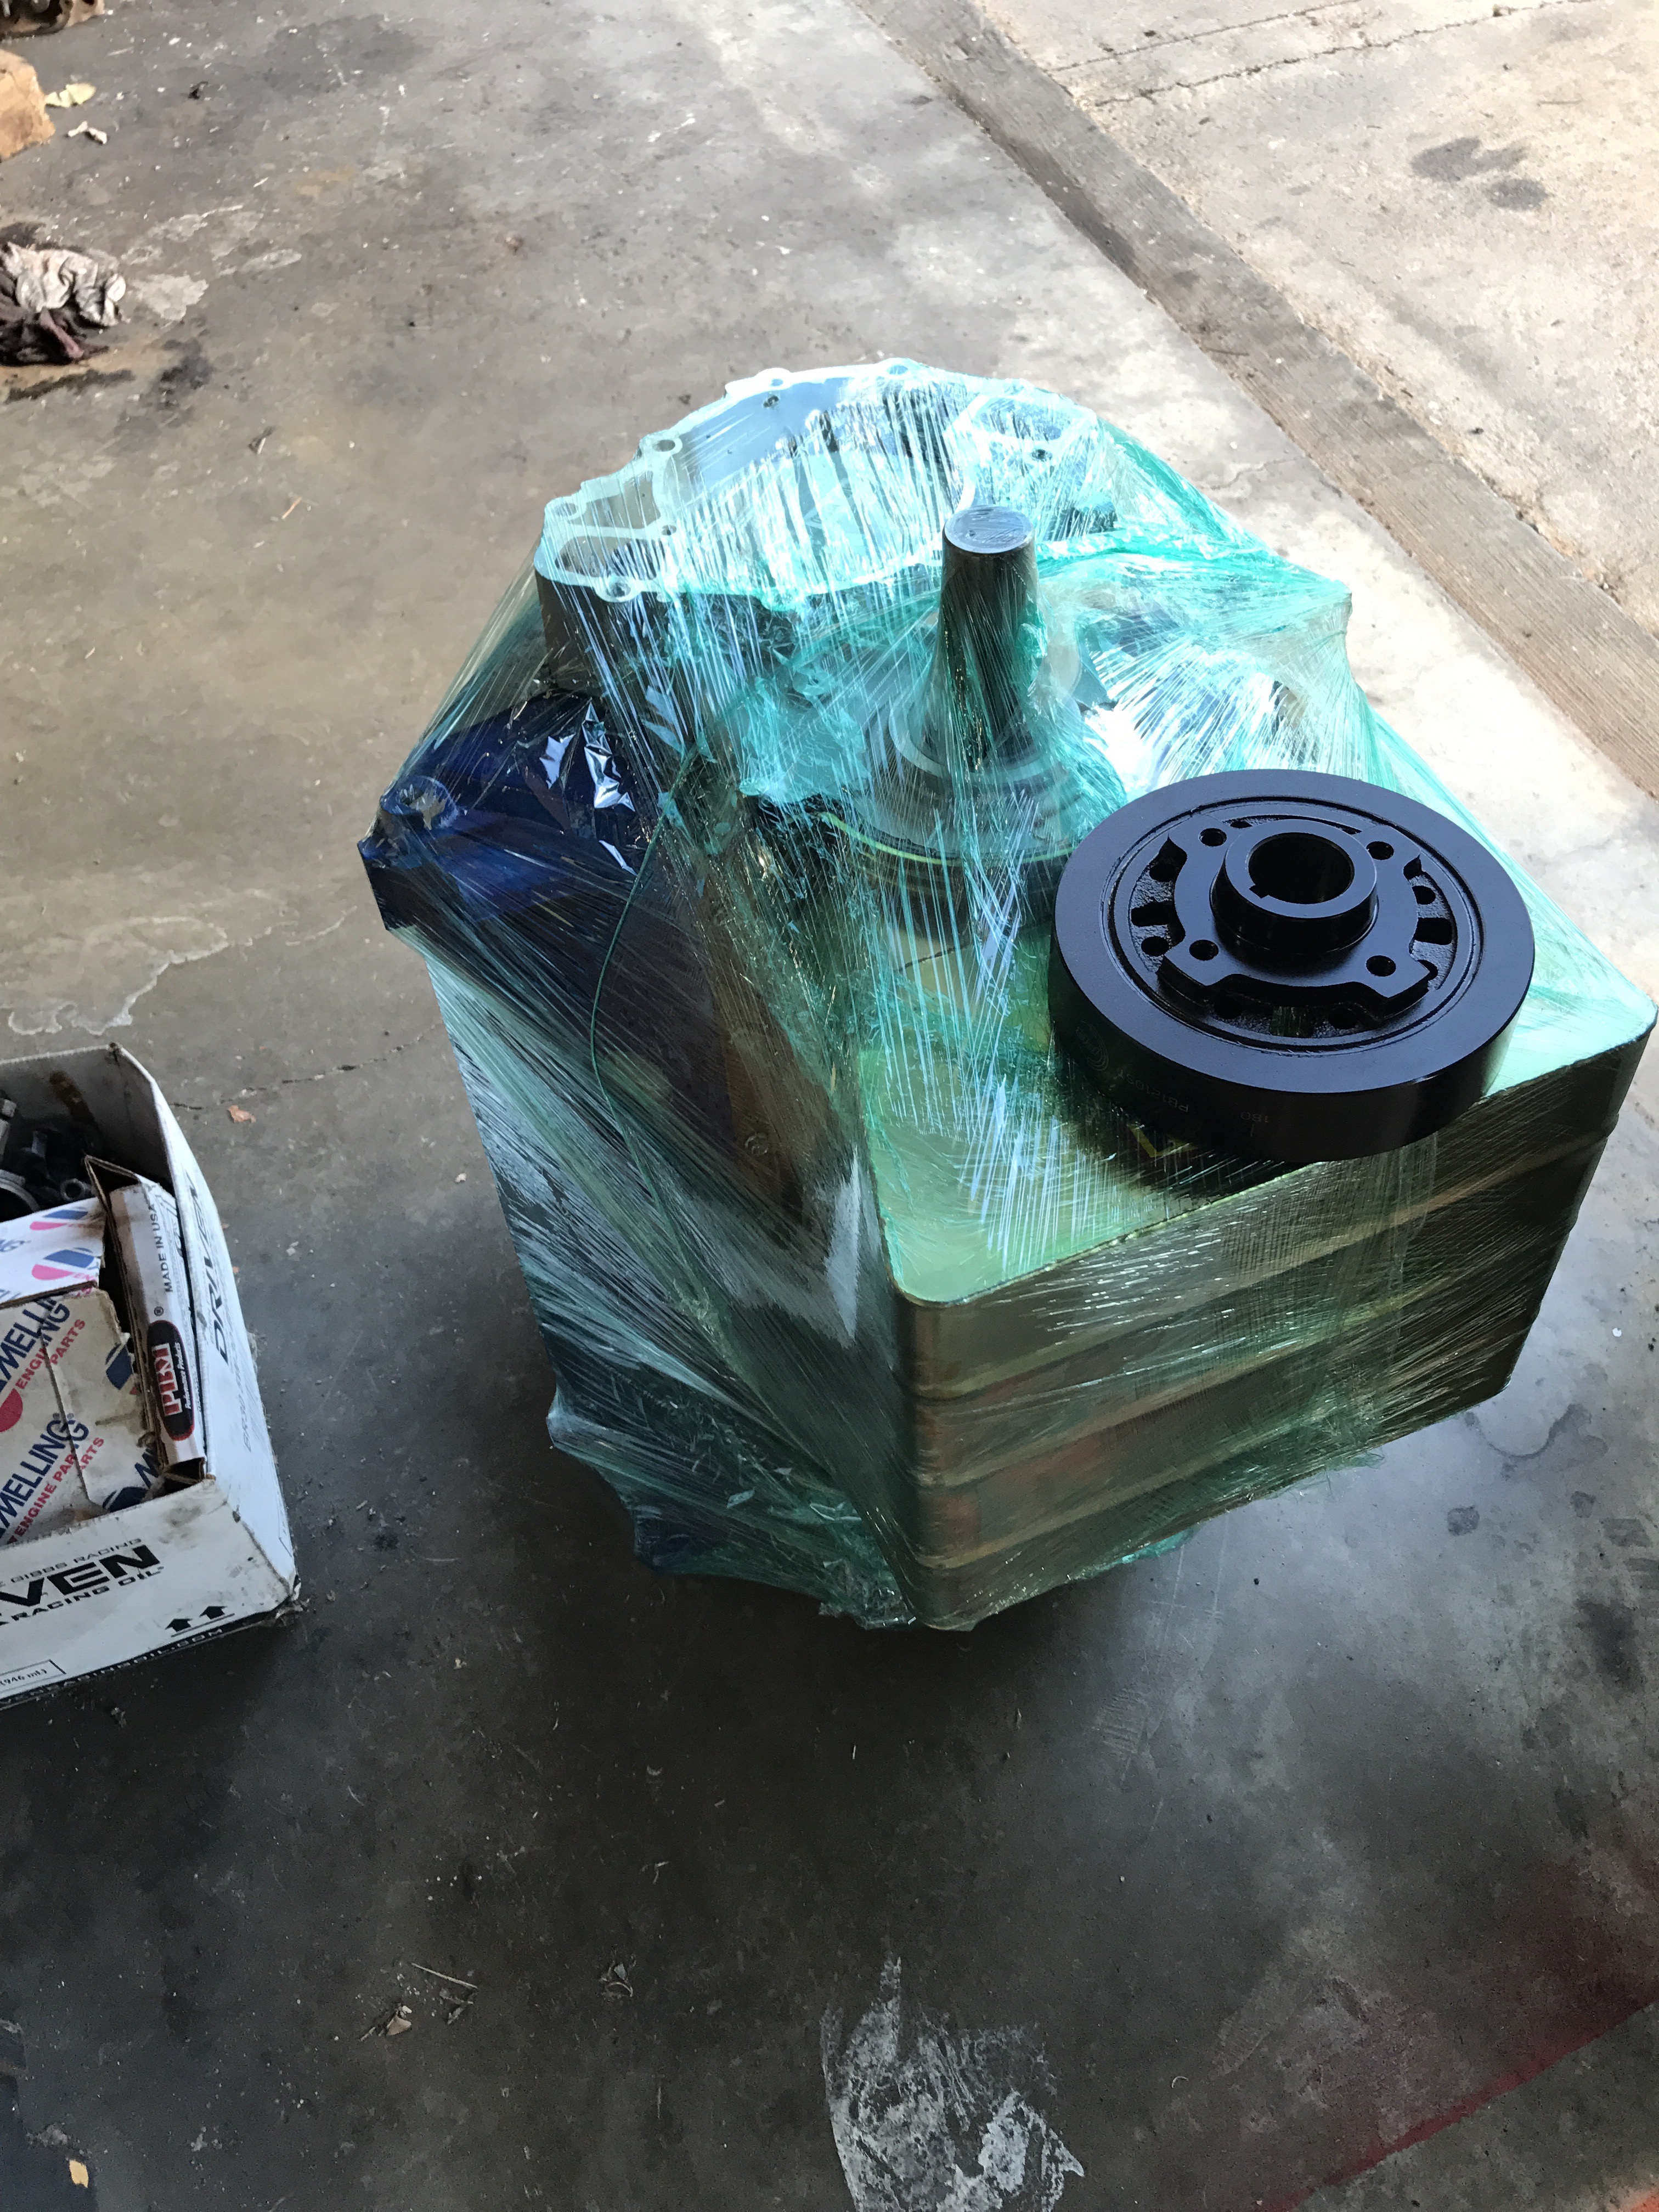
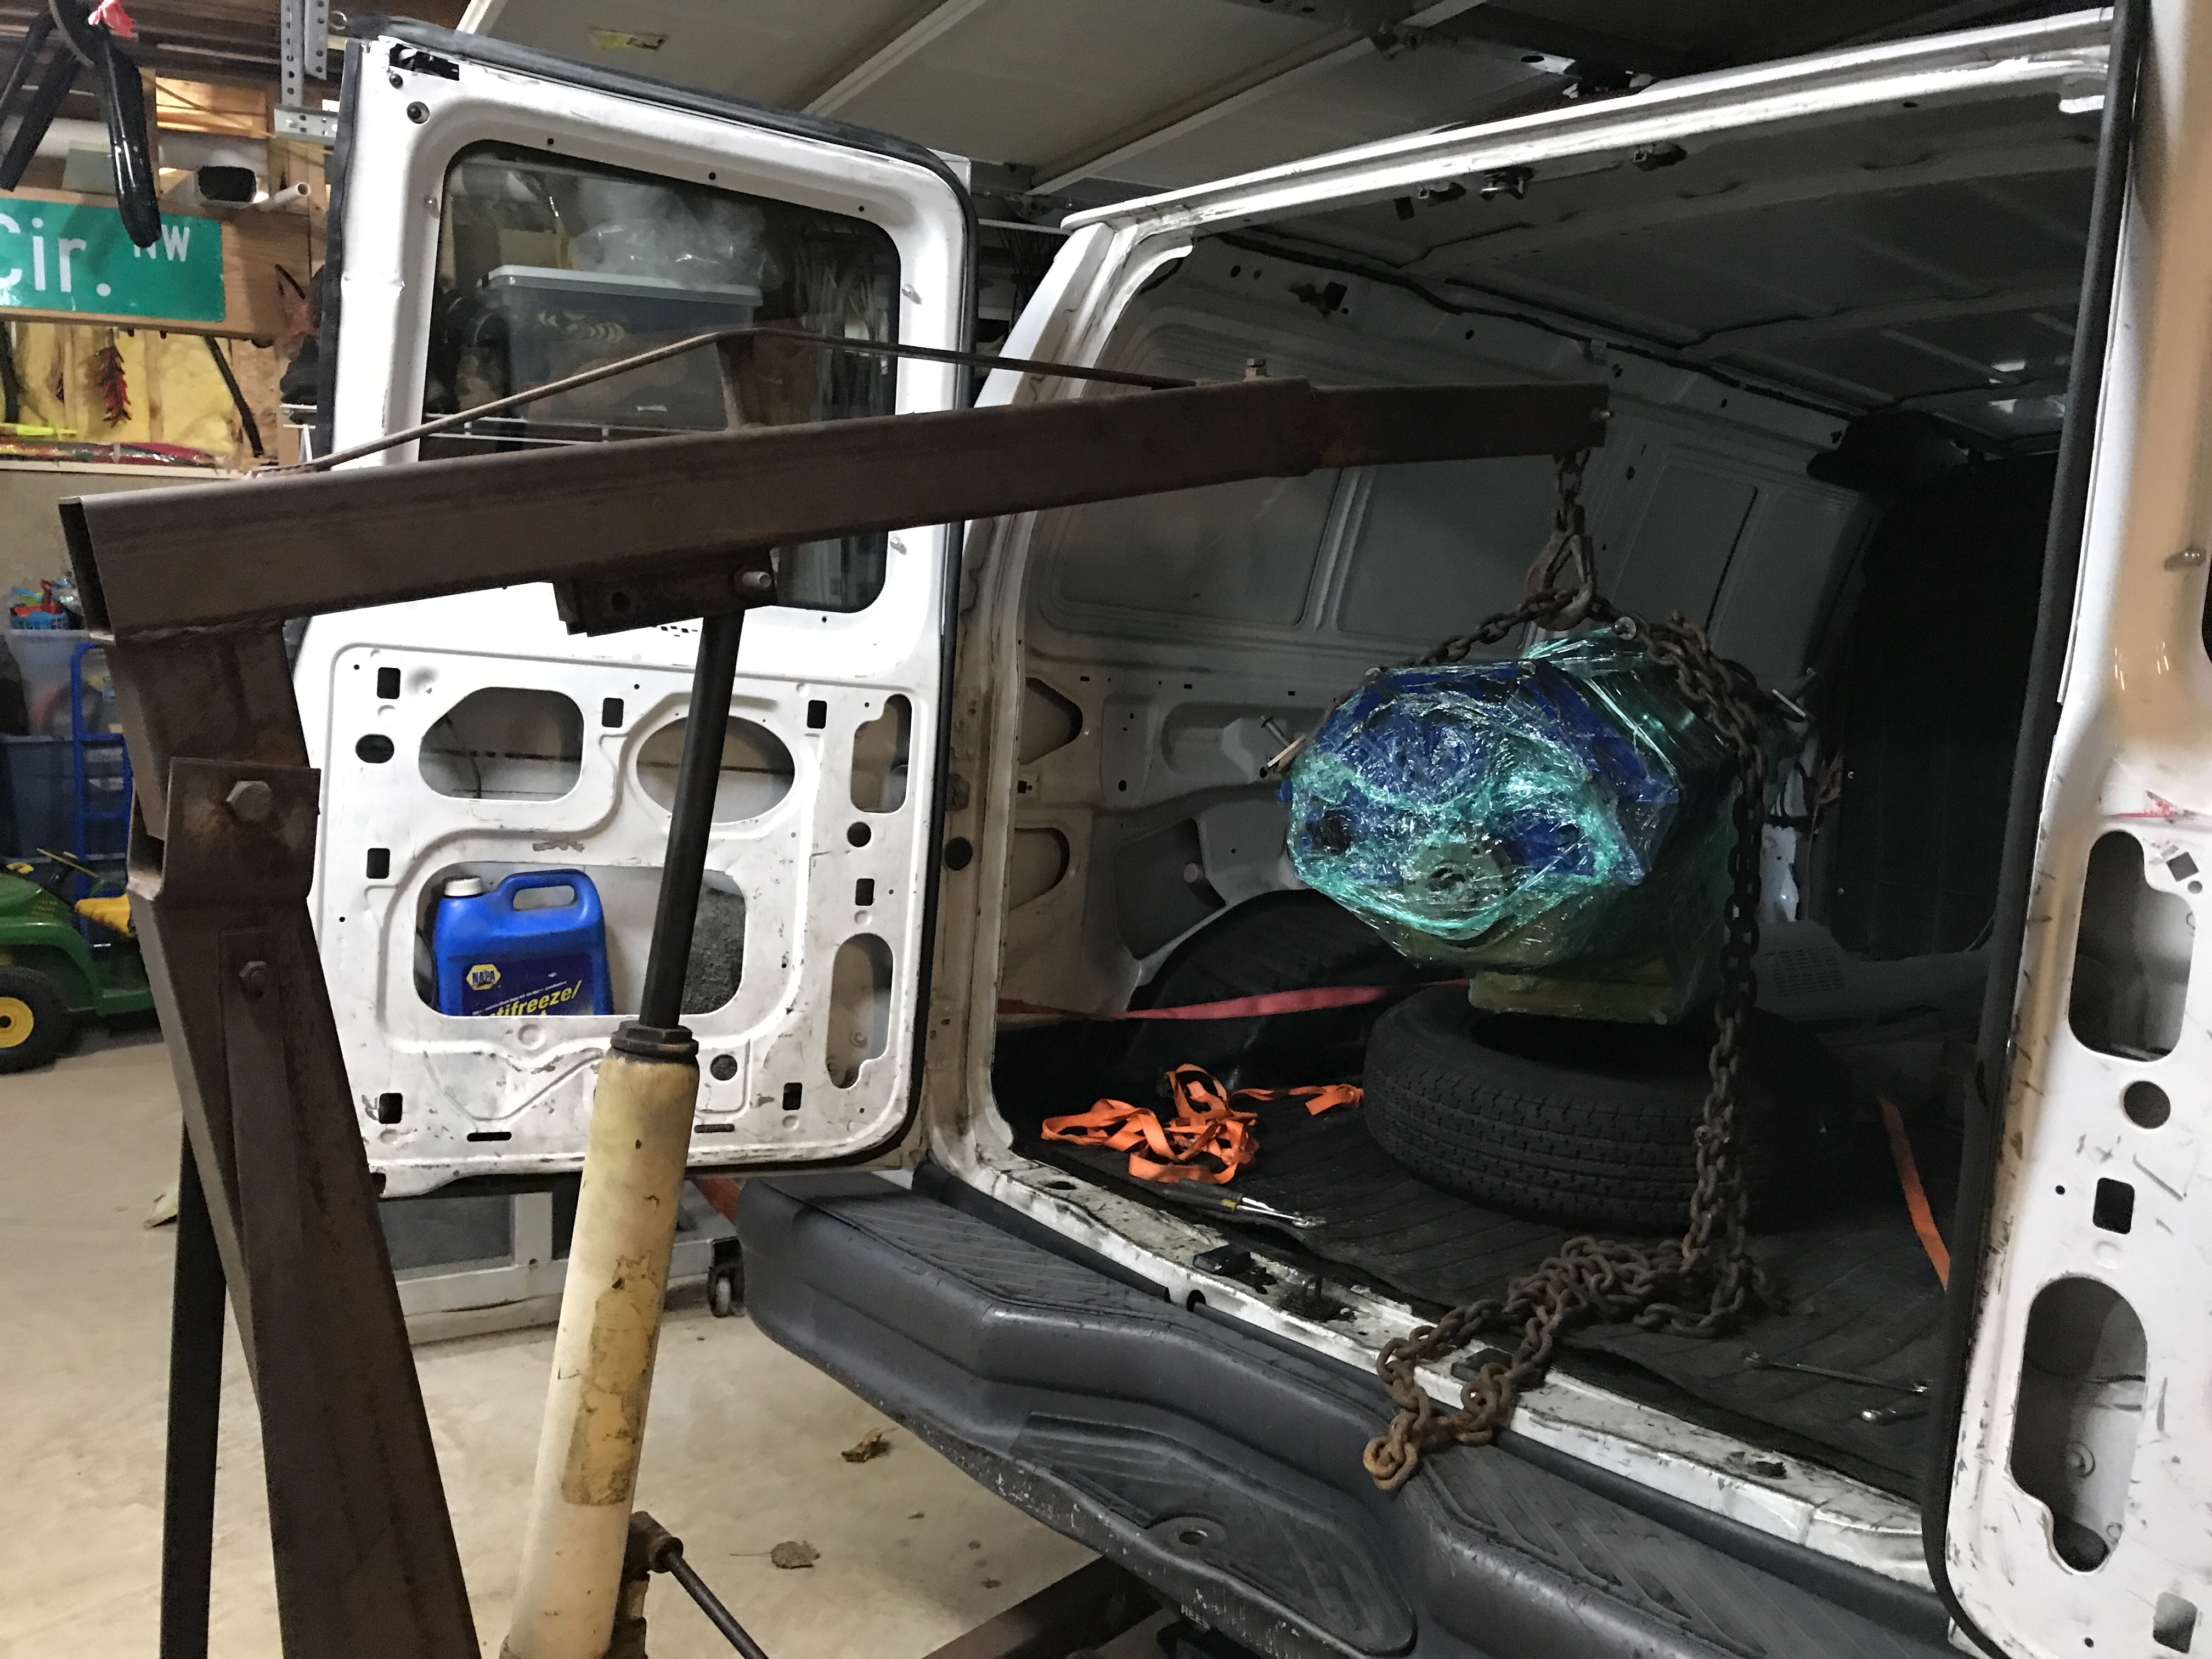 Unloading at home
 Unwrapped

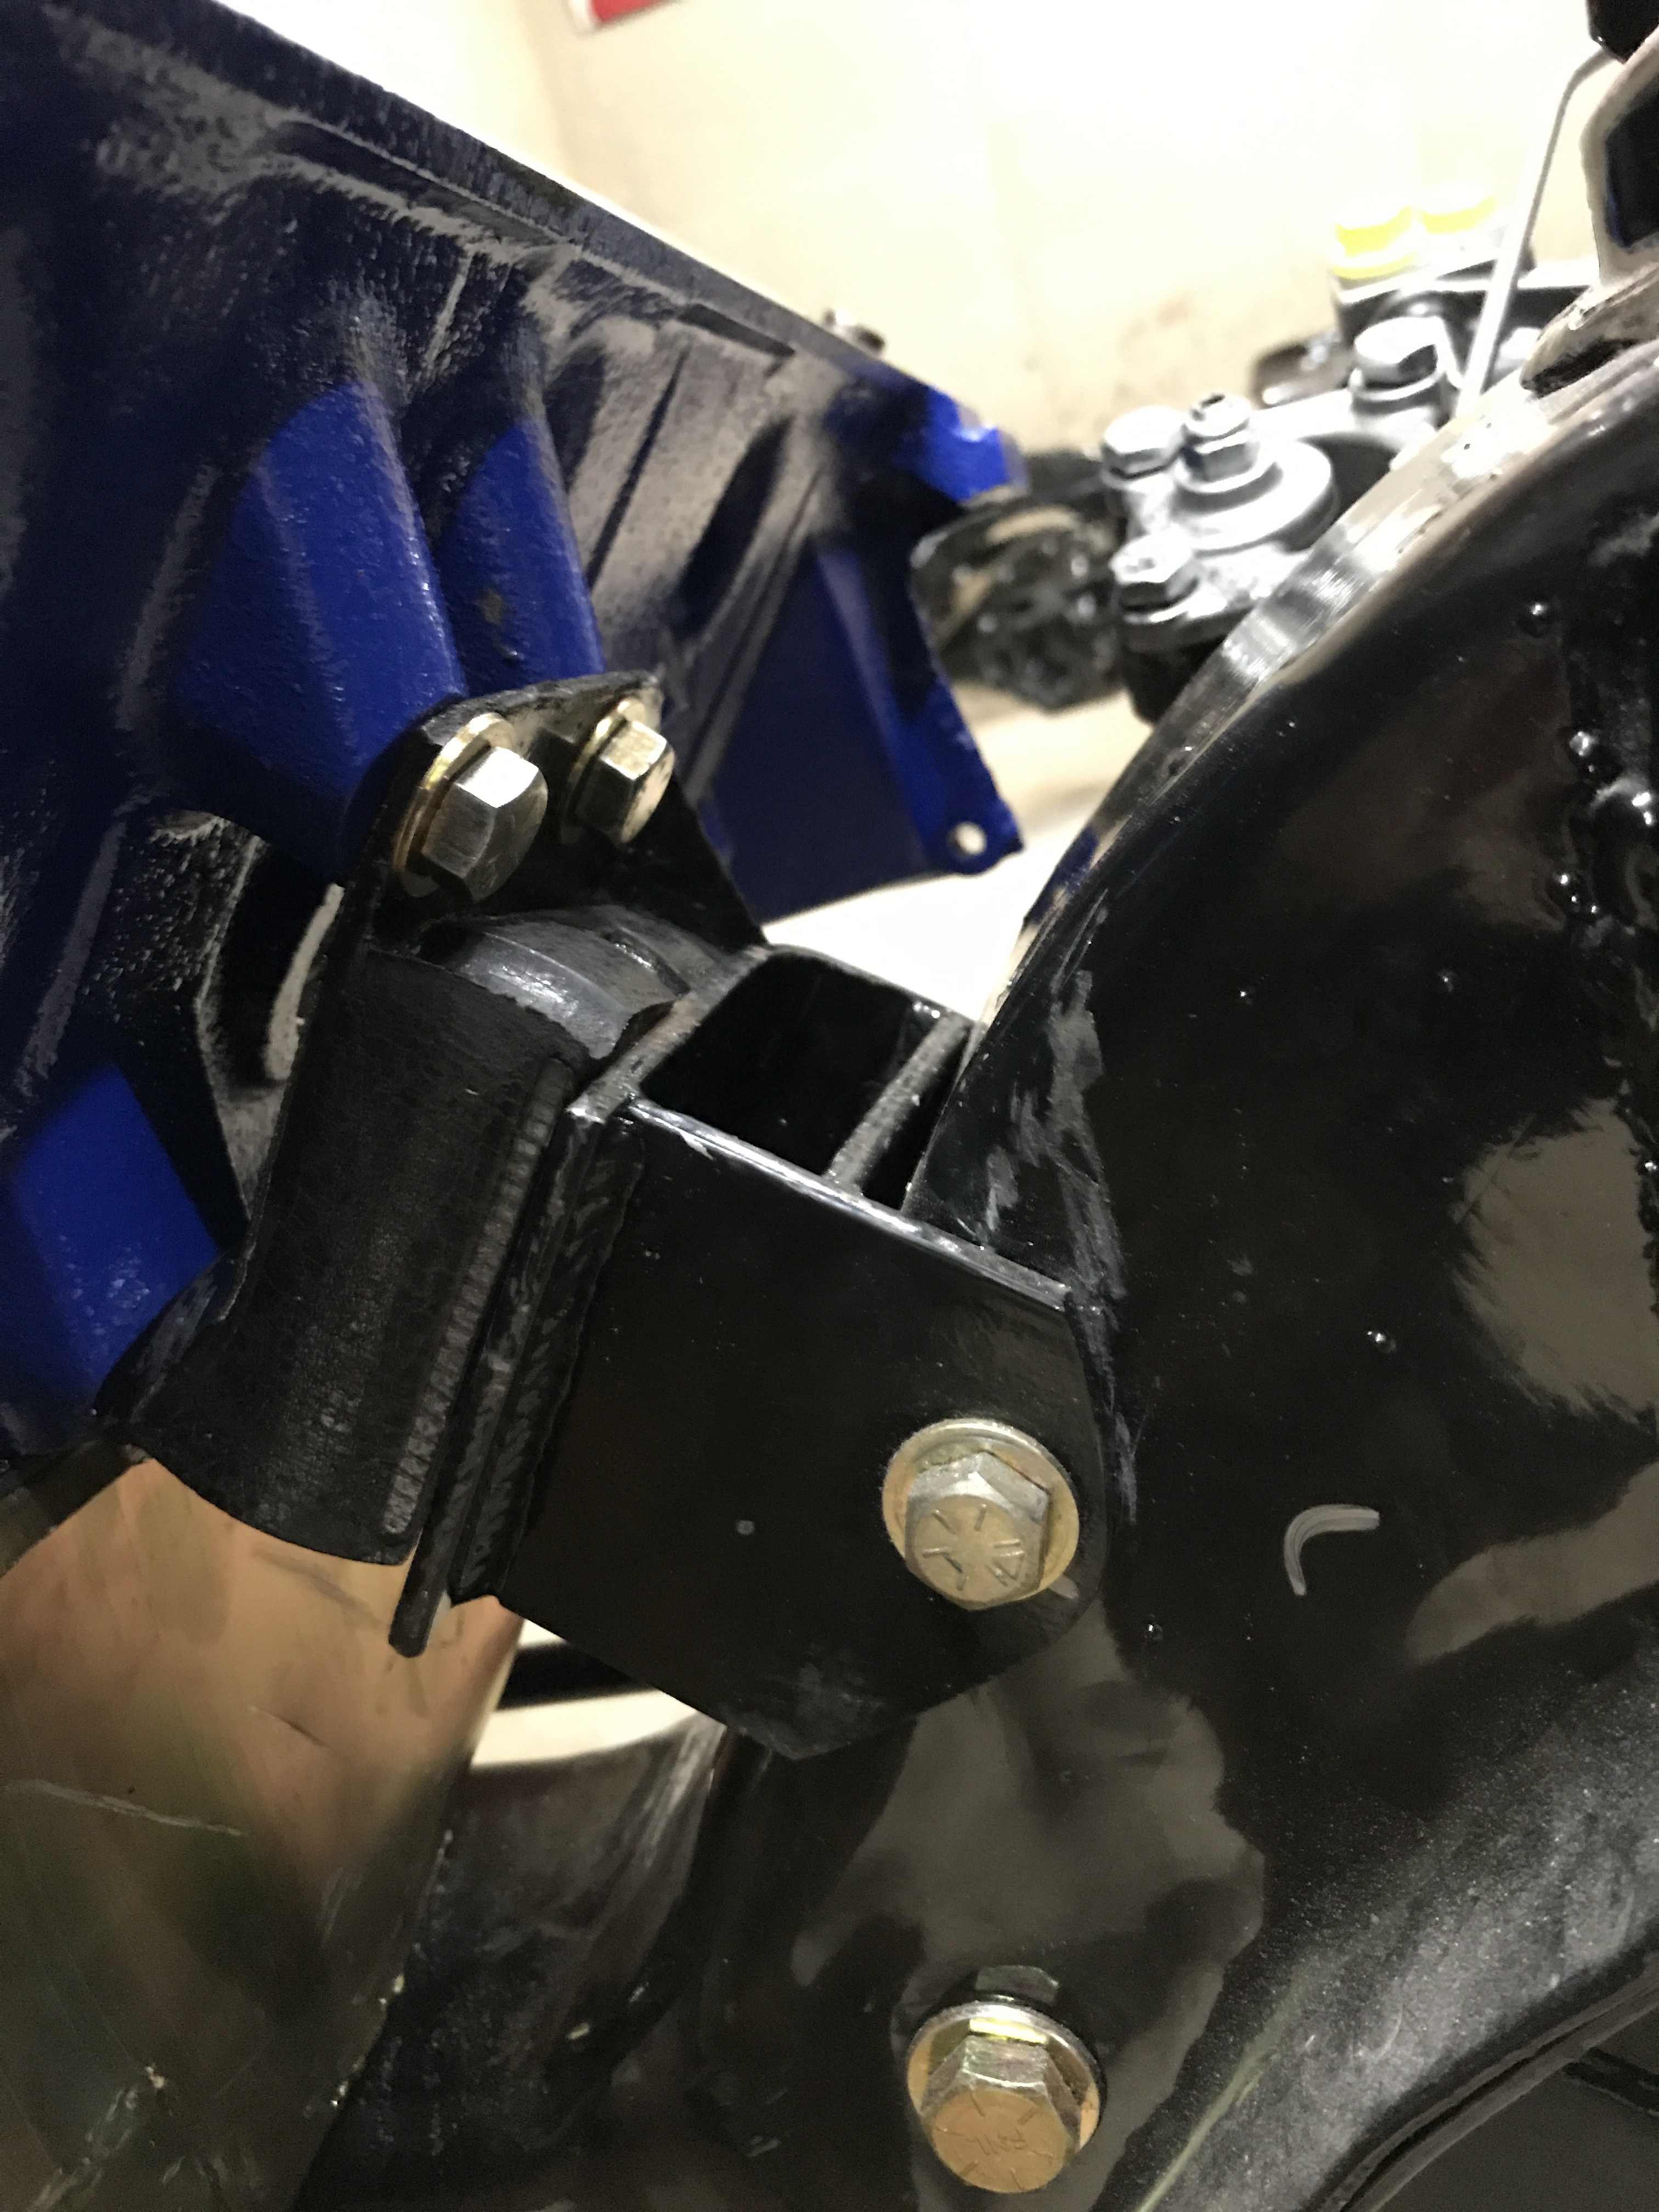
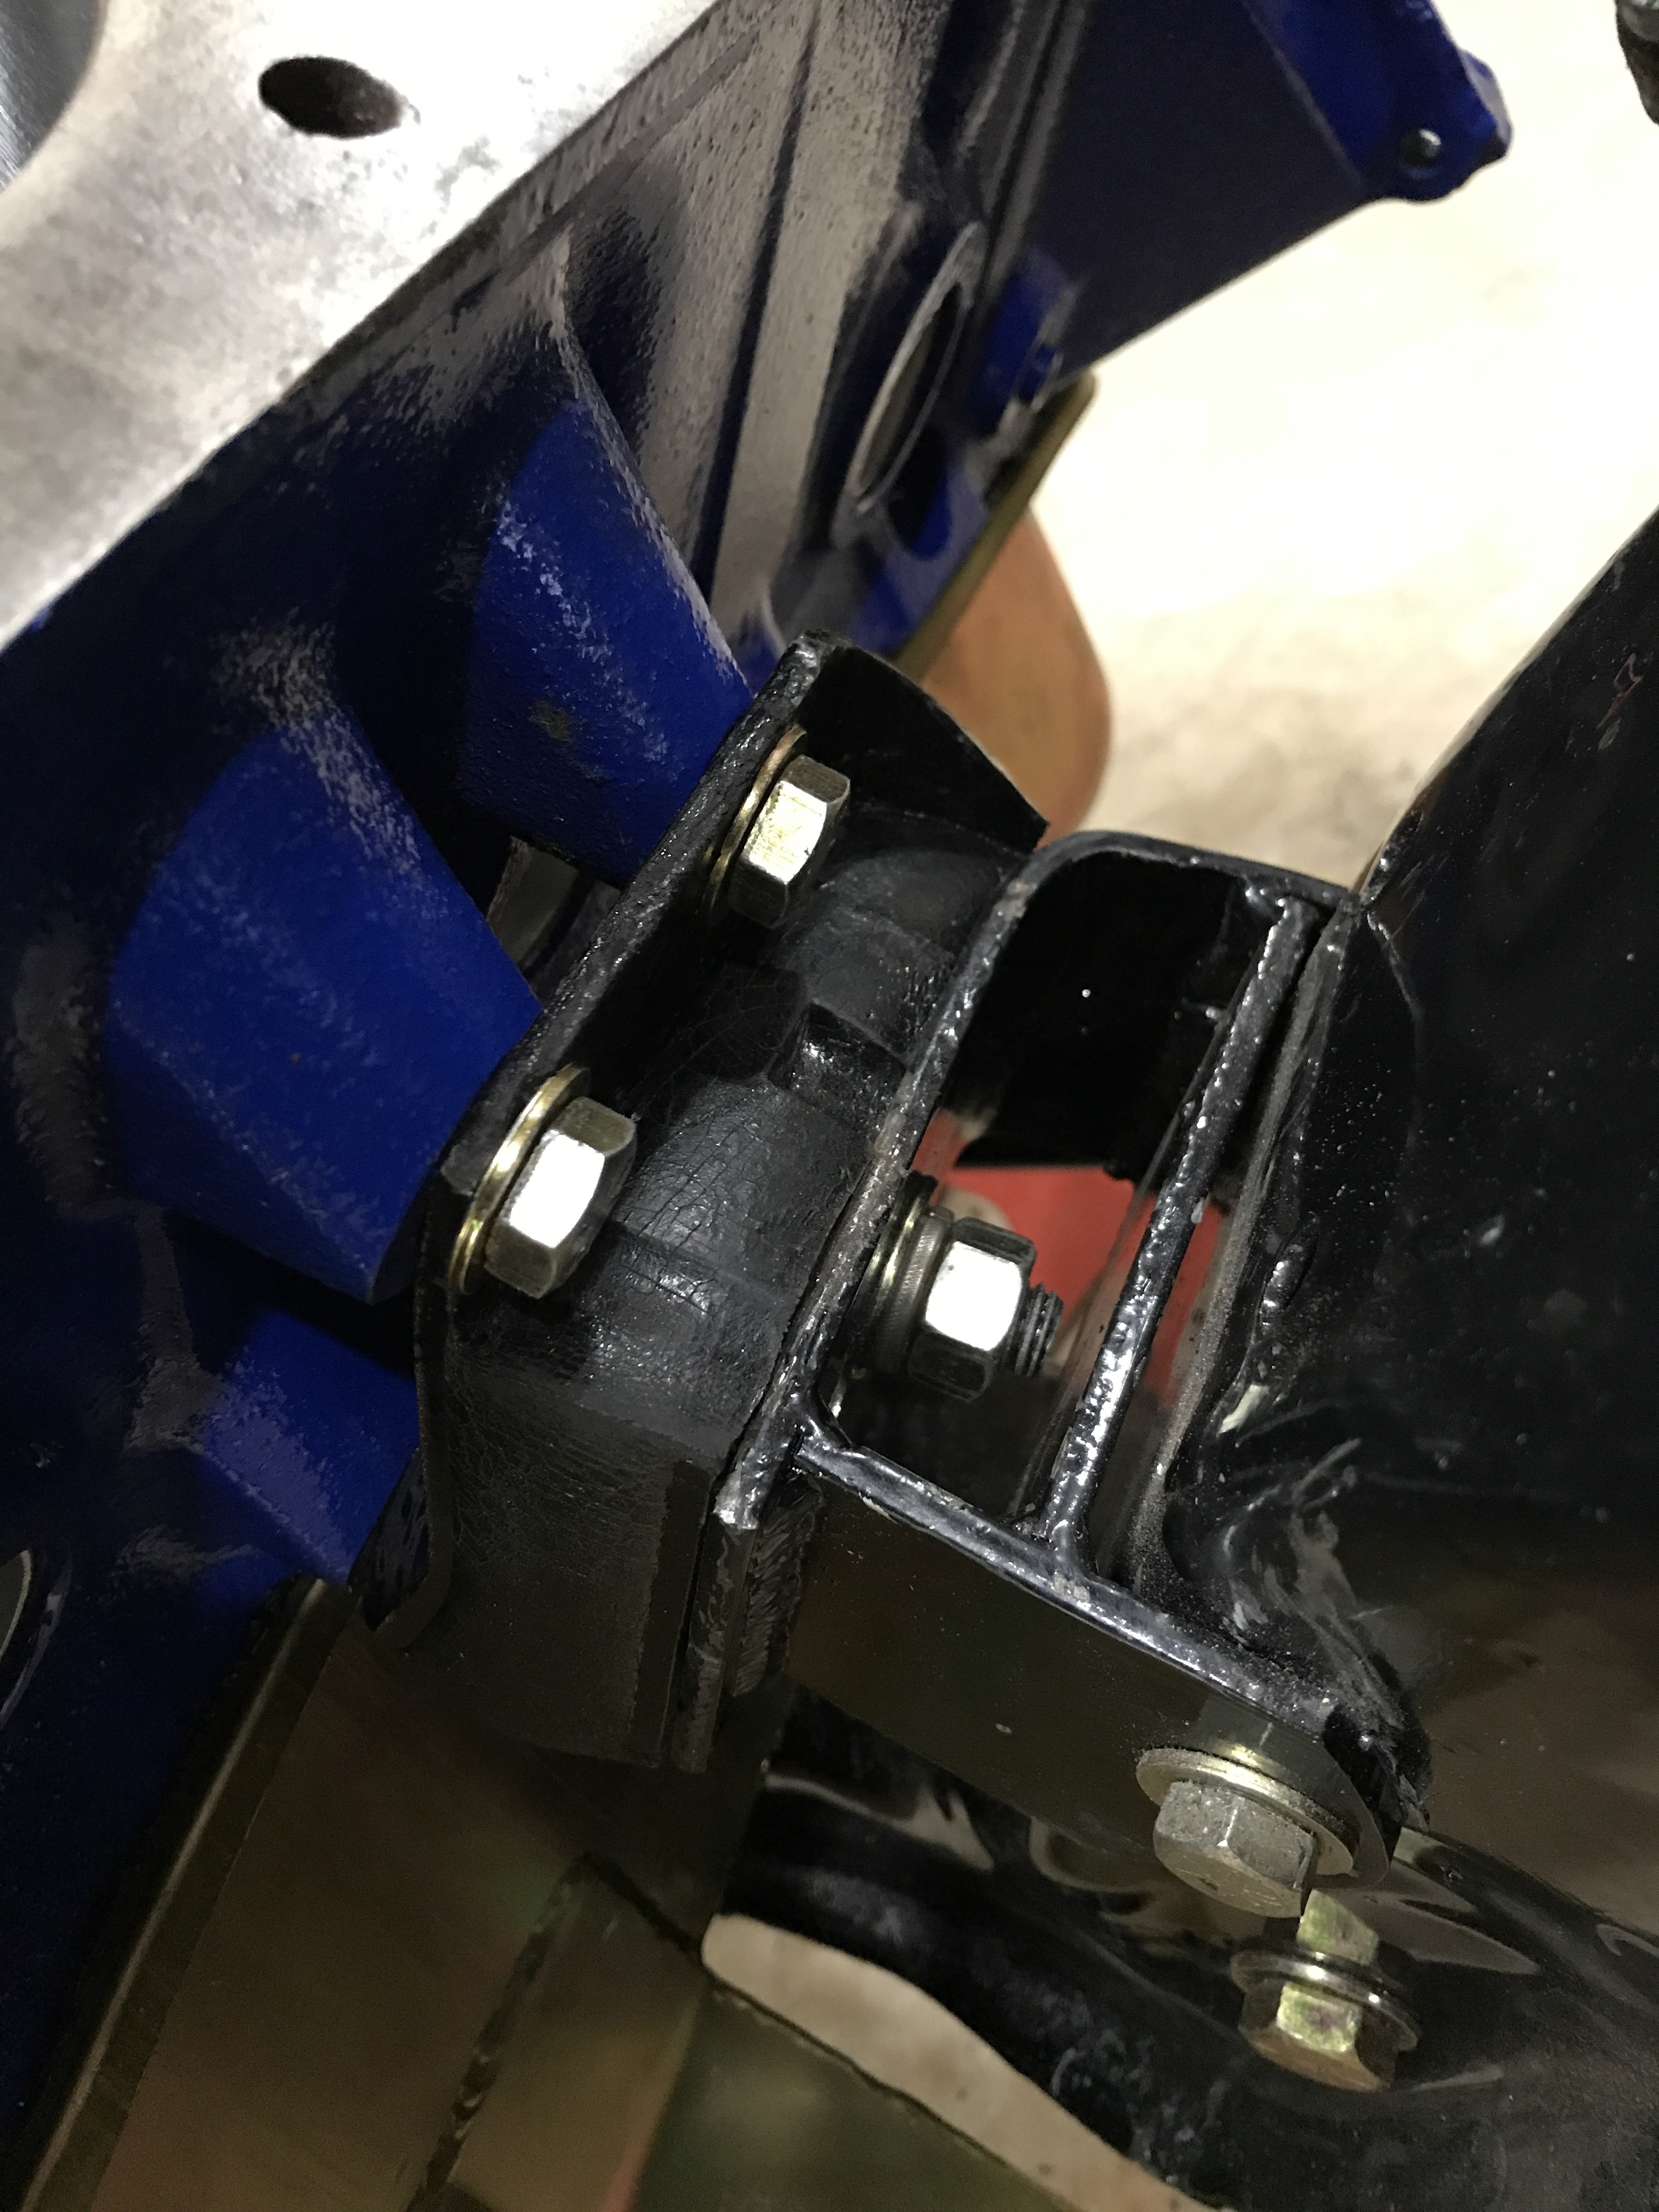
 Driverside mount

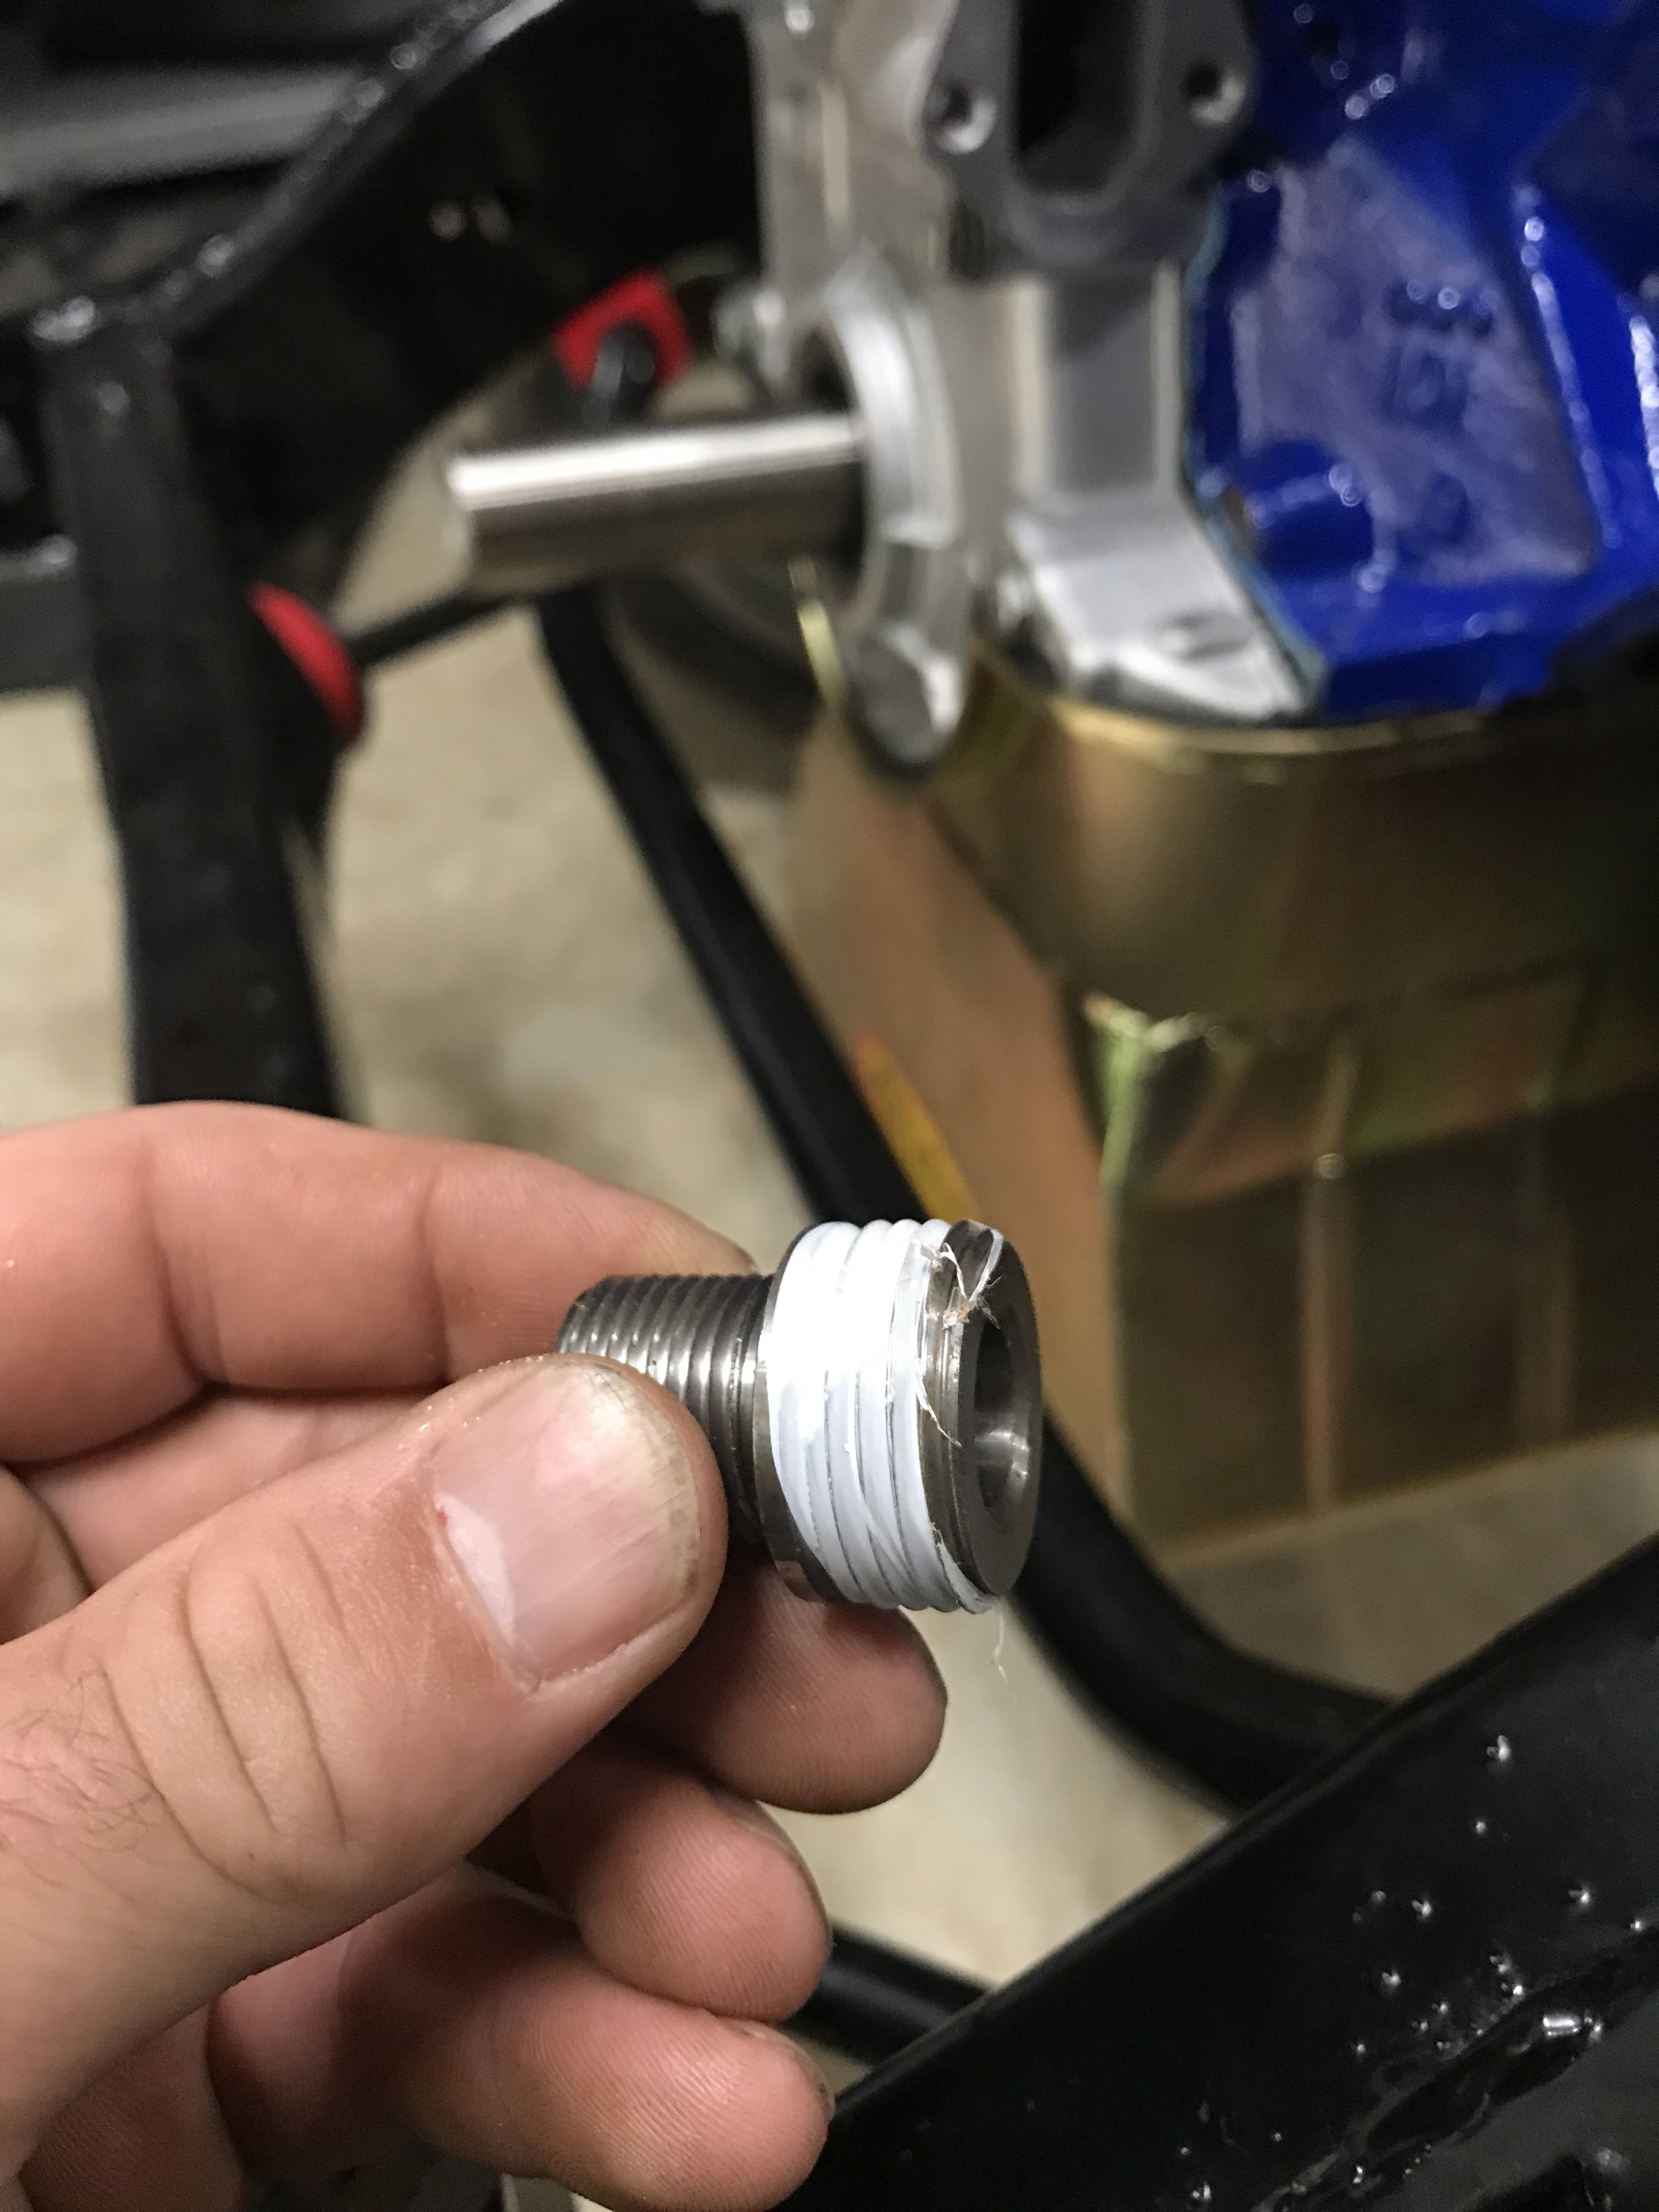 Teflon tape on the oil filter apater threads
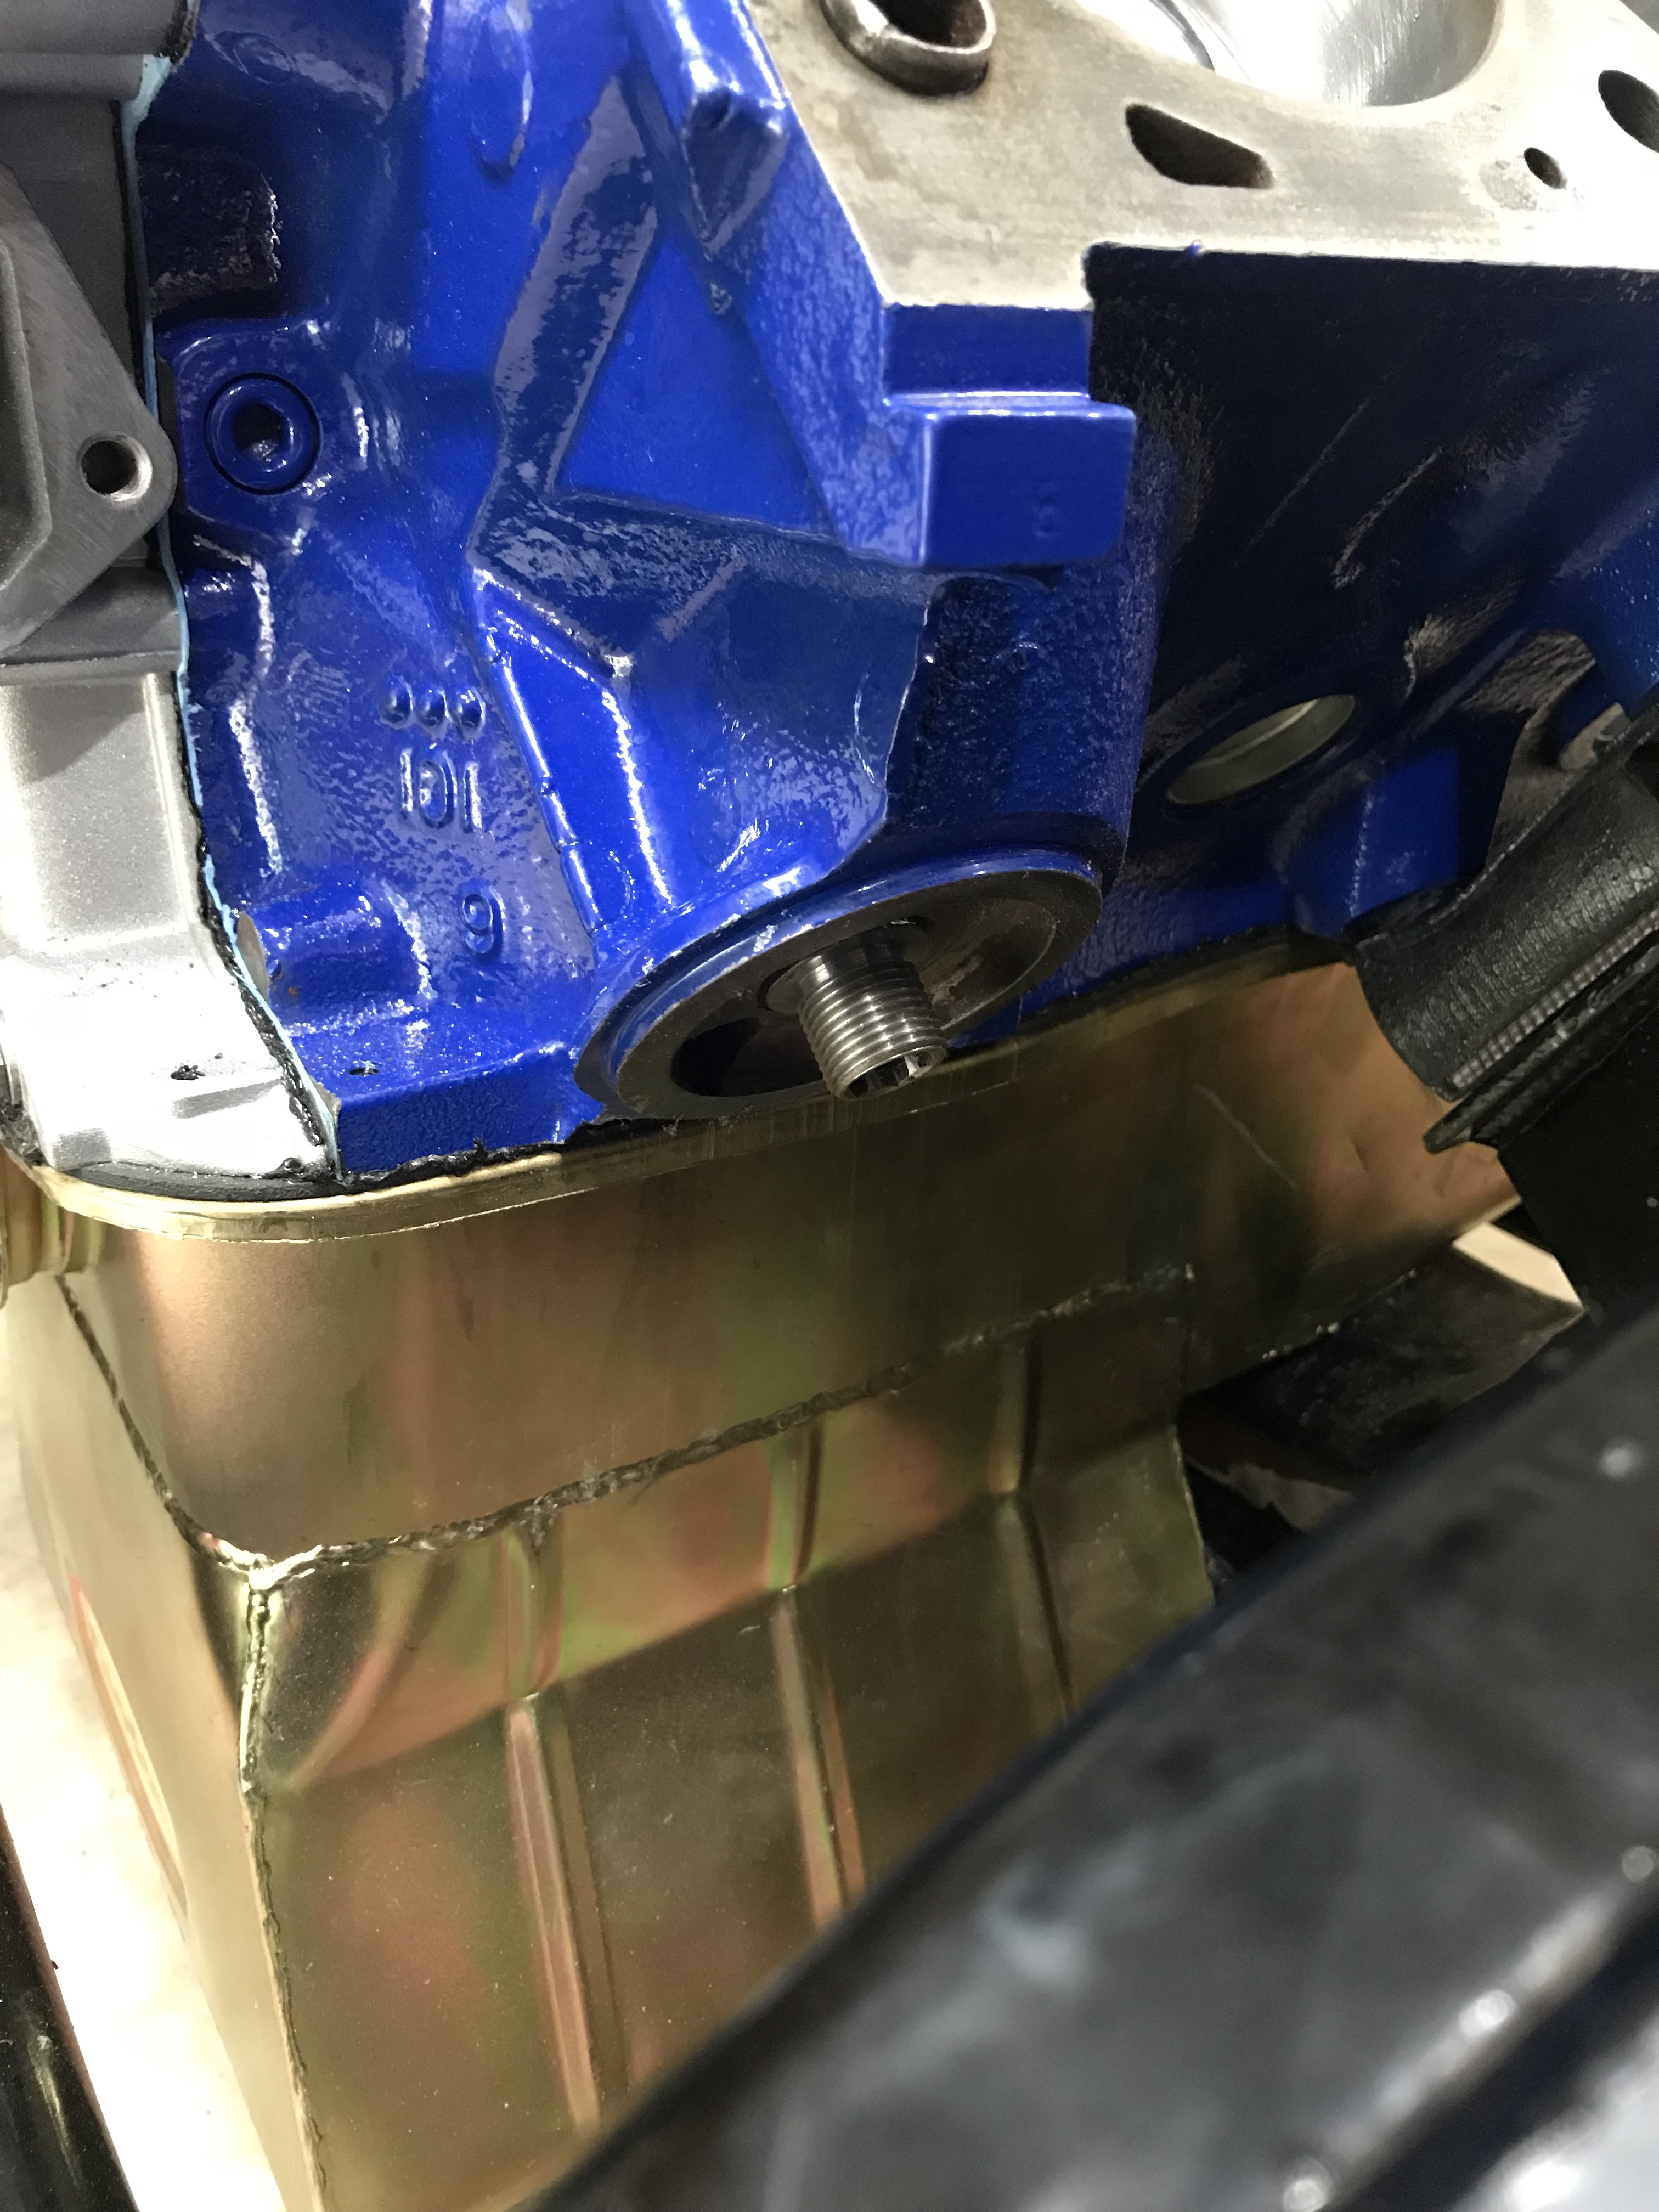
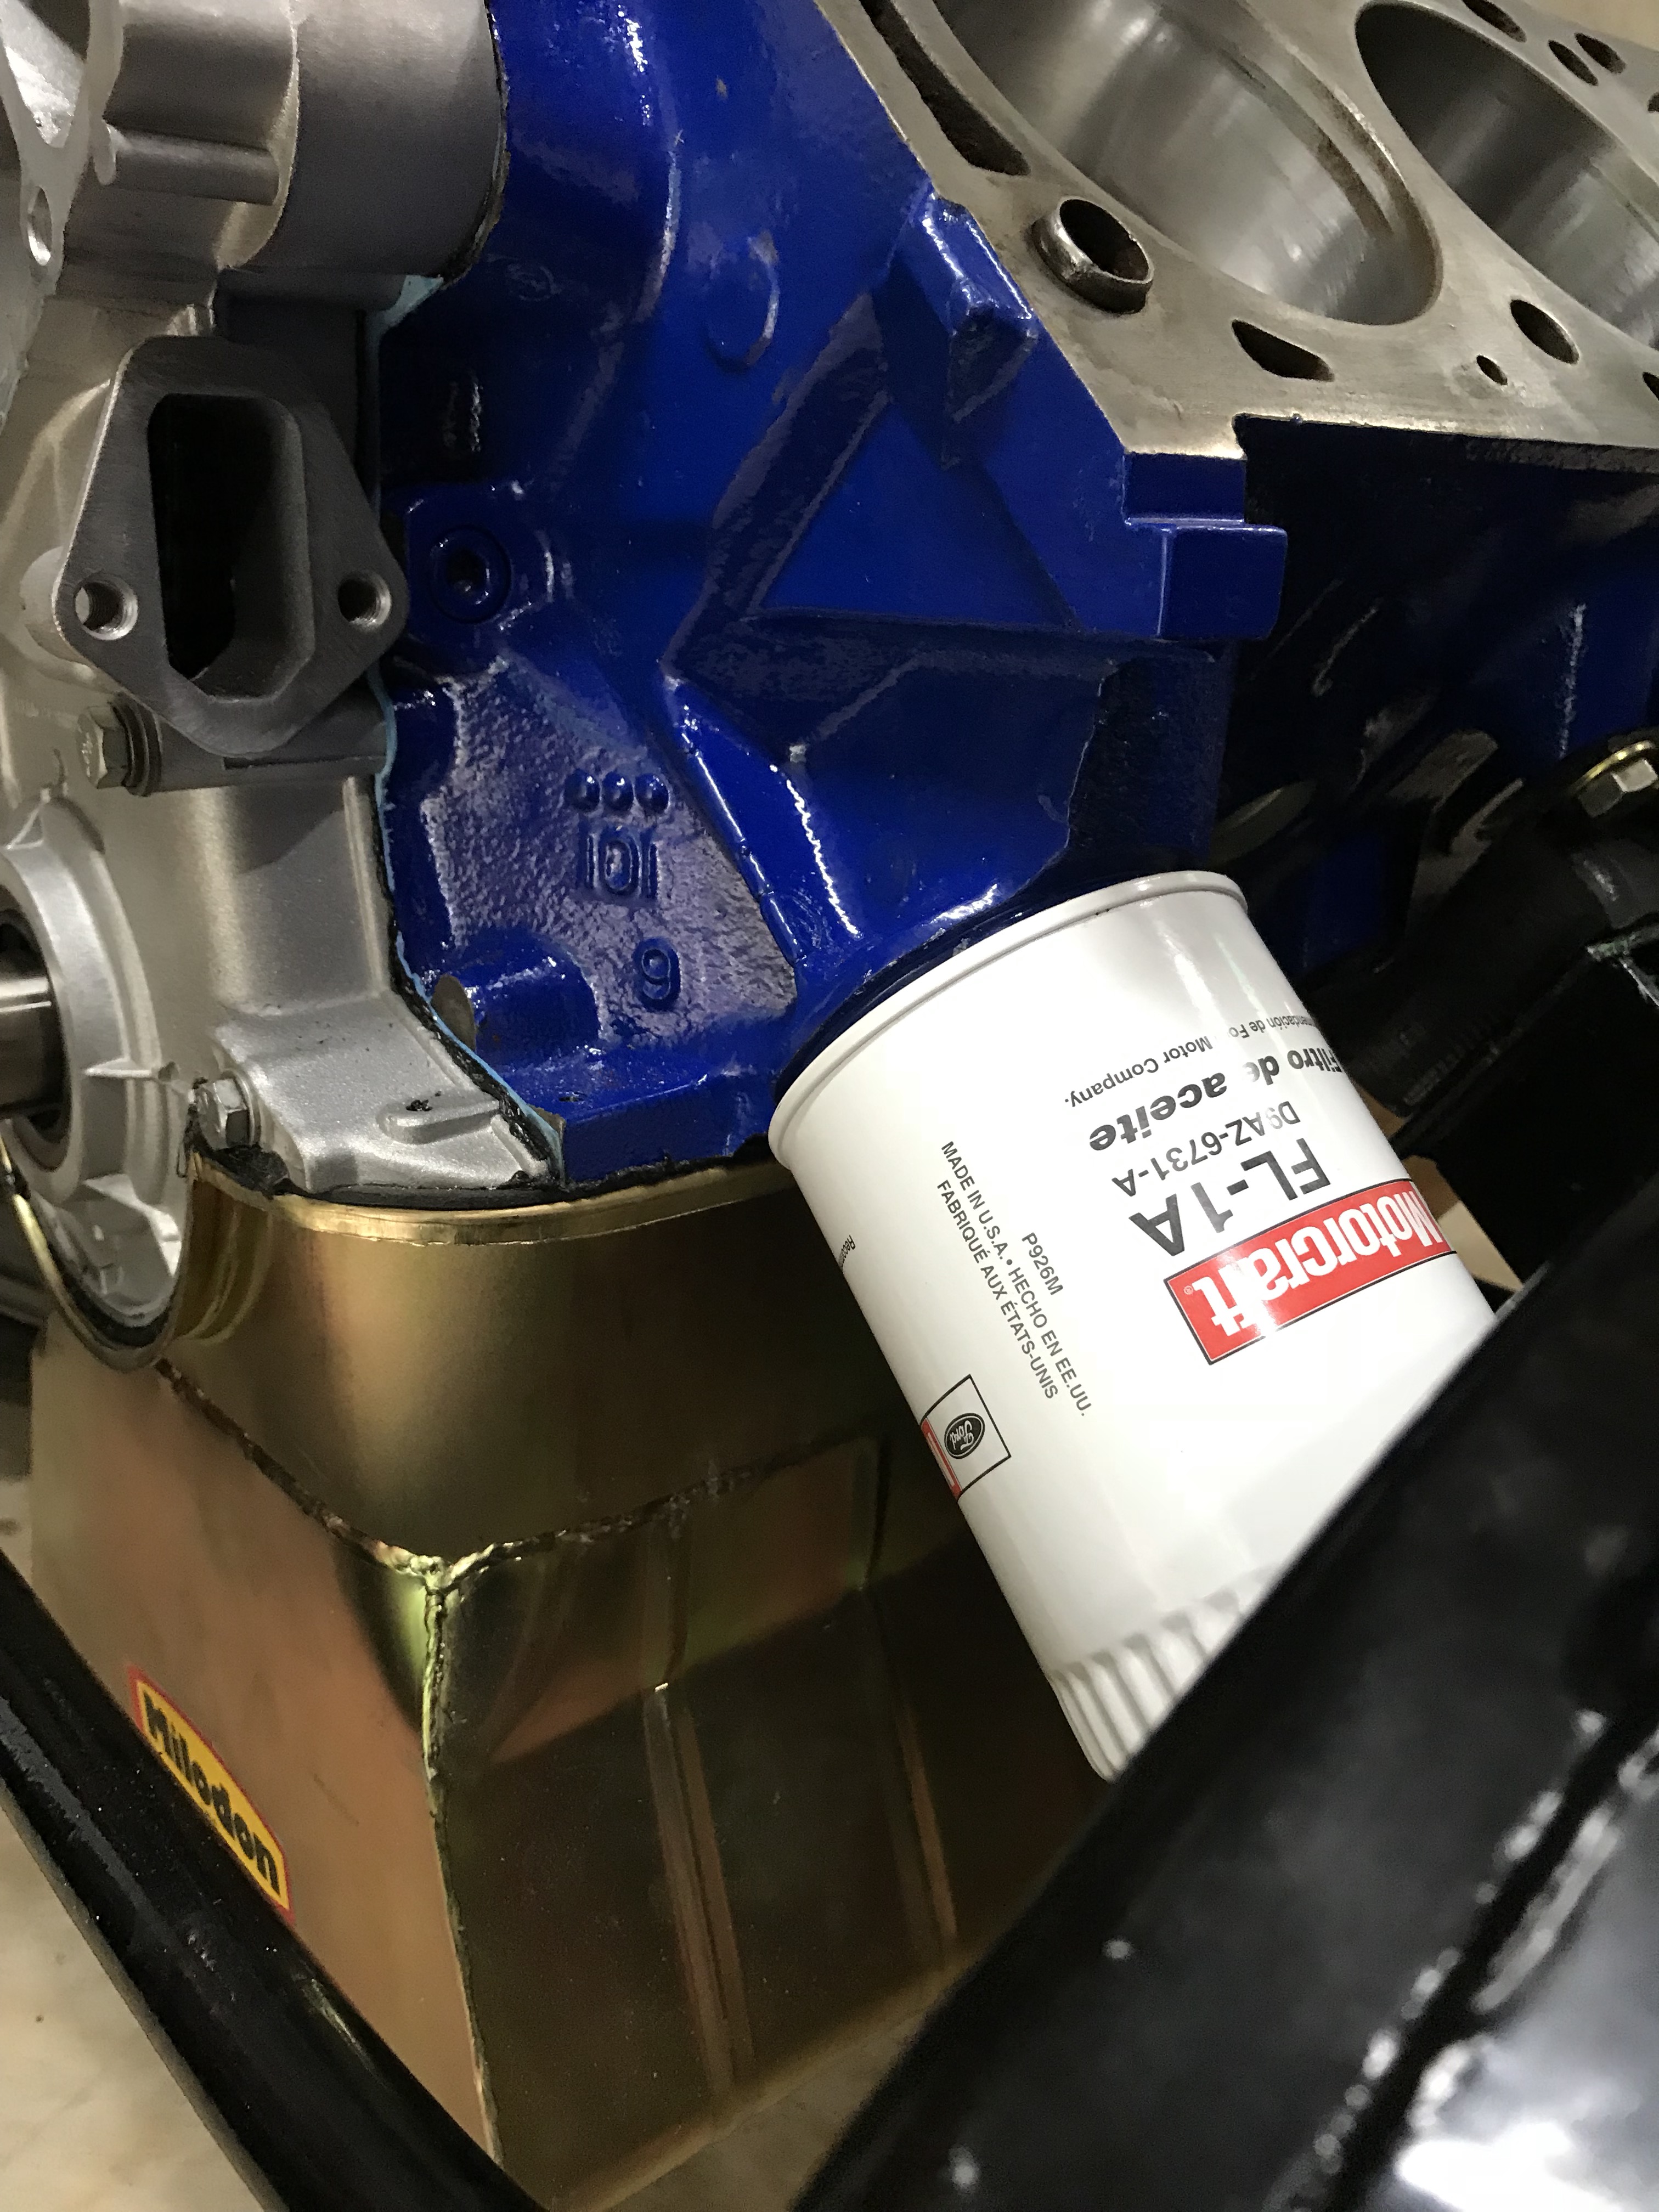 Oil filter installed – pre-filled with oil
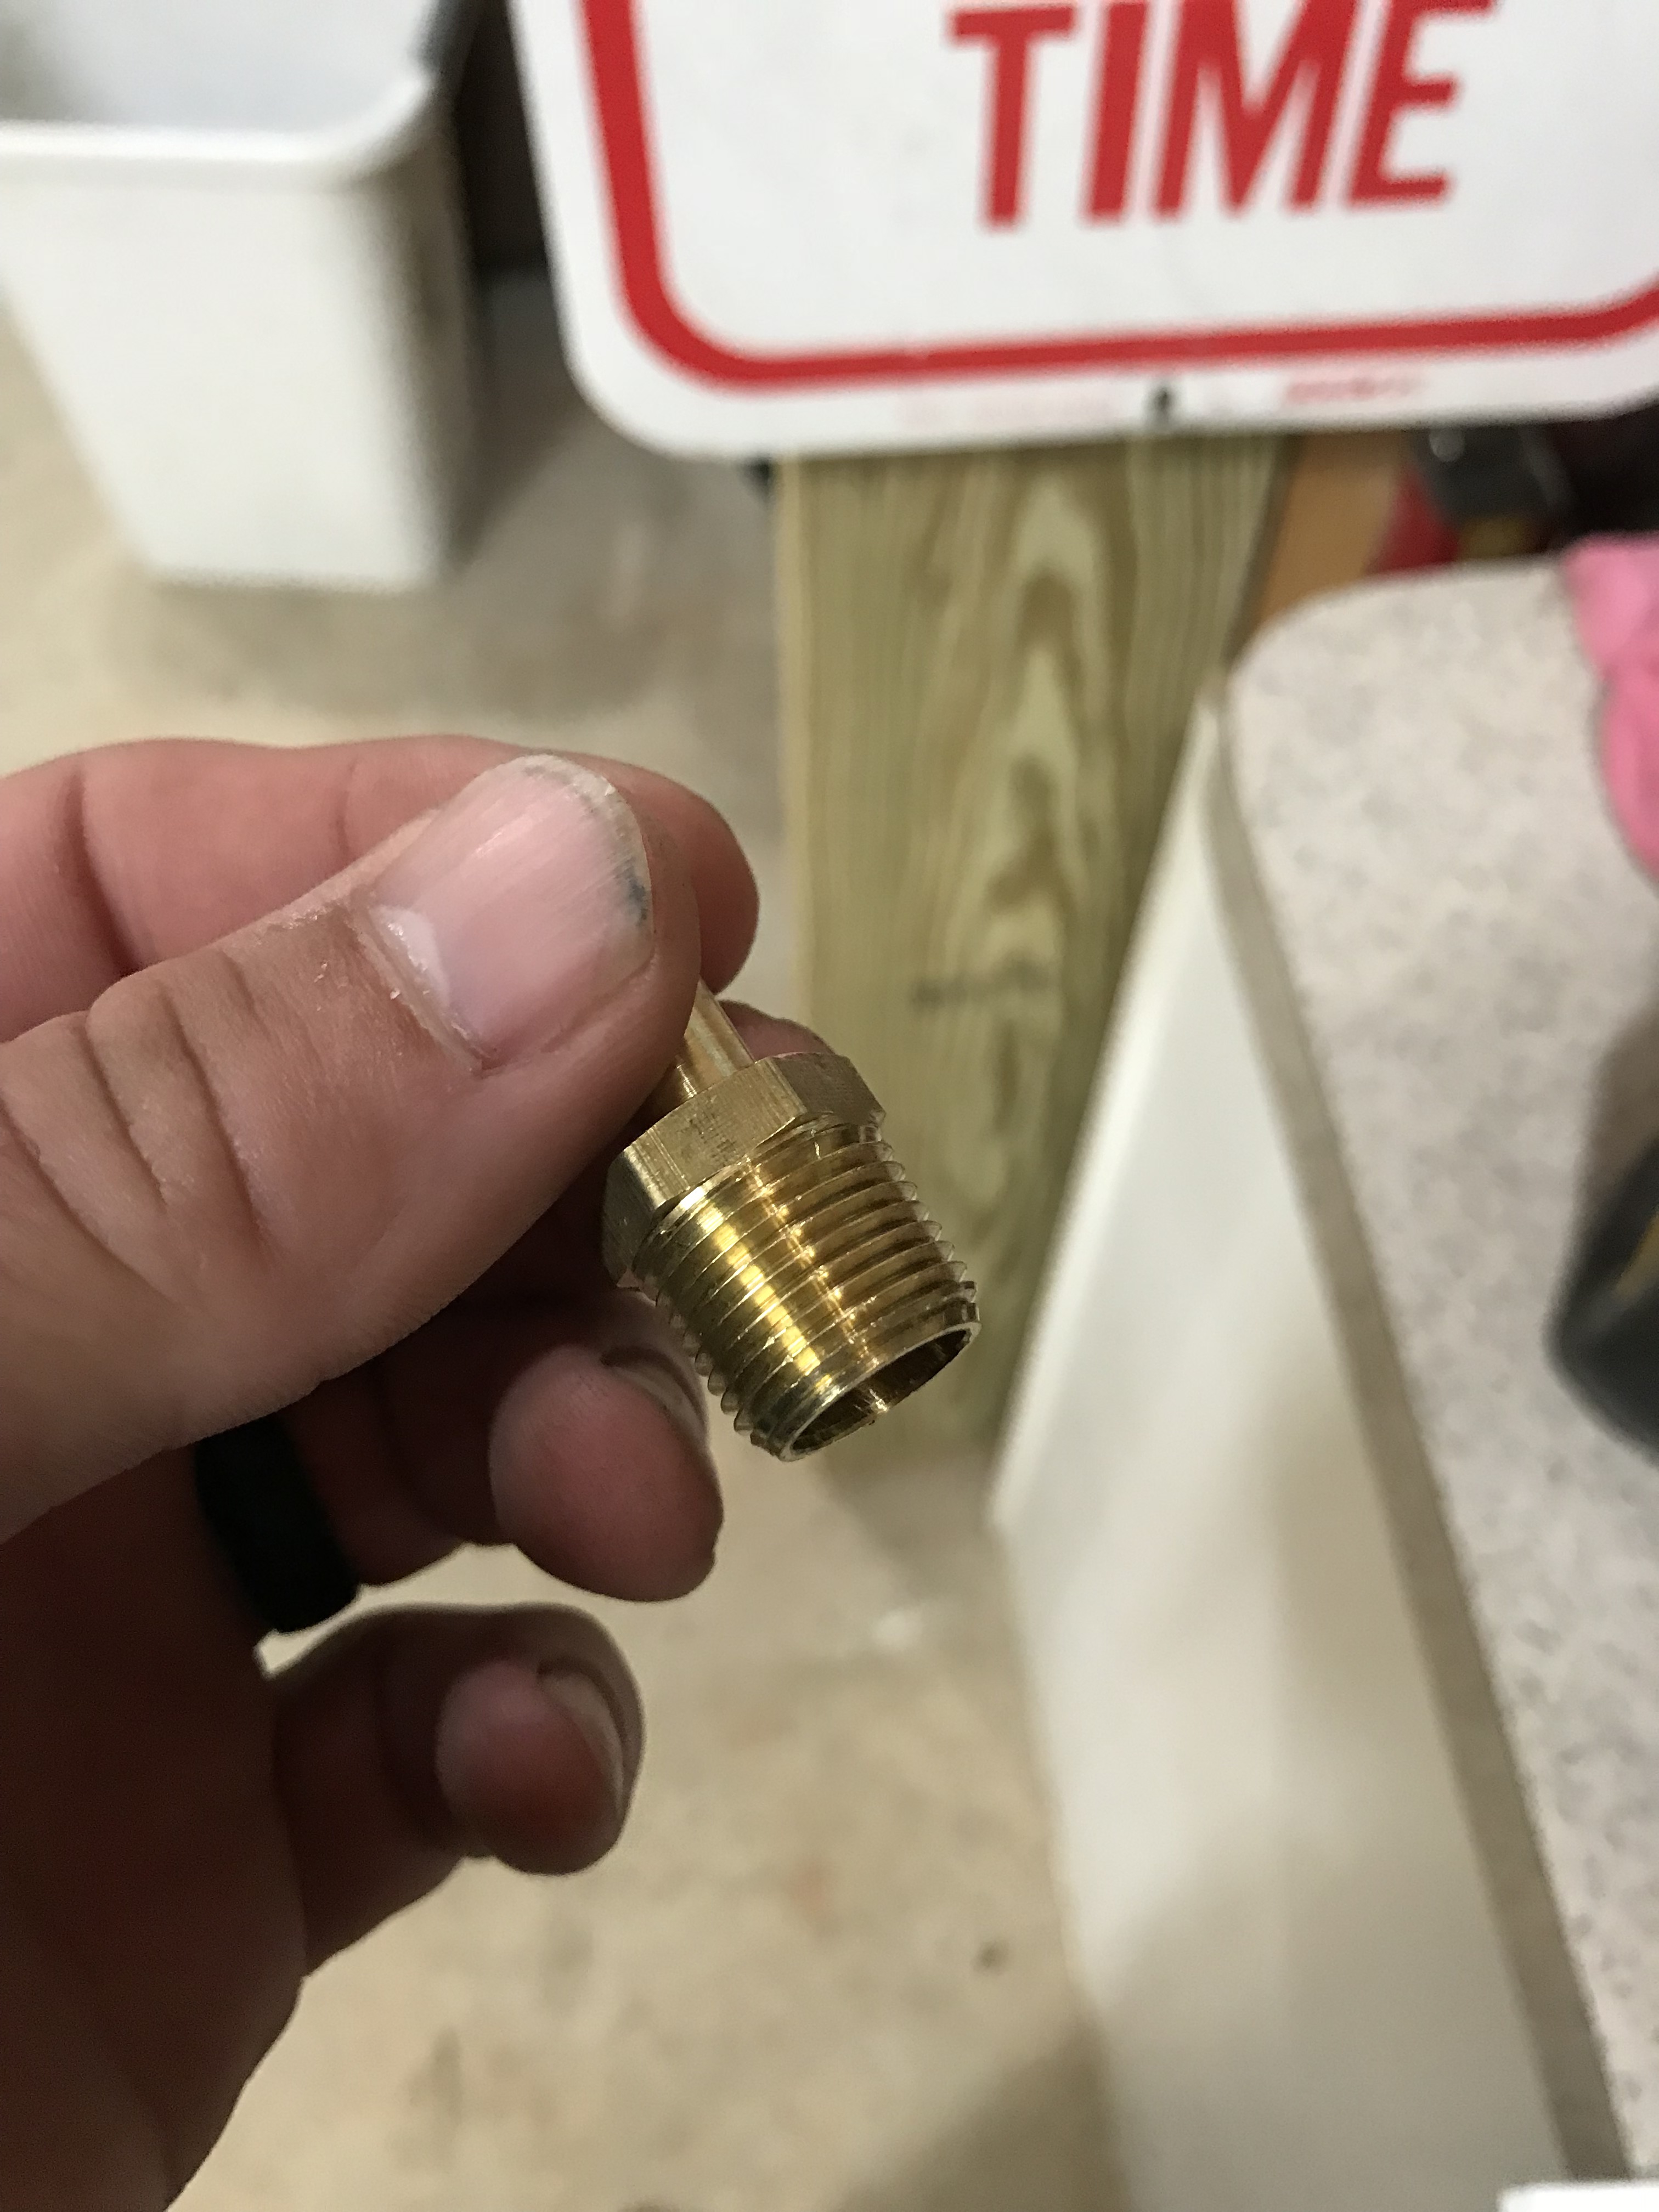 Fuel pump 3/8 fitting
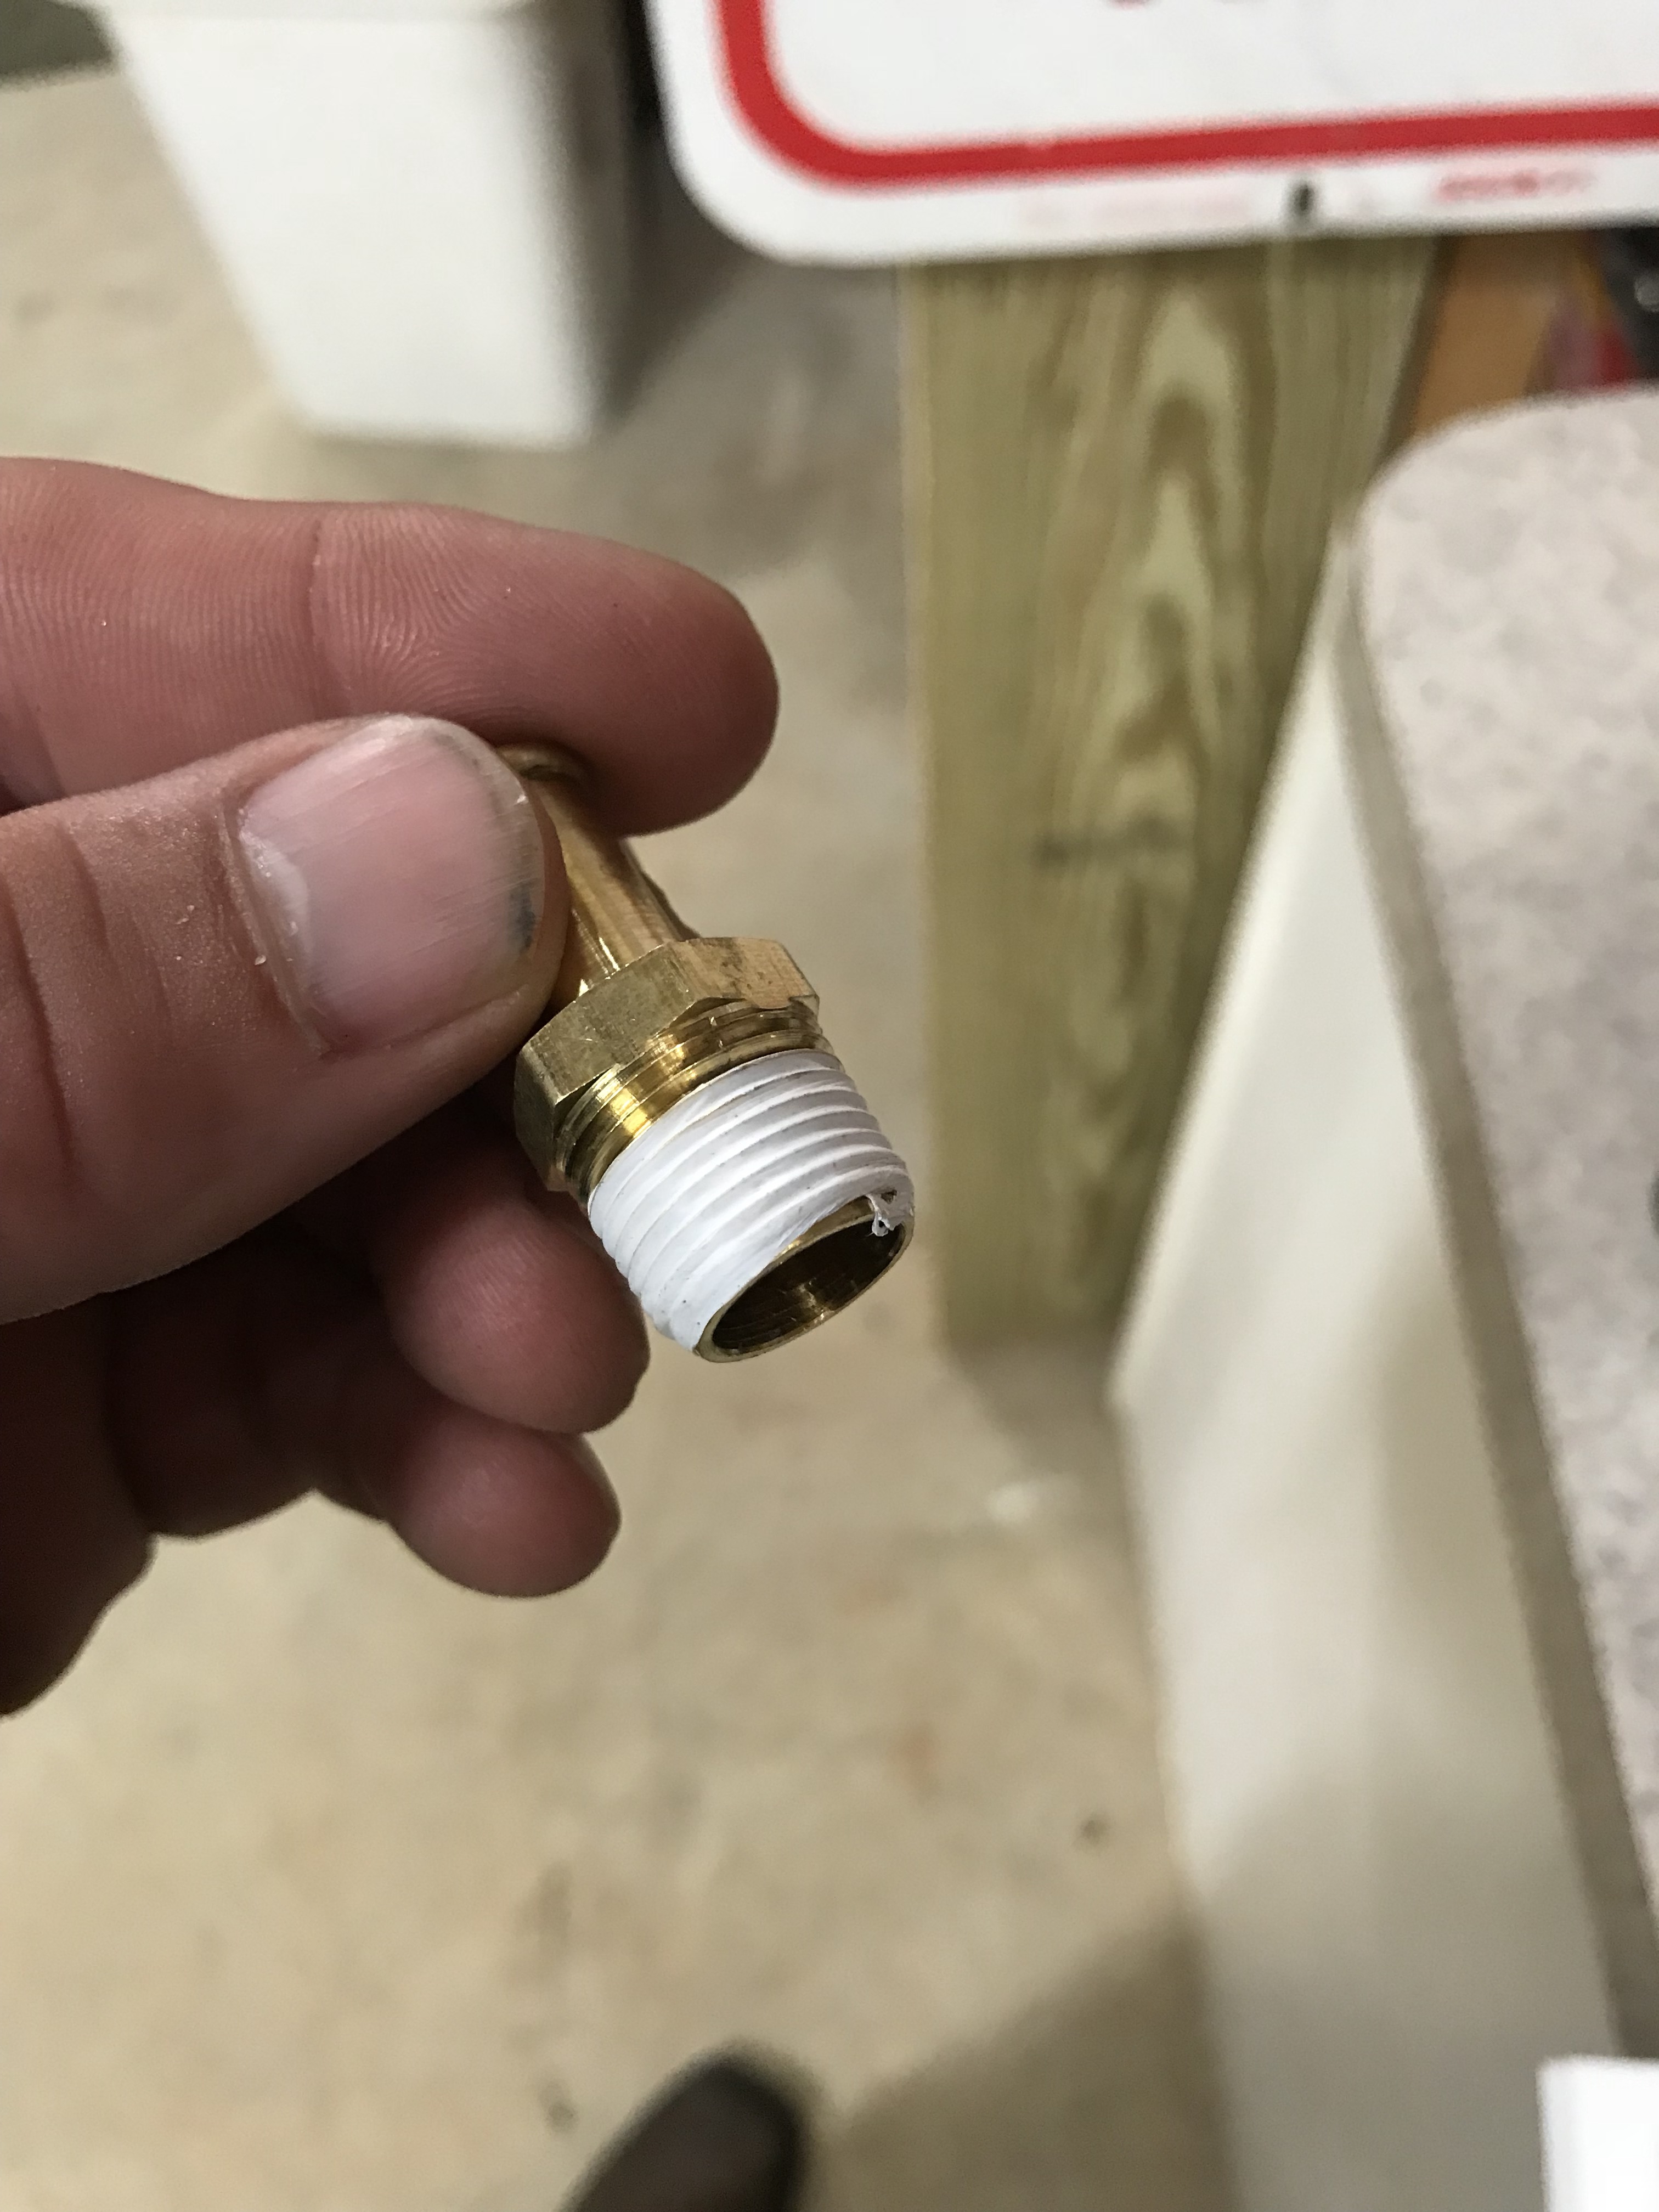 Teflon tape the threads

 Used a little diesel grey silicone with the gasket
 Fuel pump installed
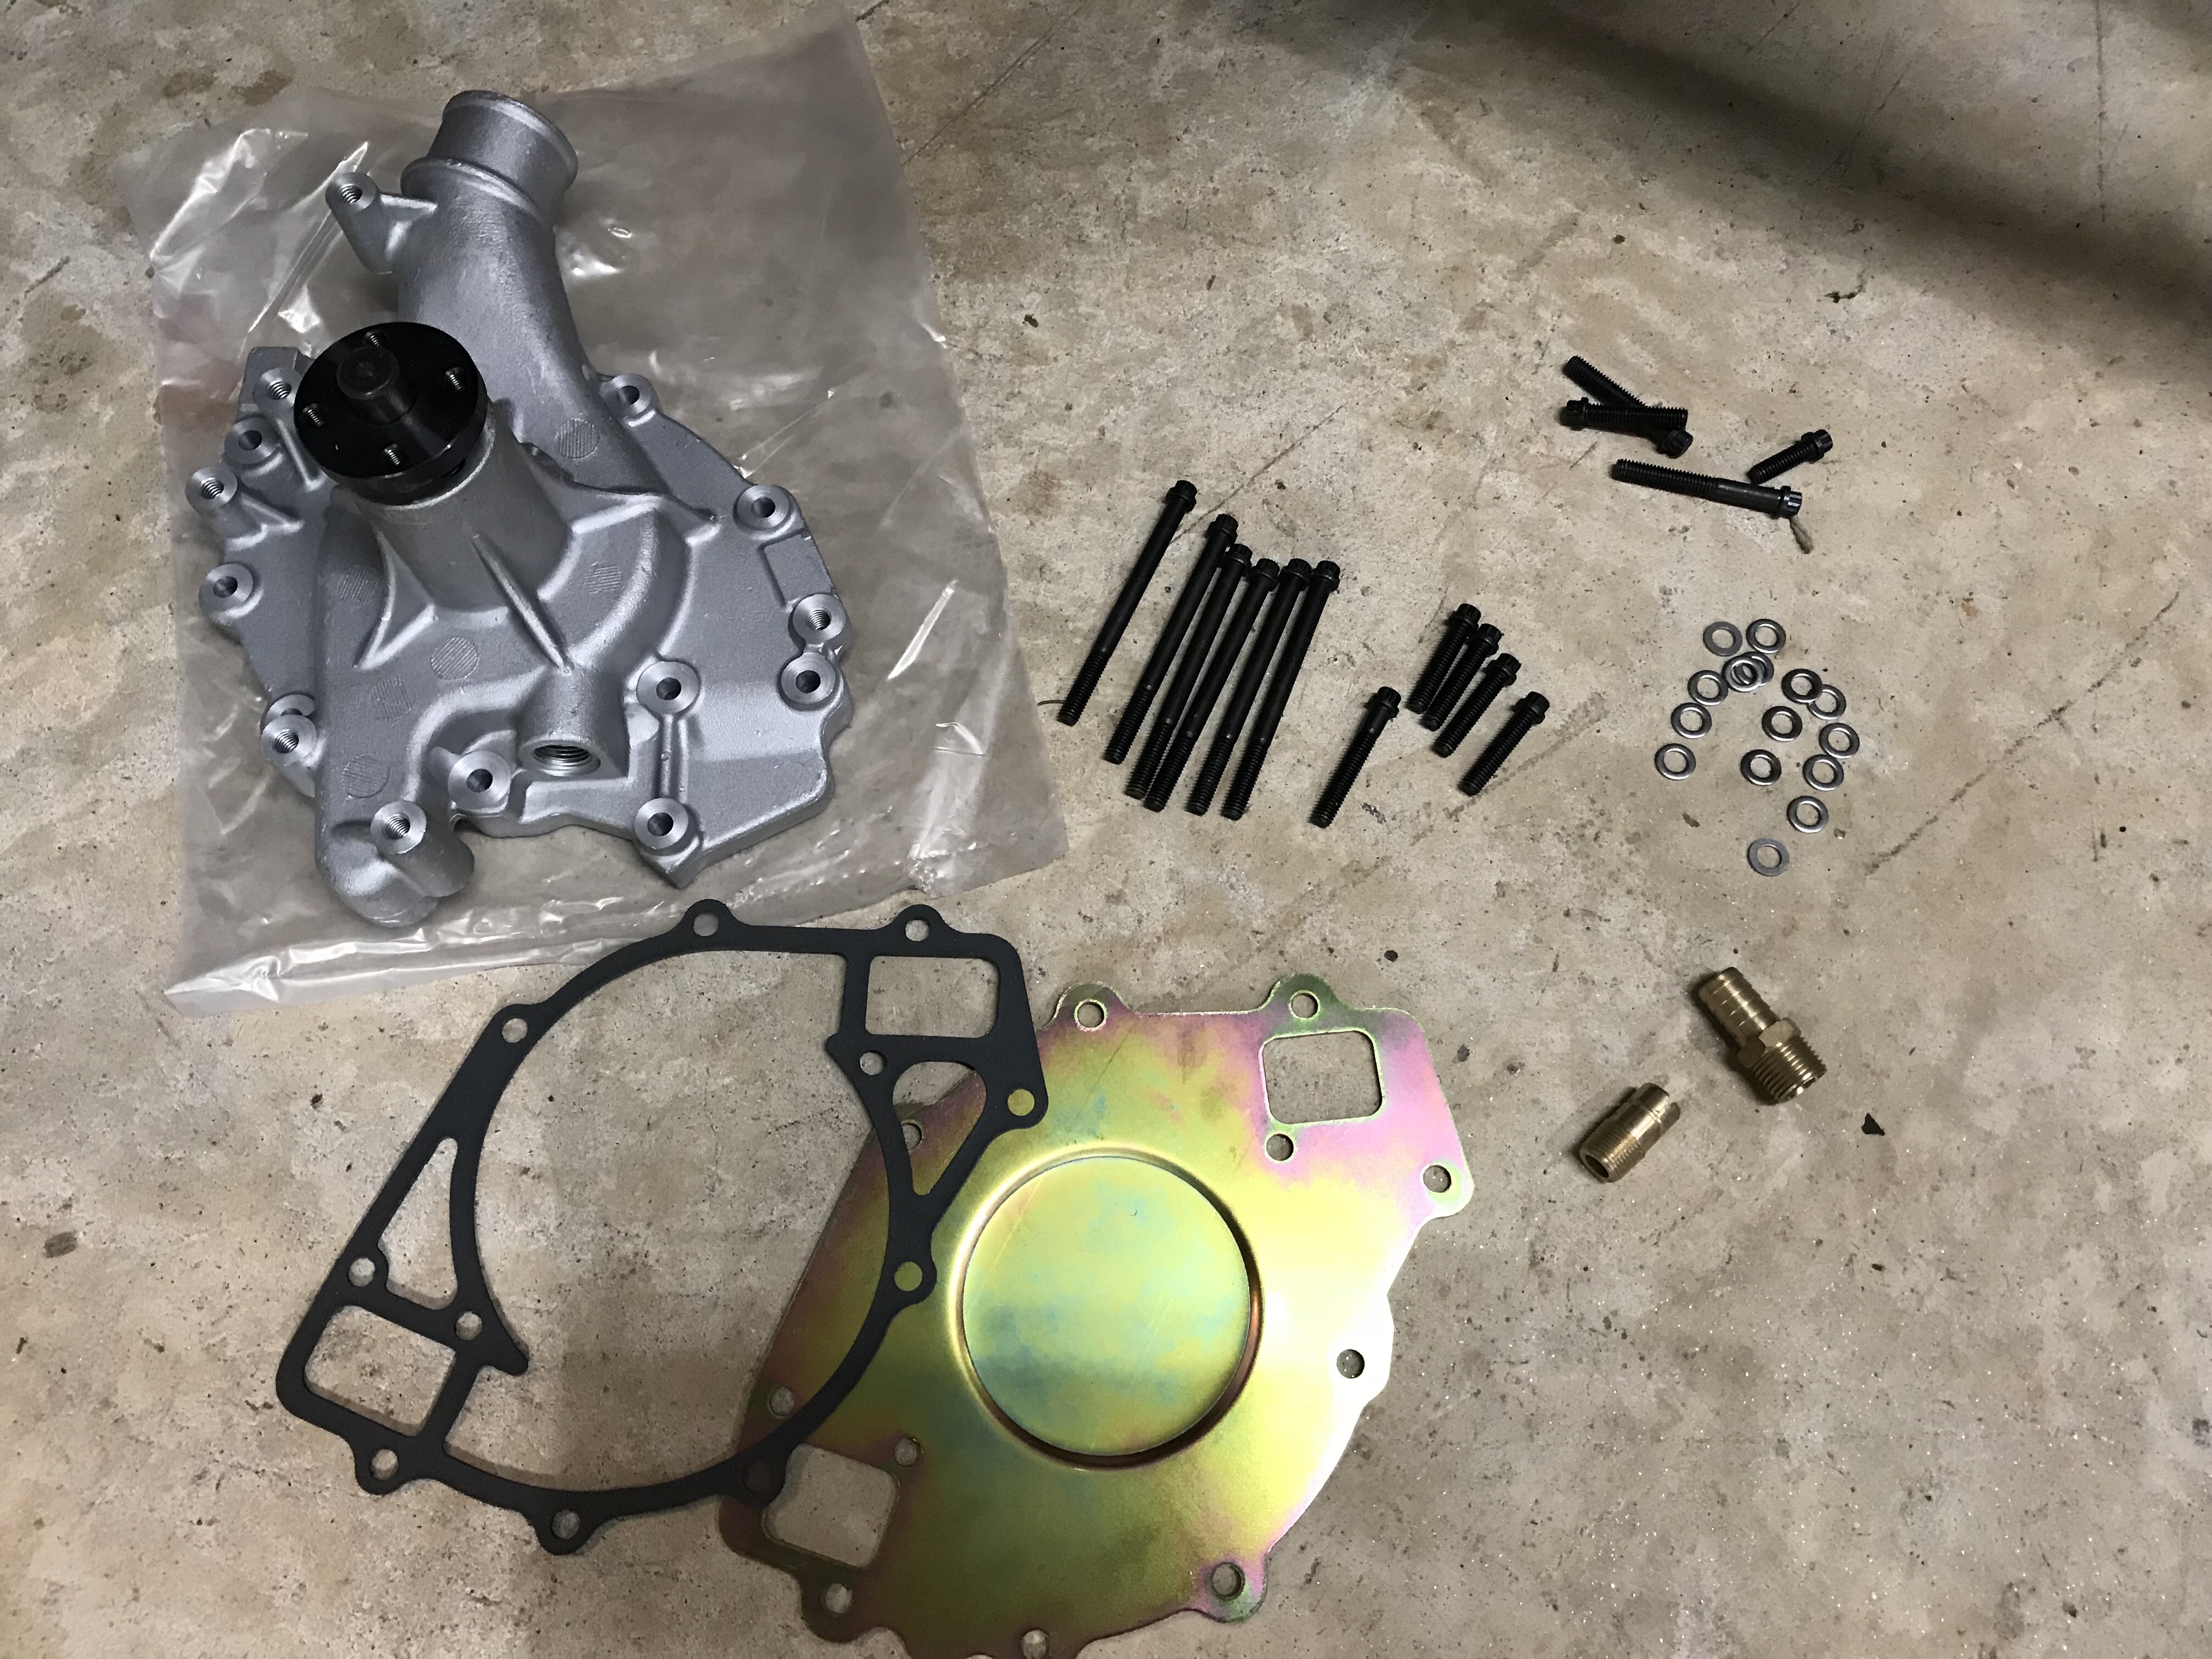 Water pump that came with the serpentine belt kit
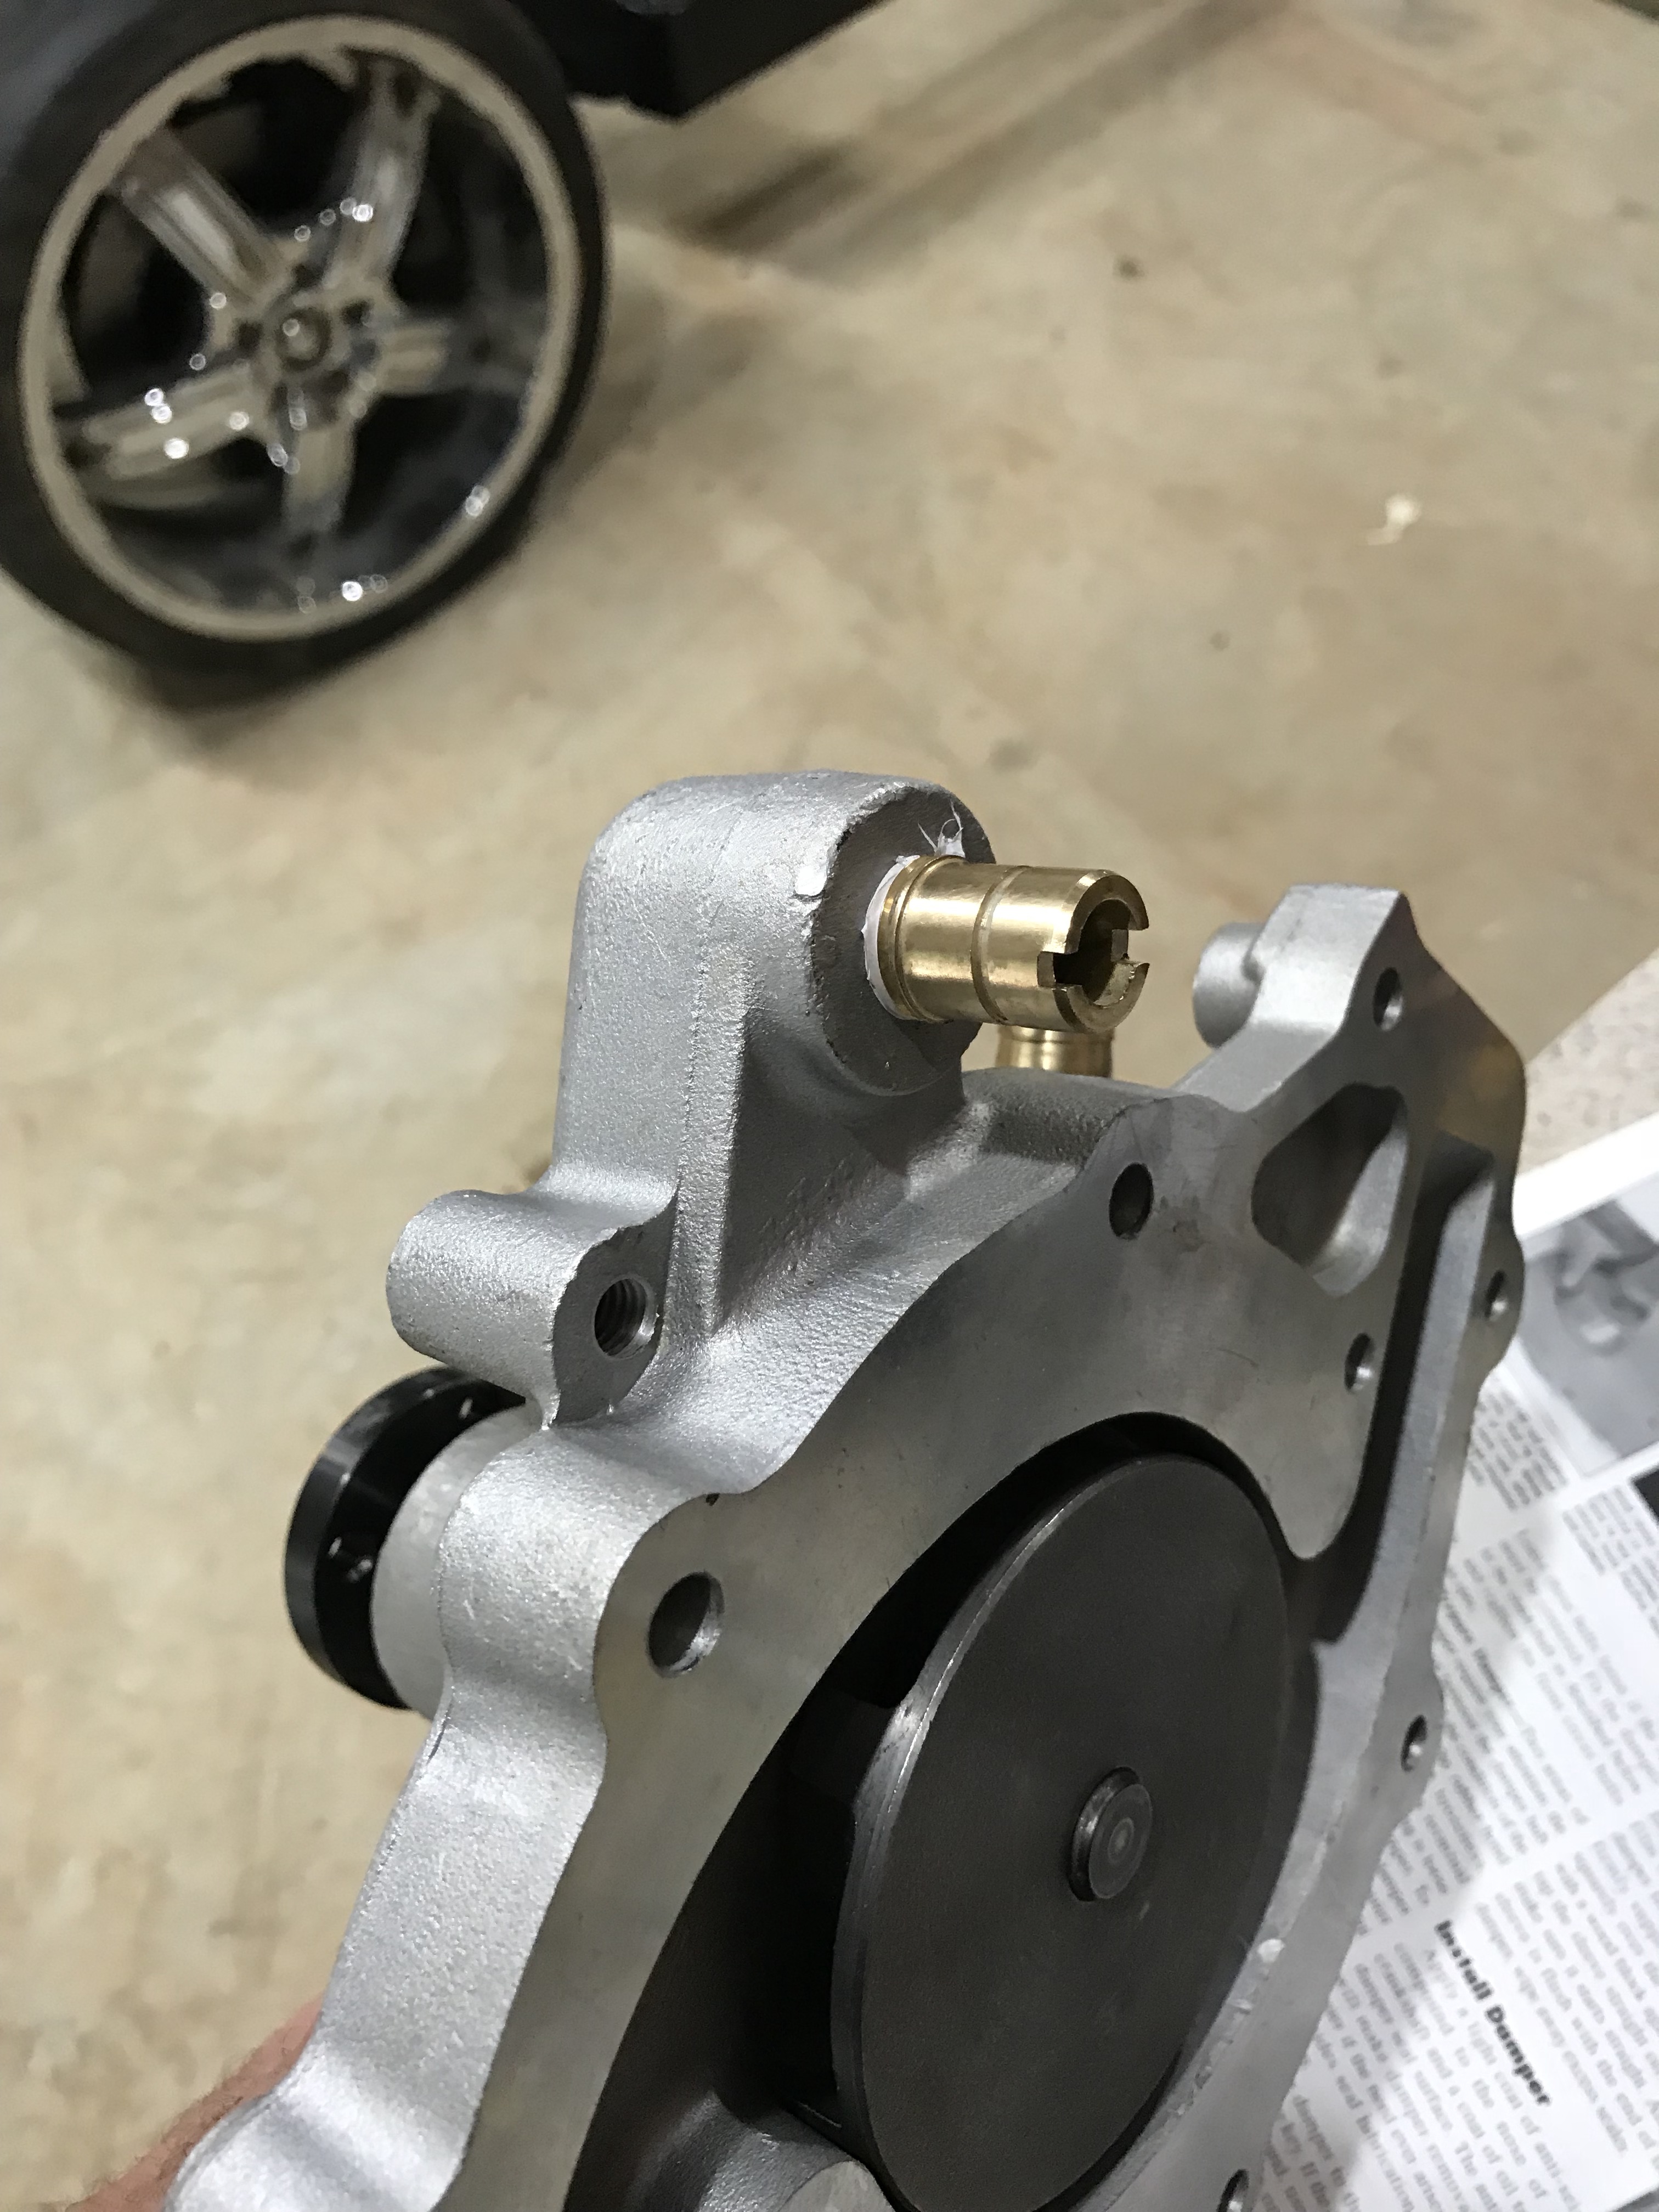
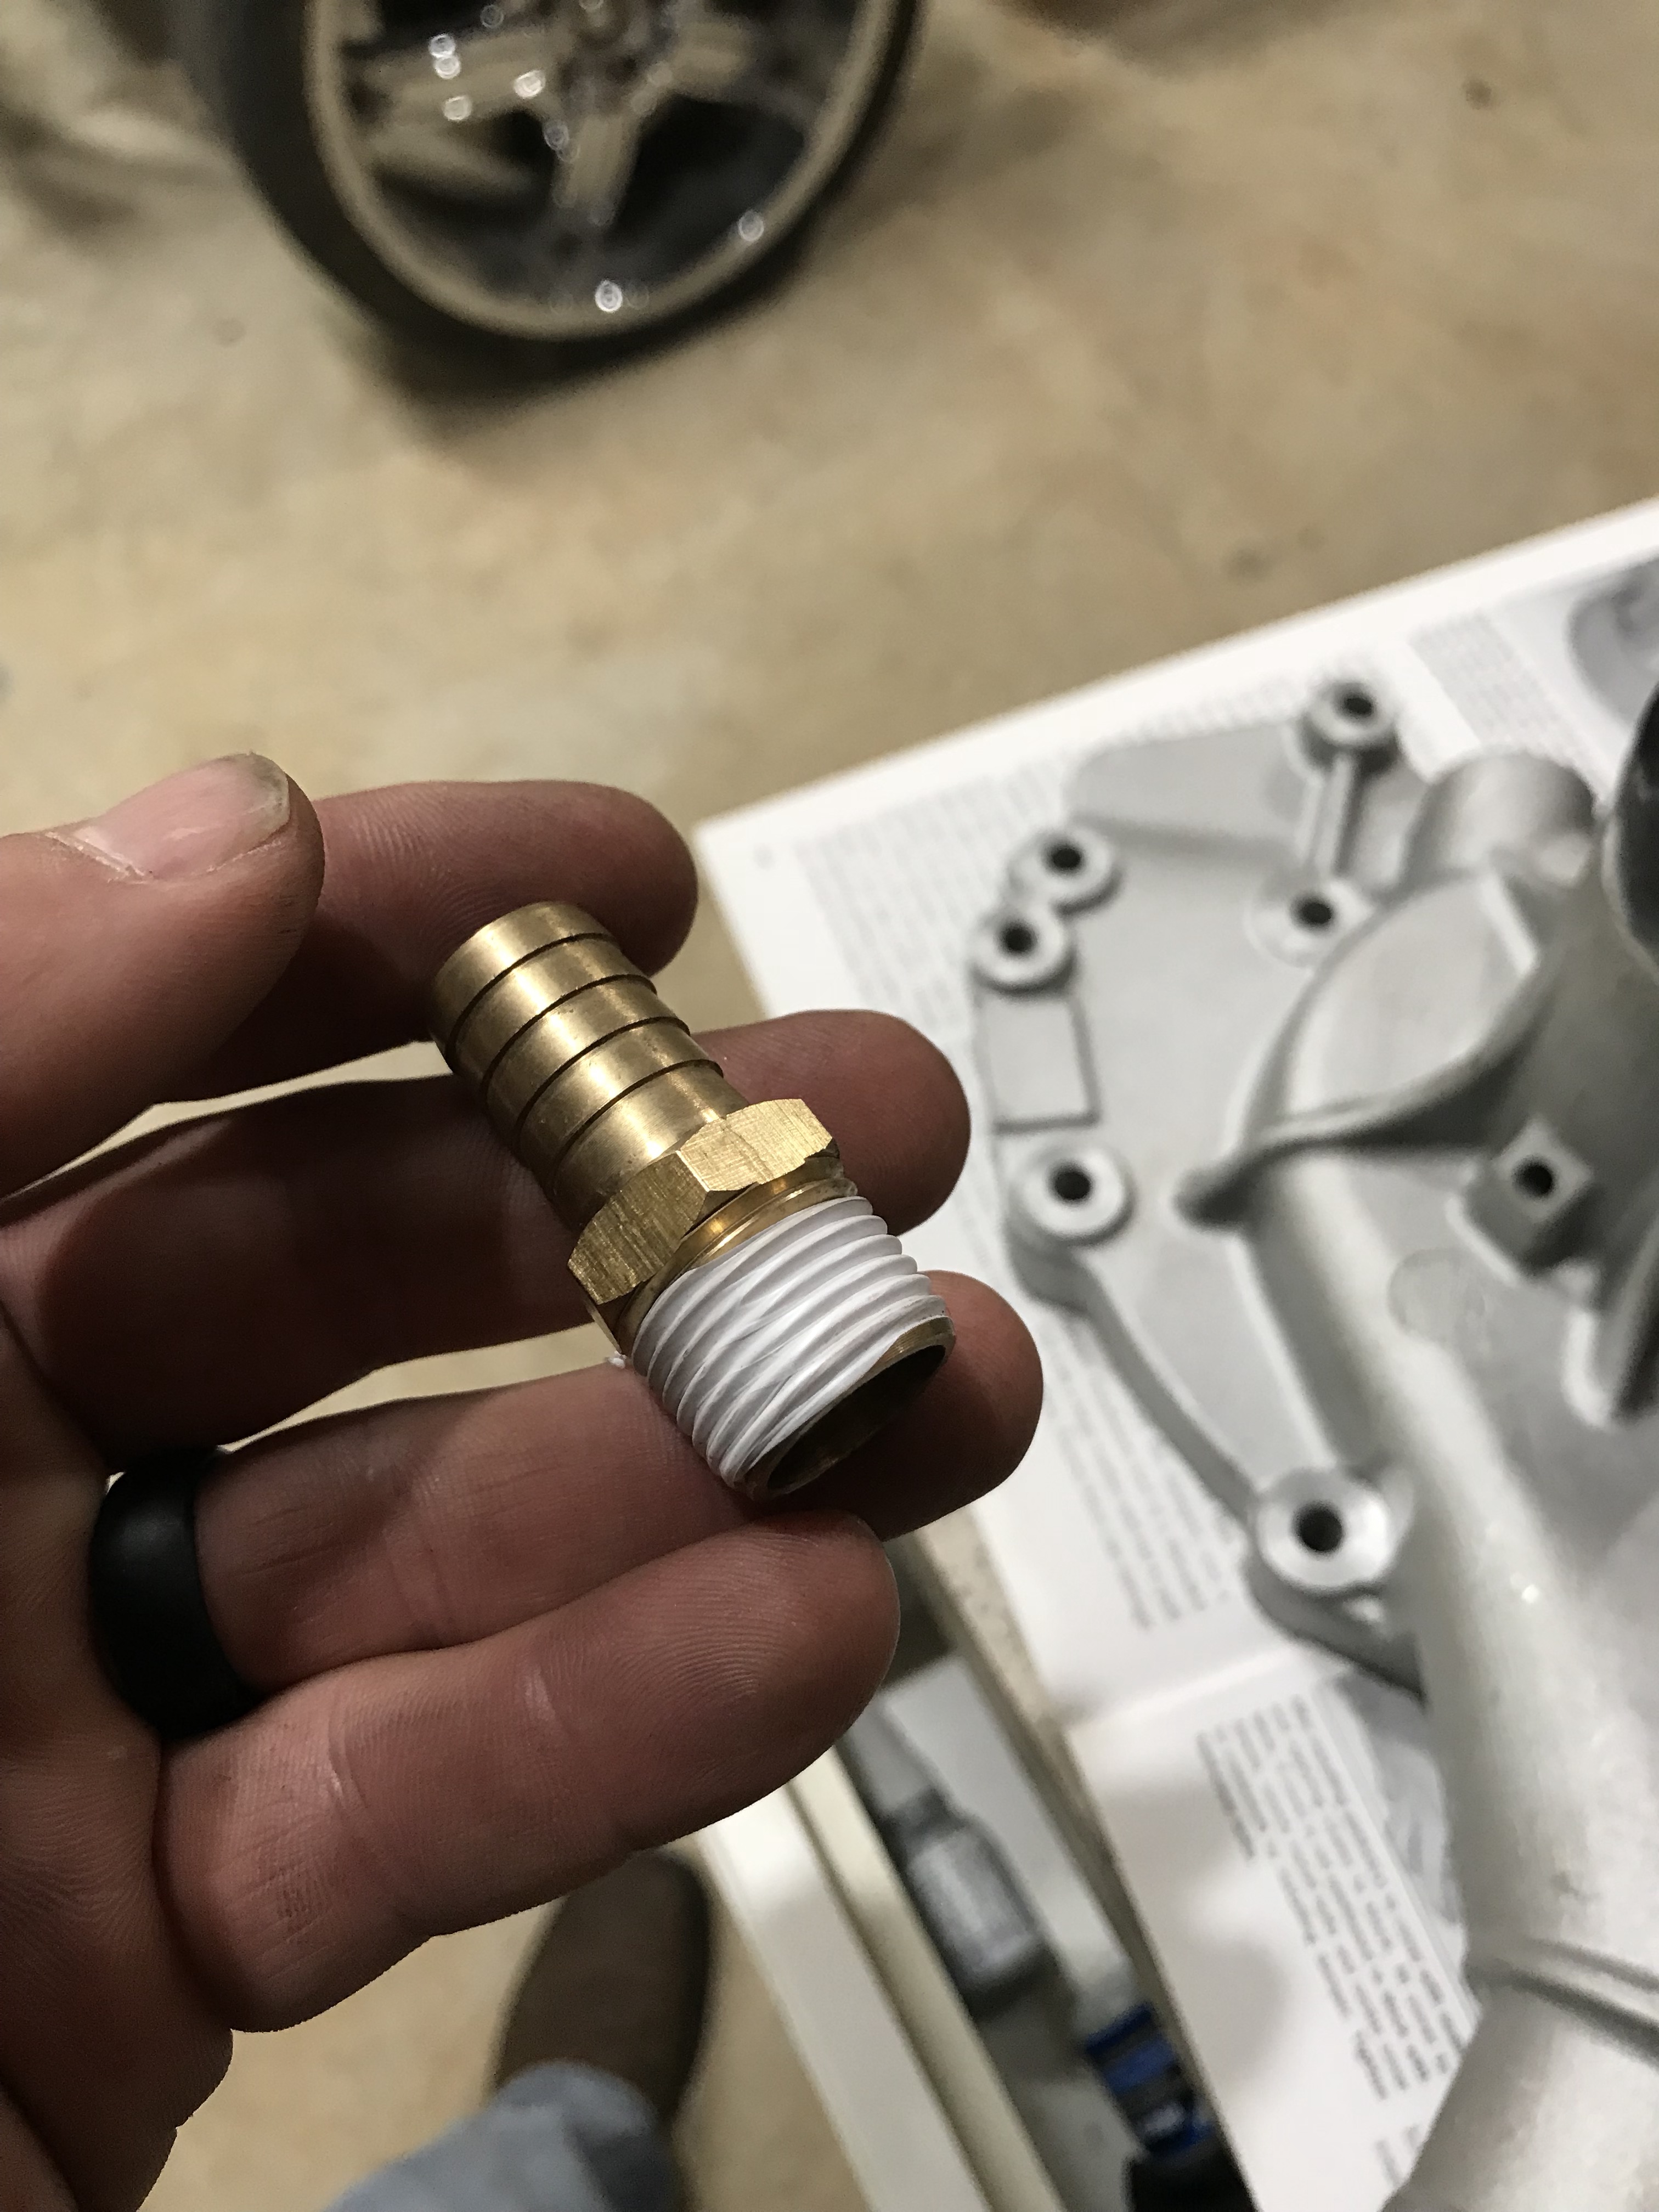 Heater hose fitting

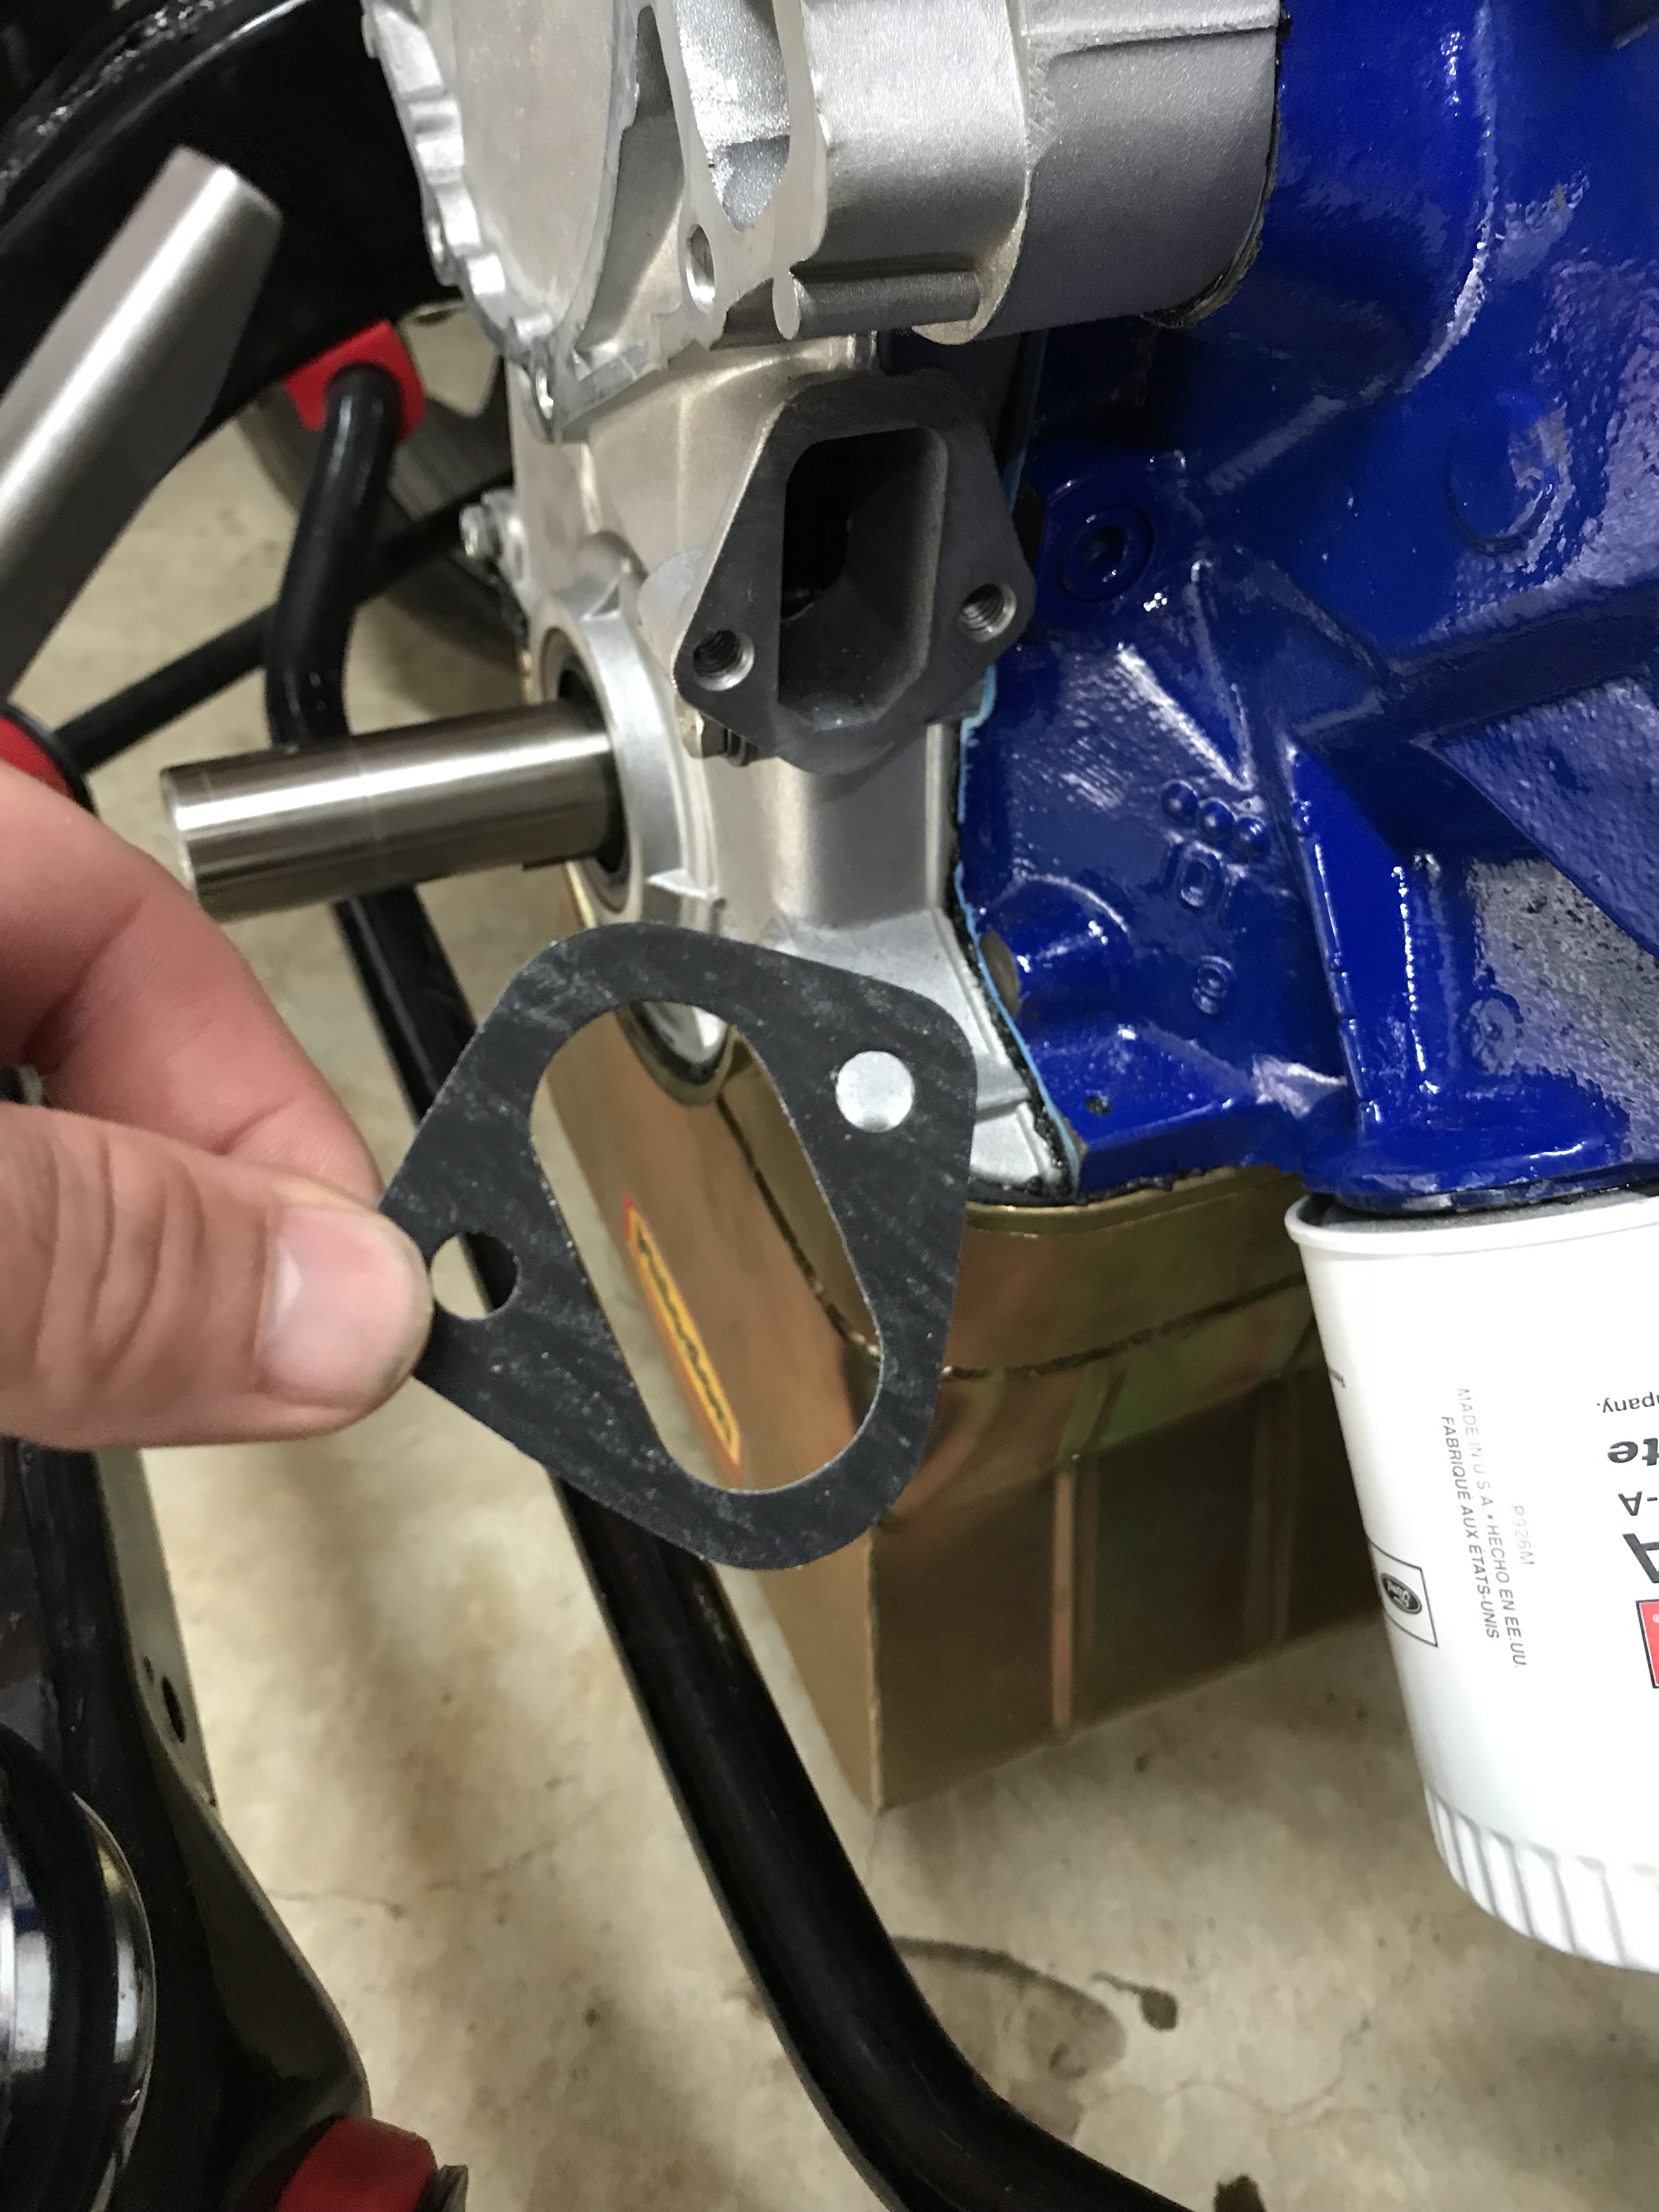
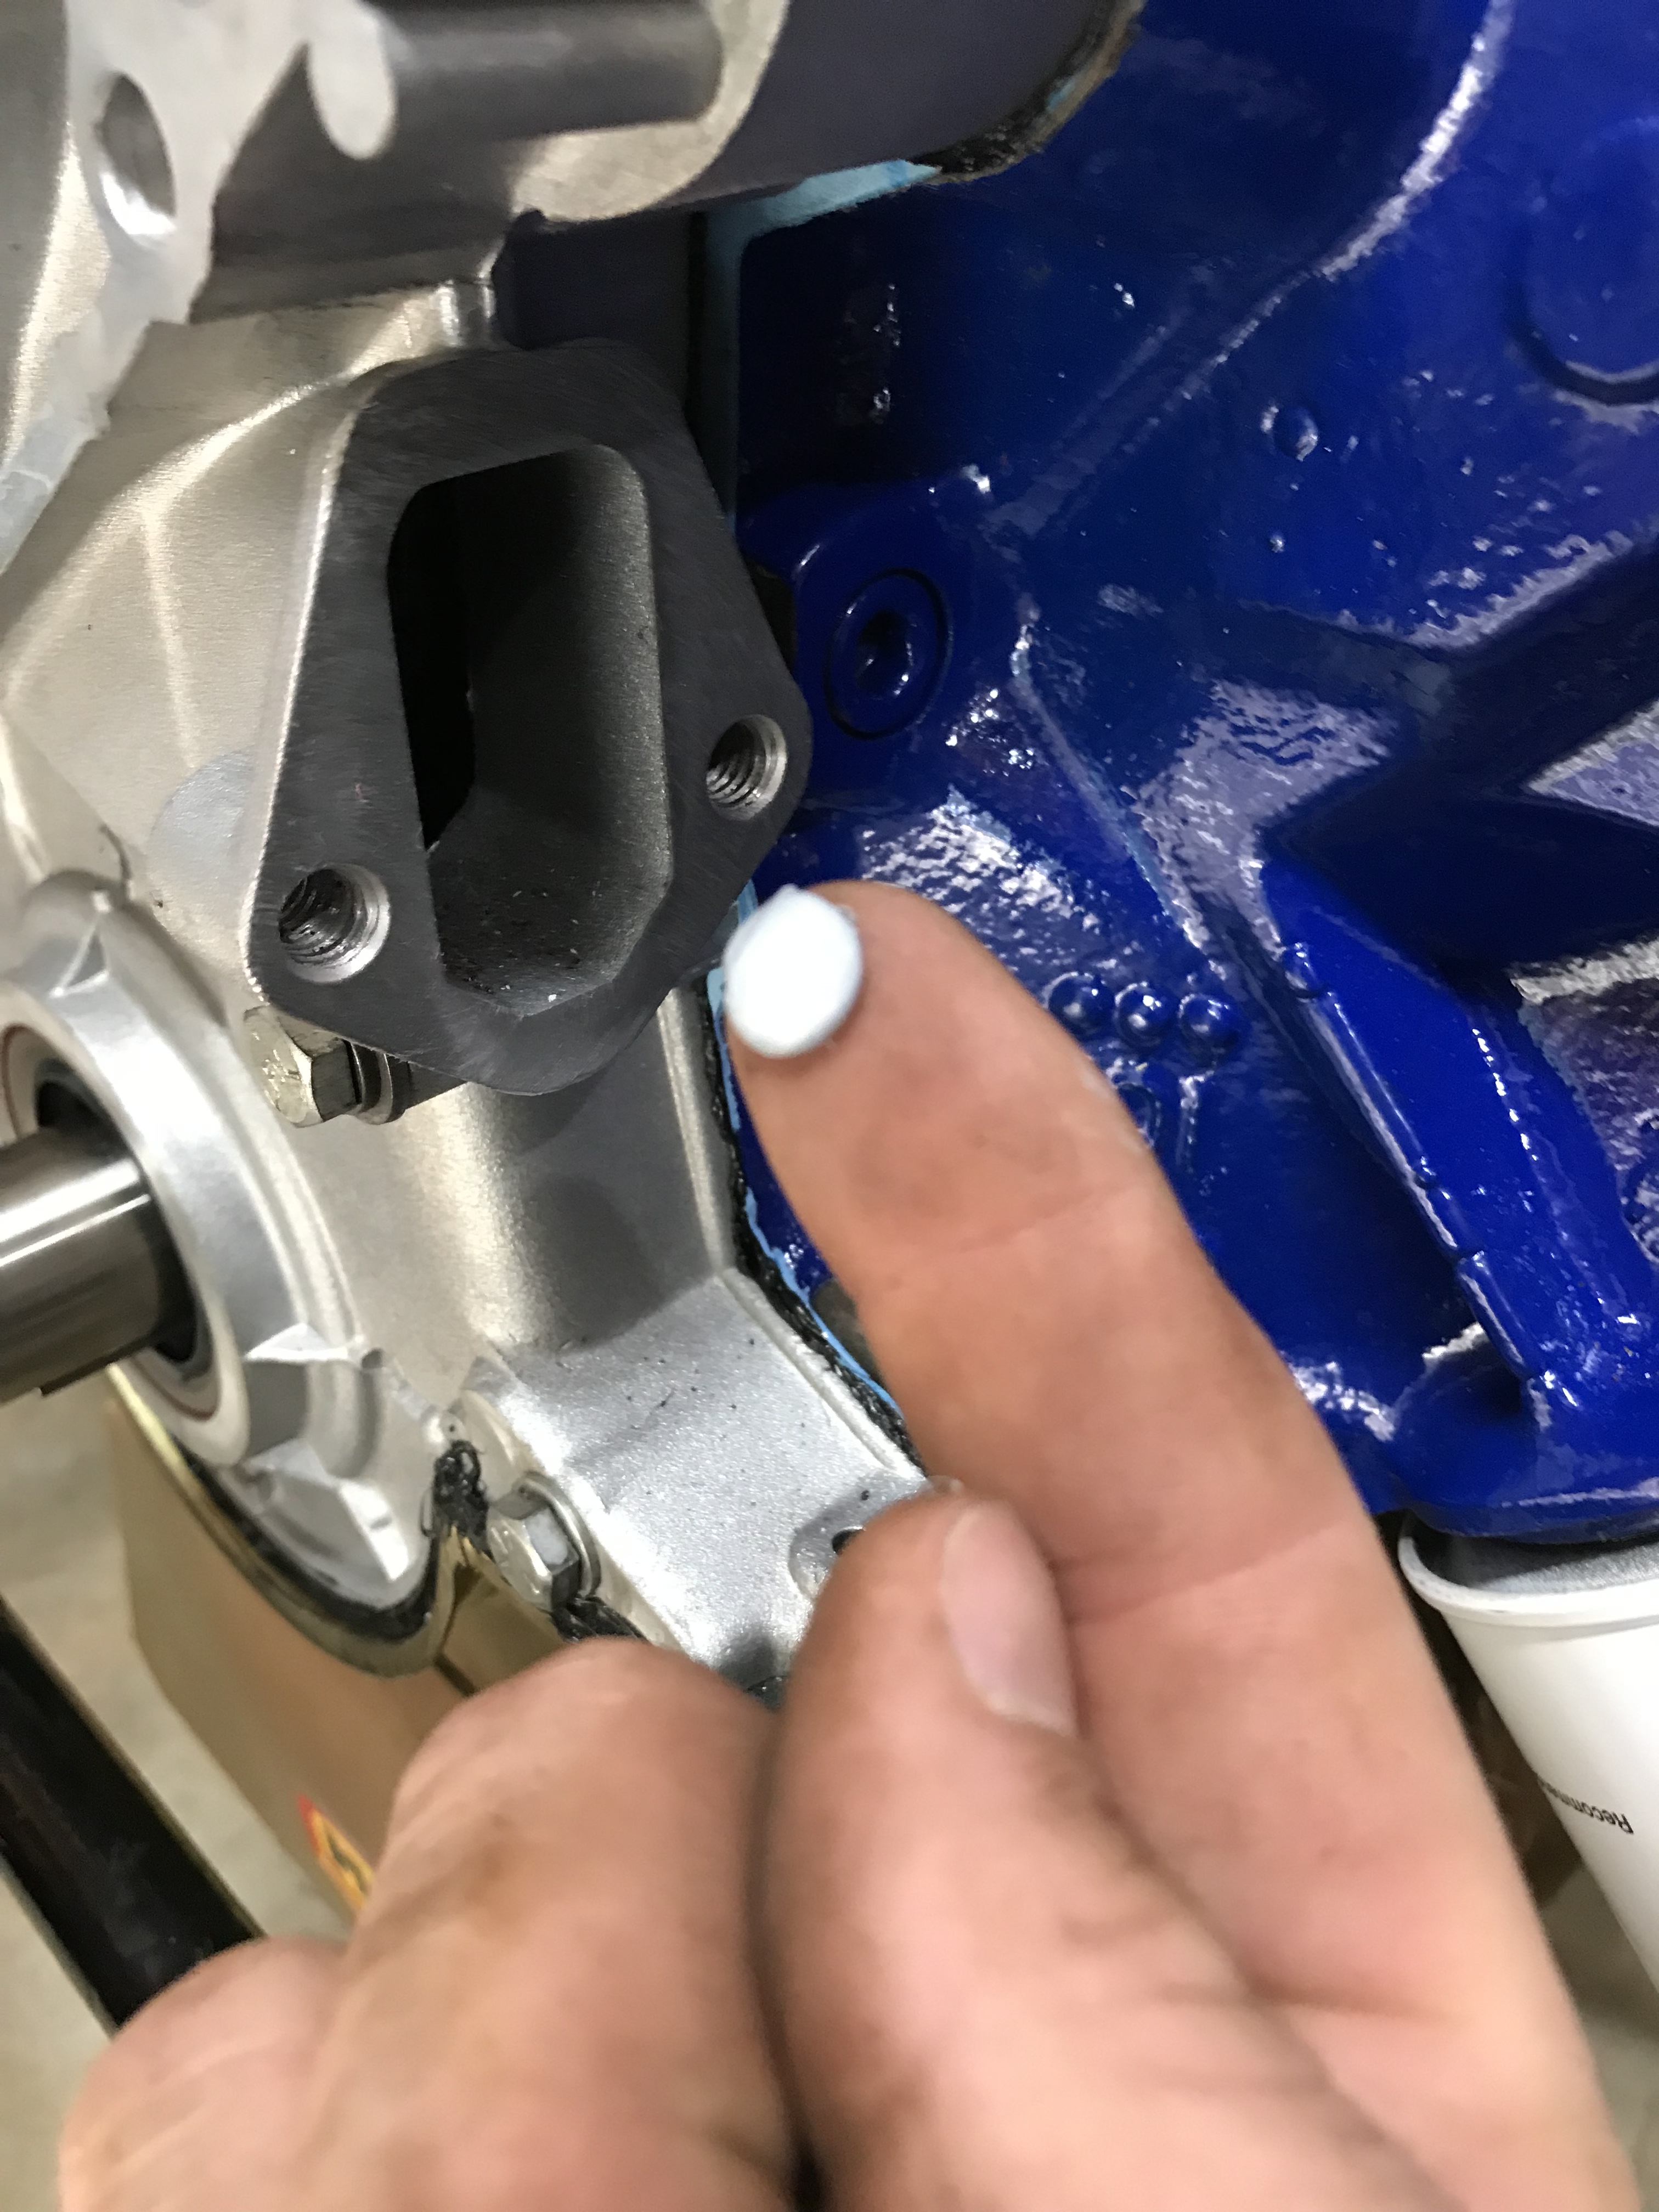
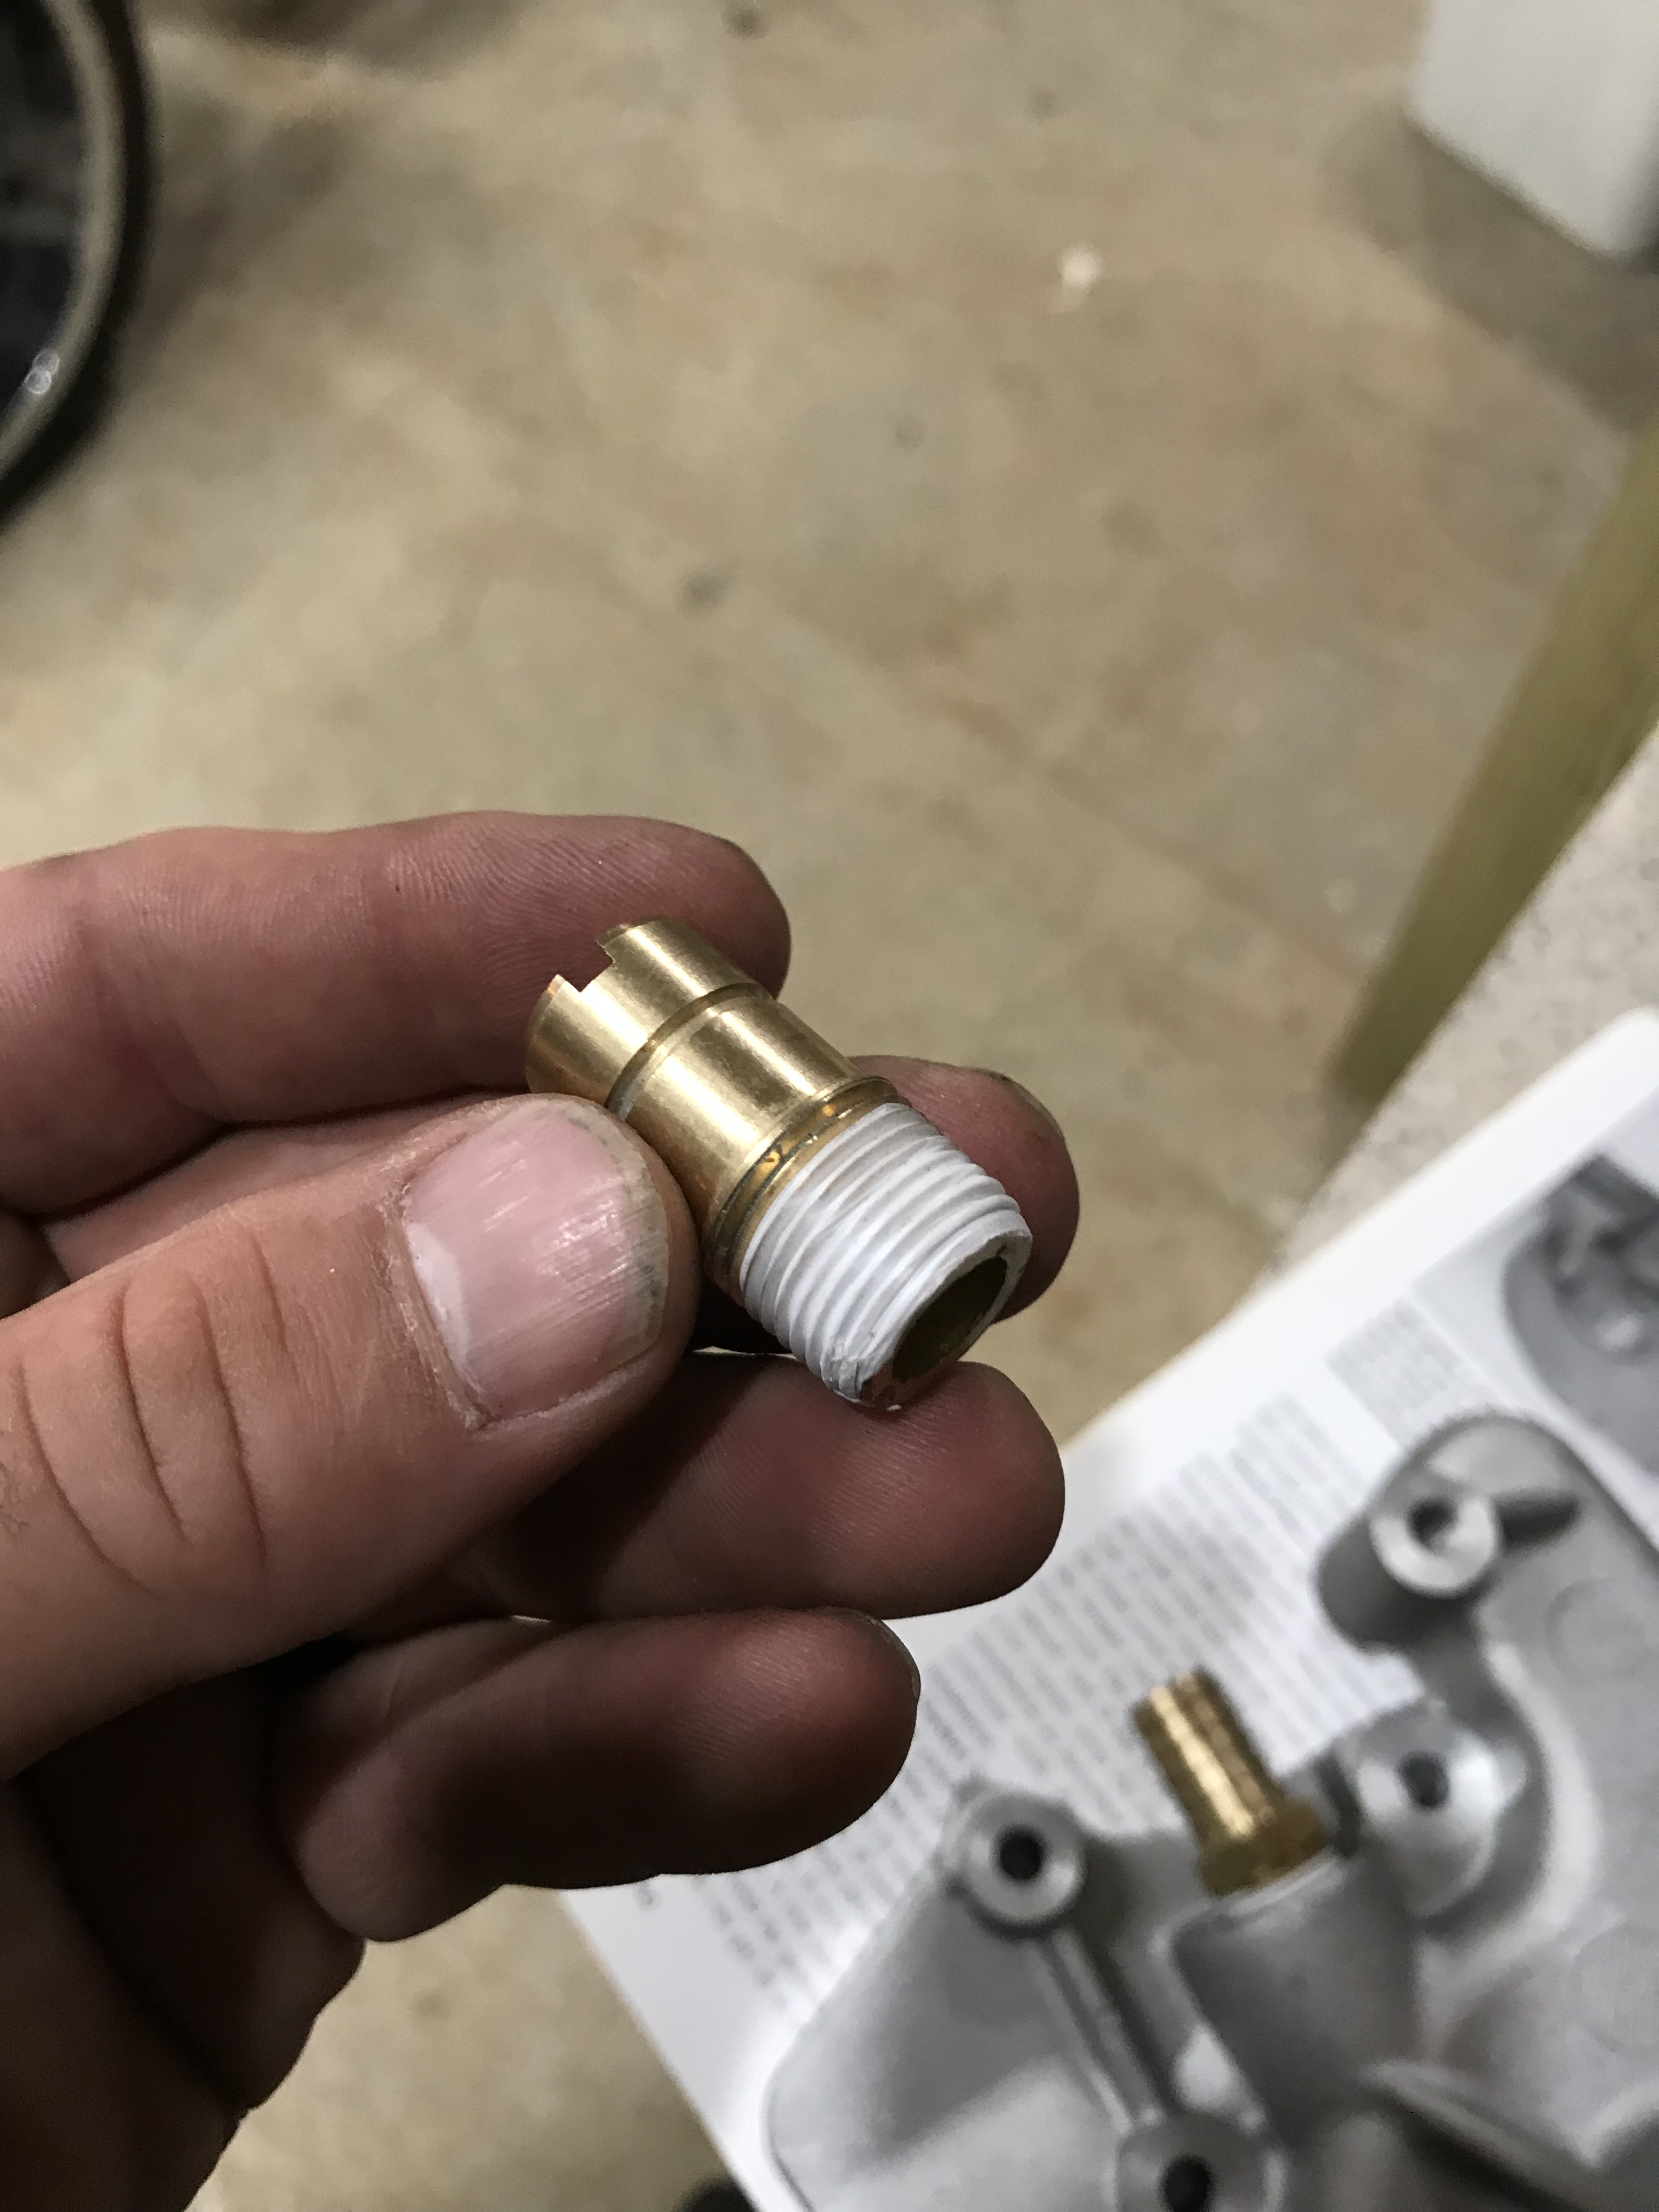 Bypass hose fitting
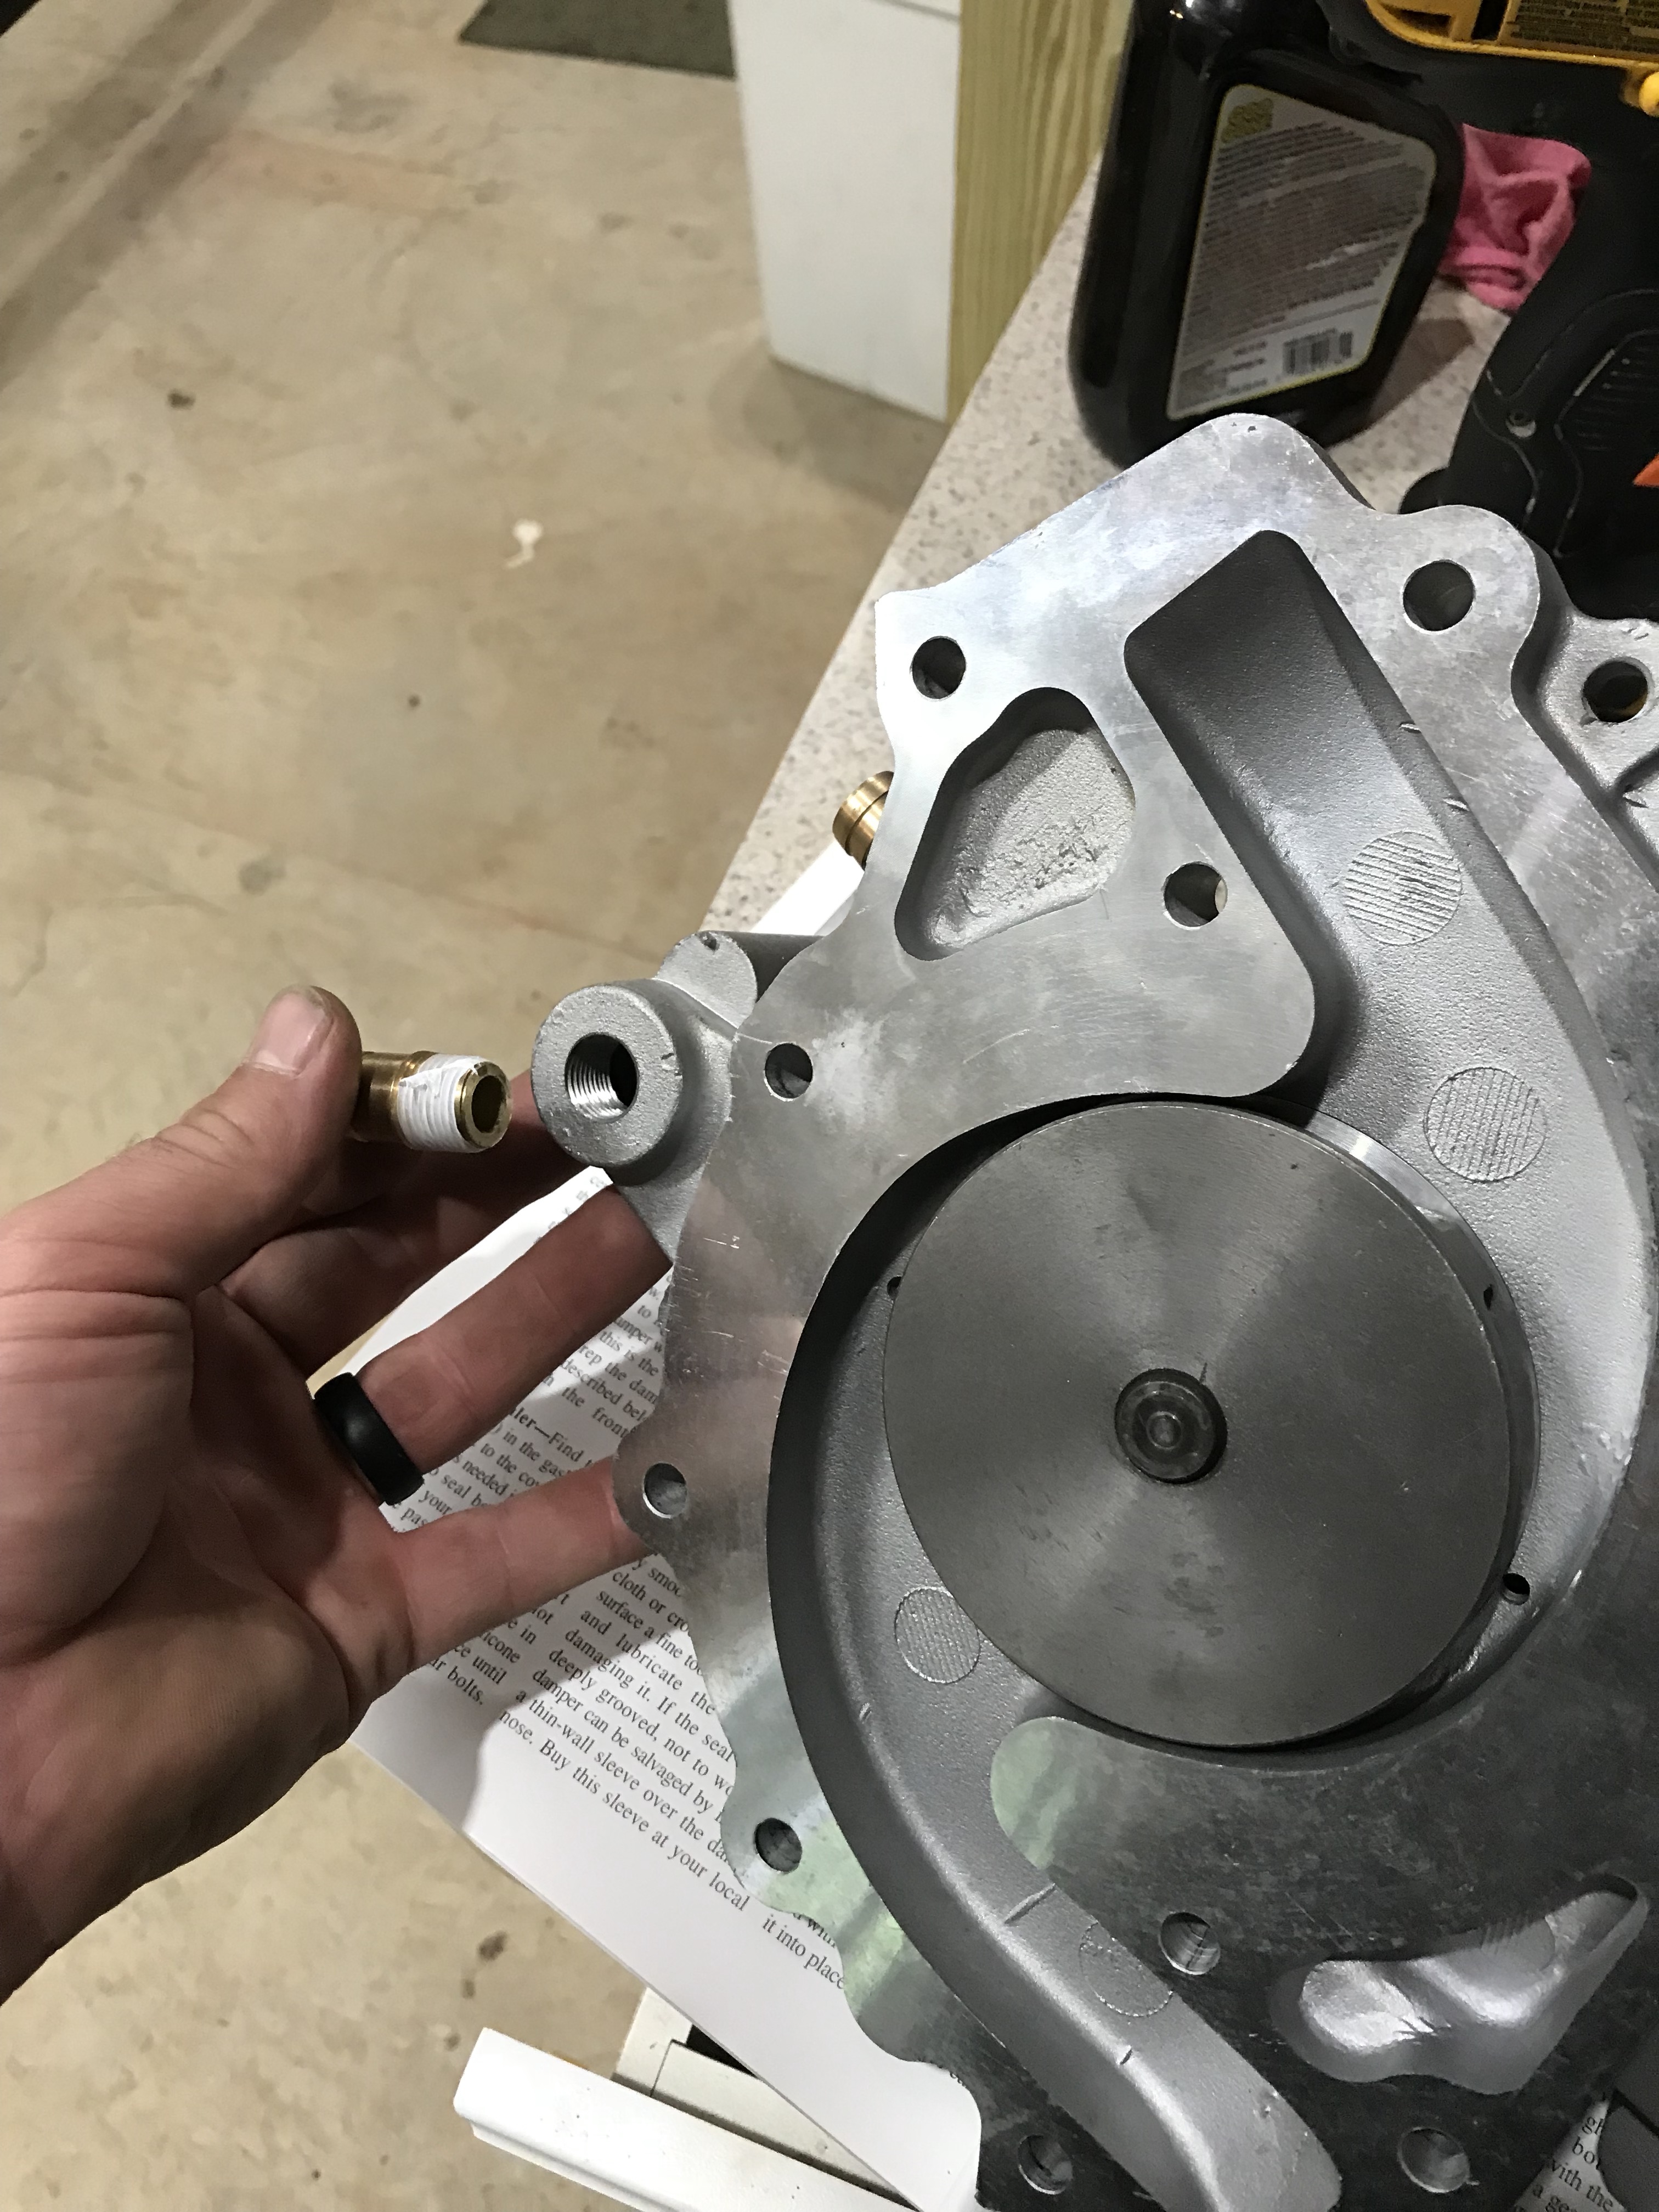
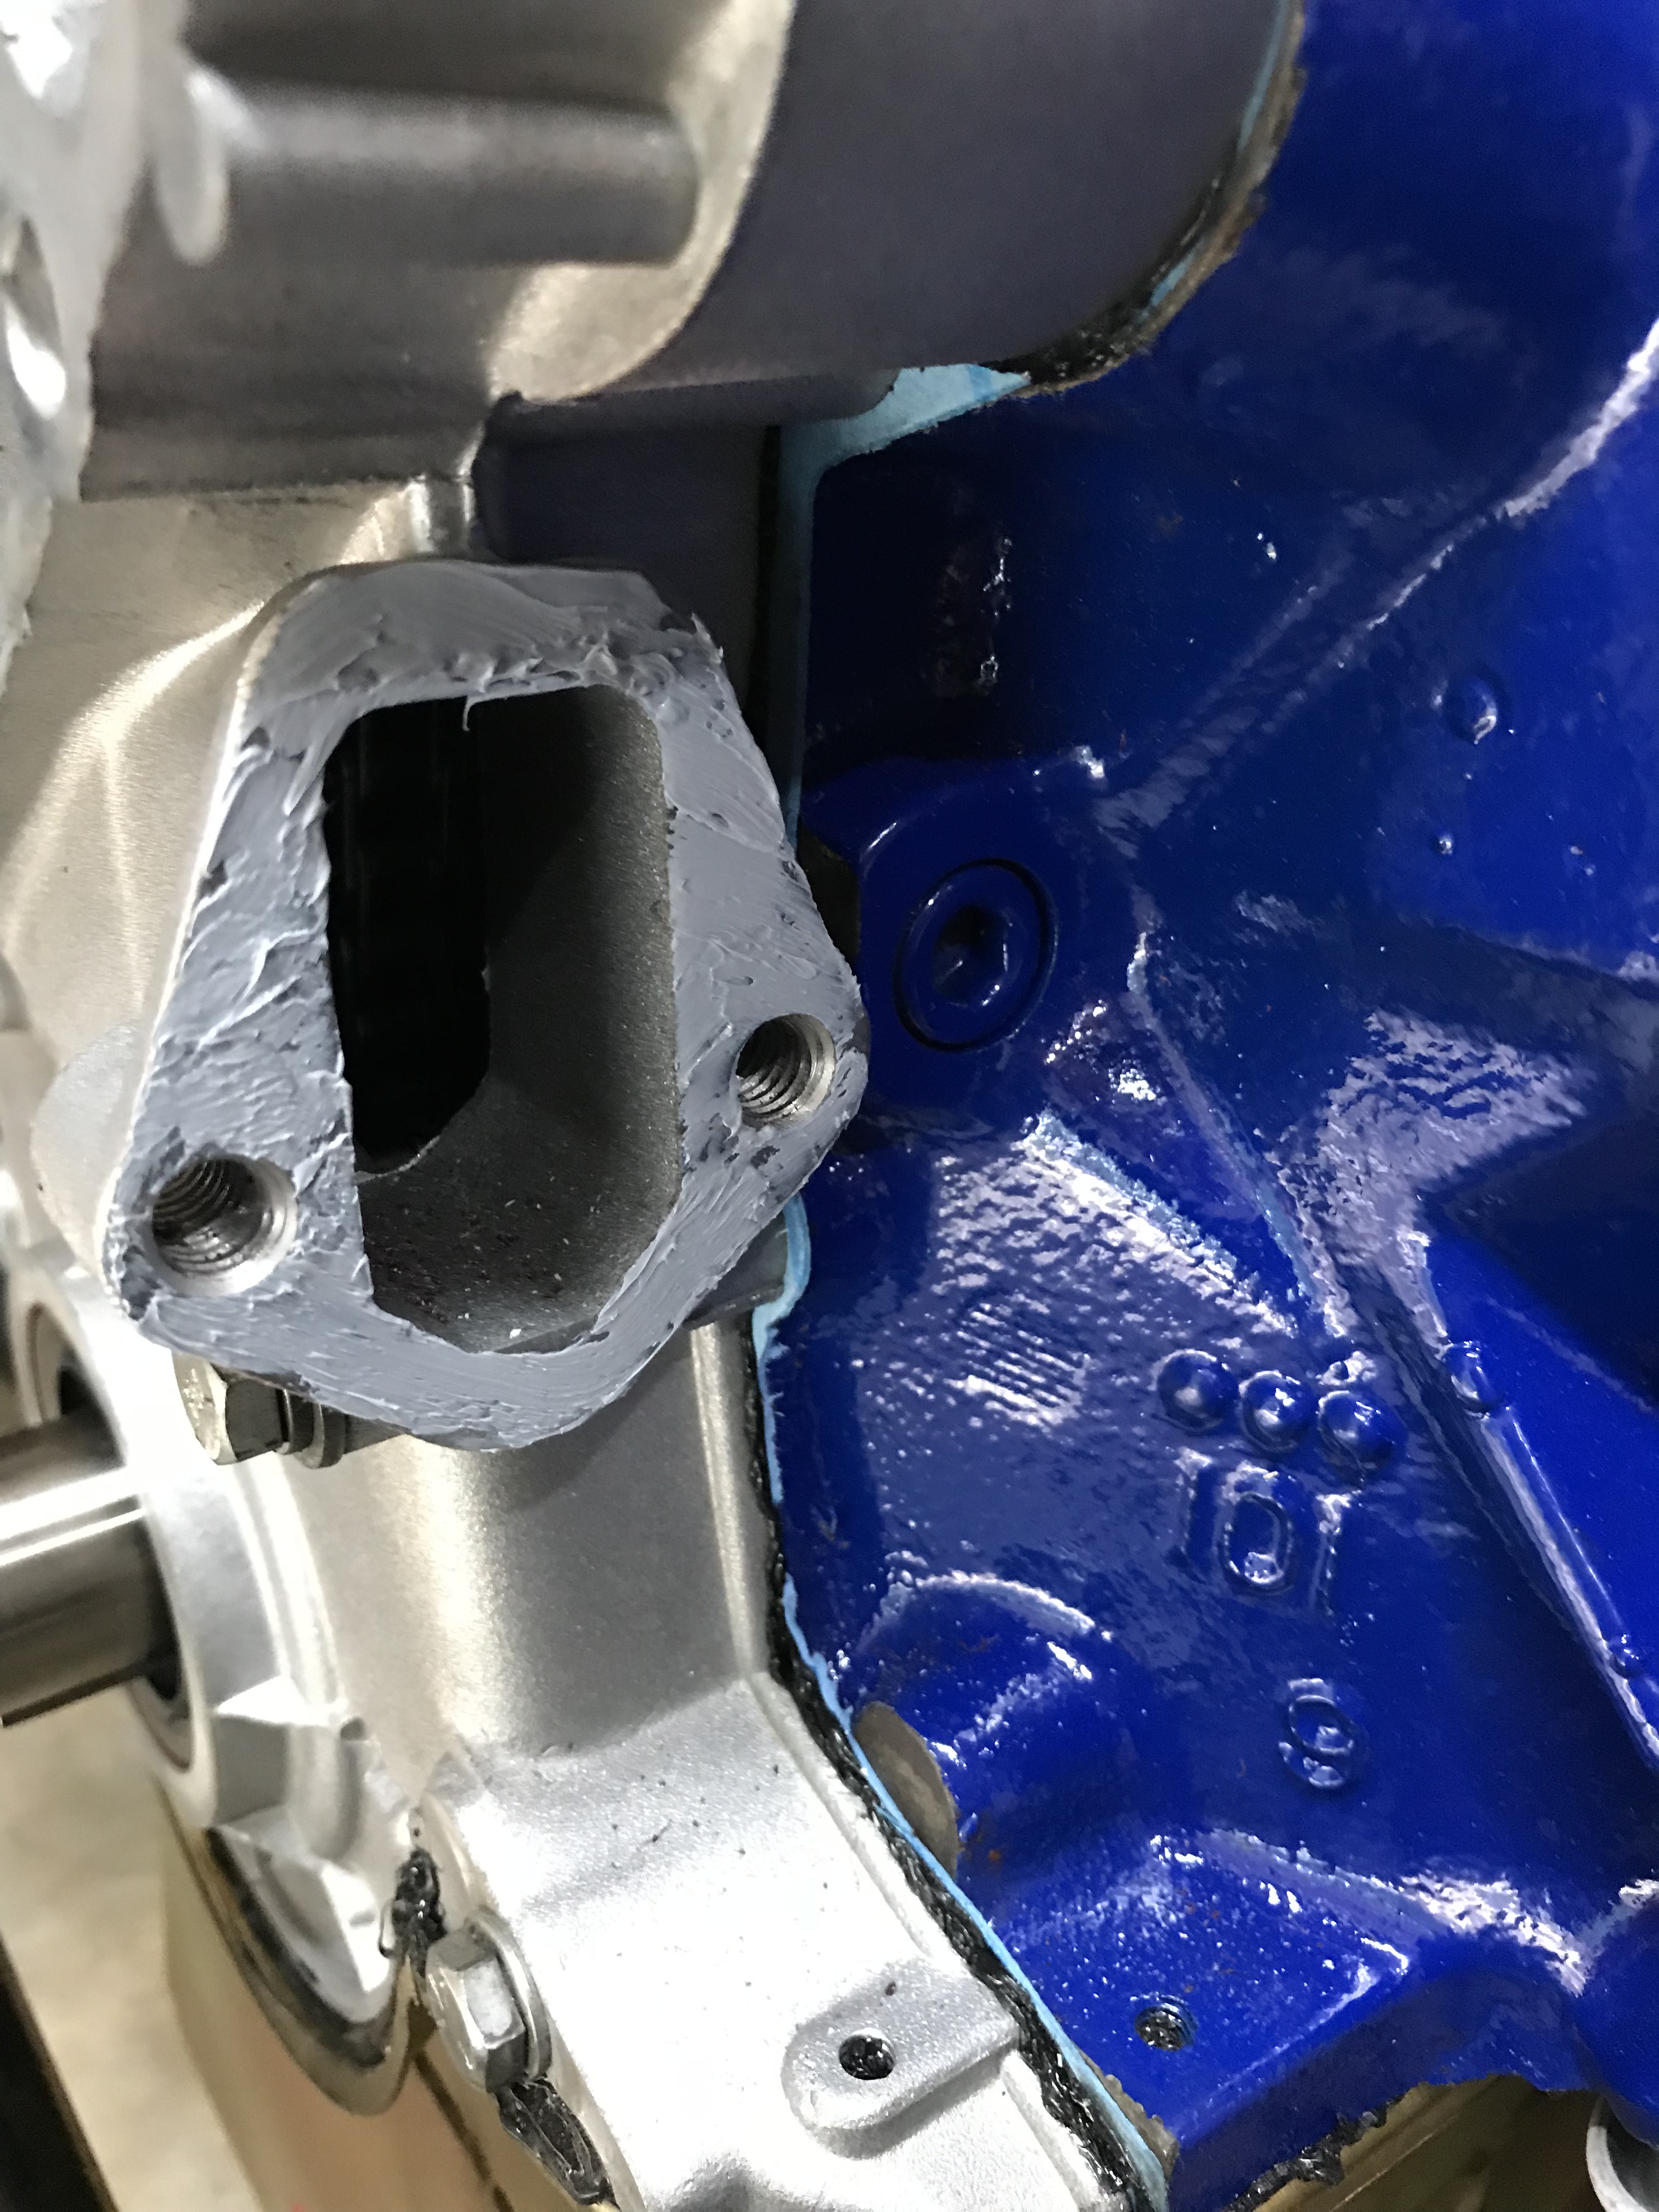
 Used a thin coat of diesel grey silicone with the gaskets
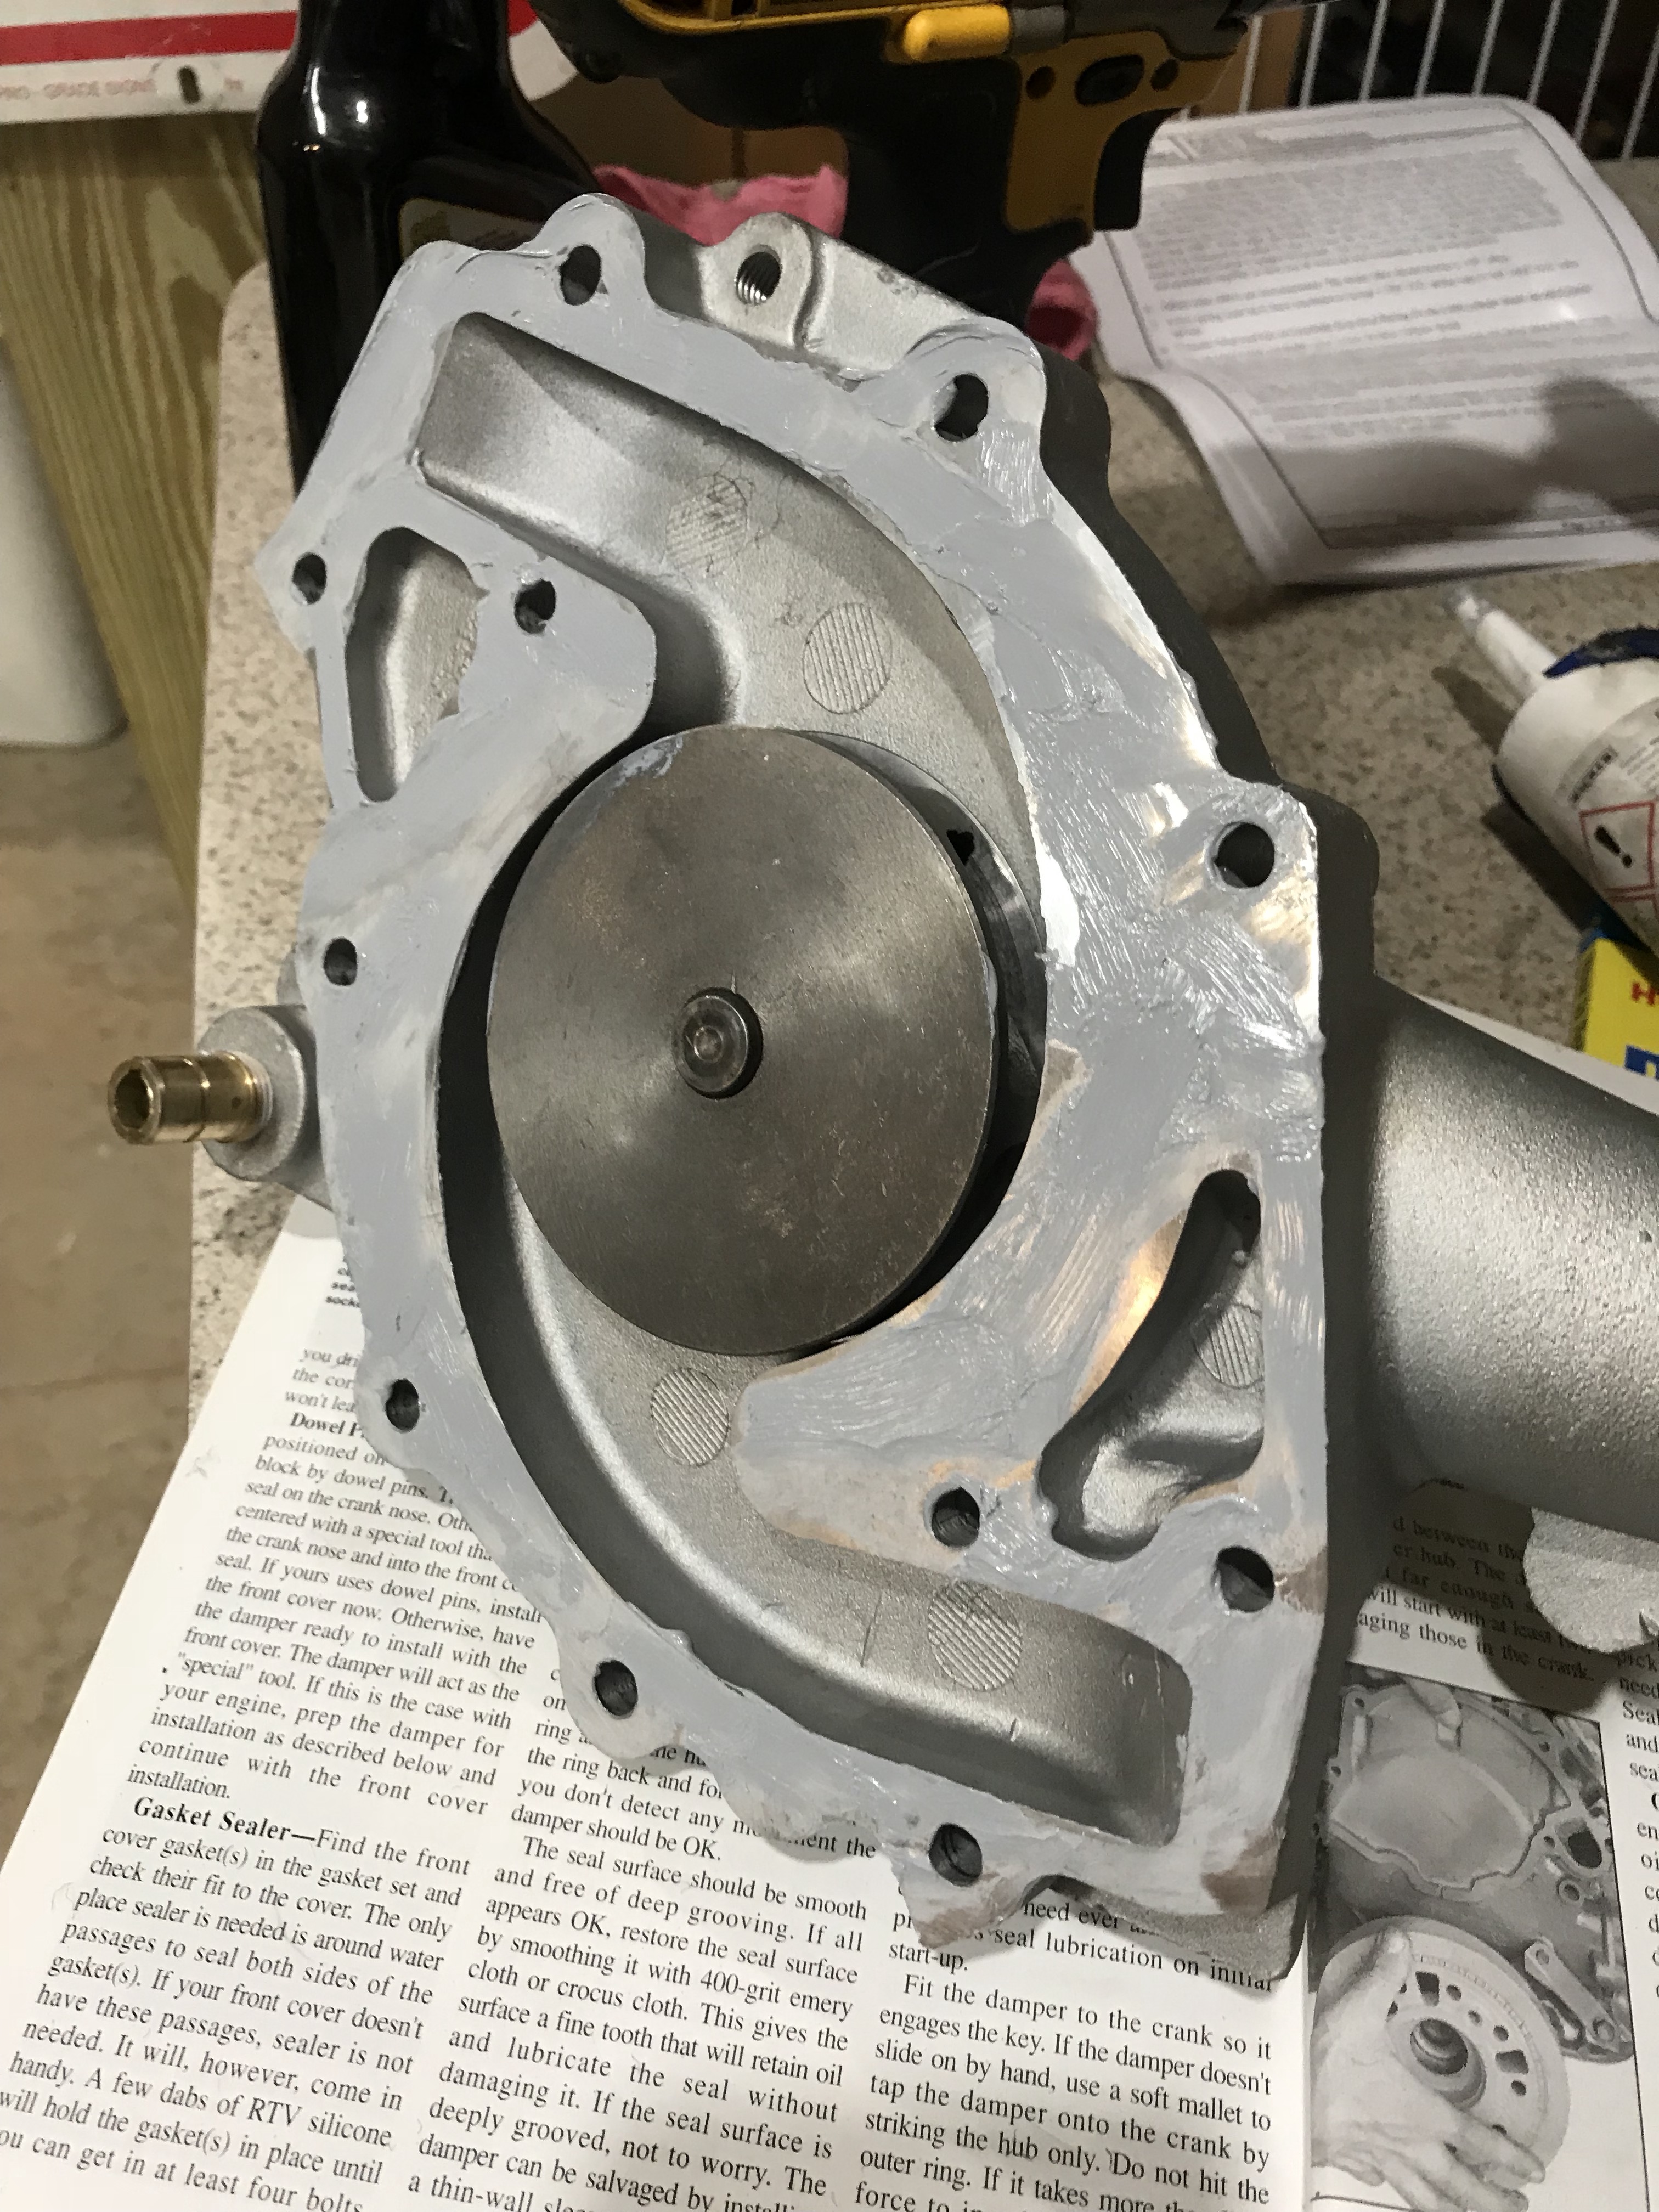
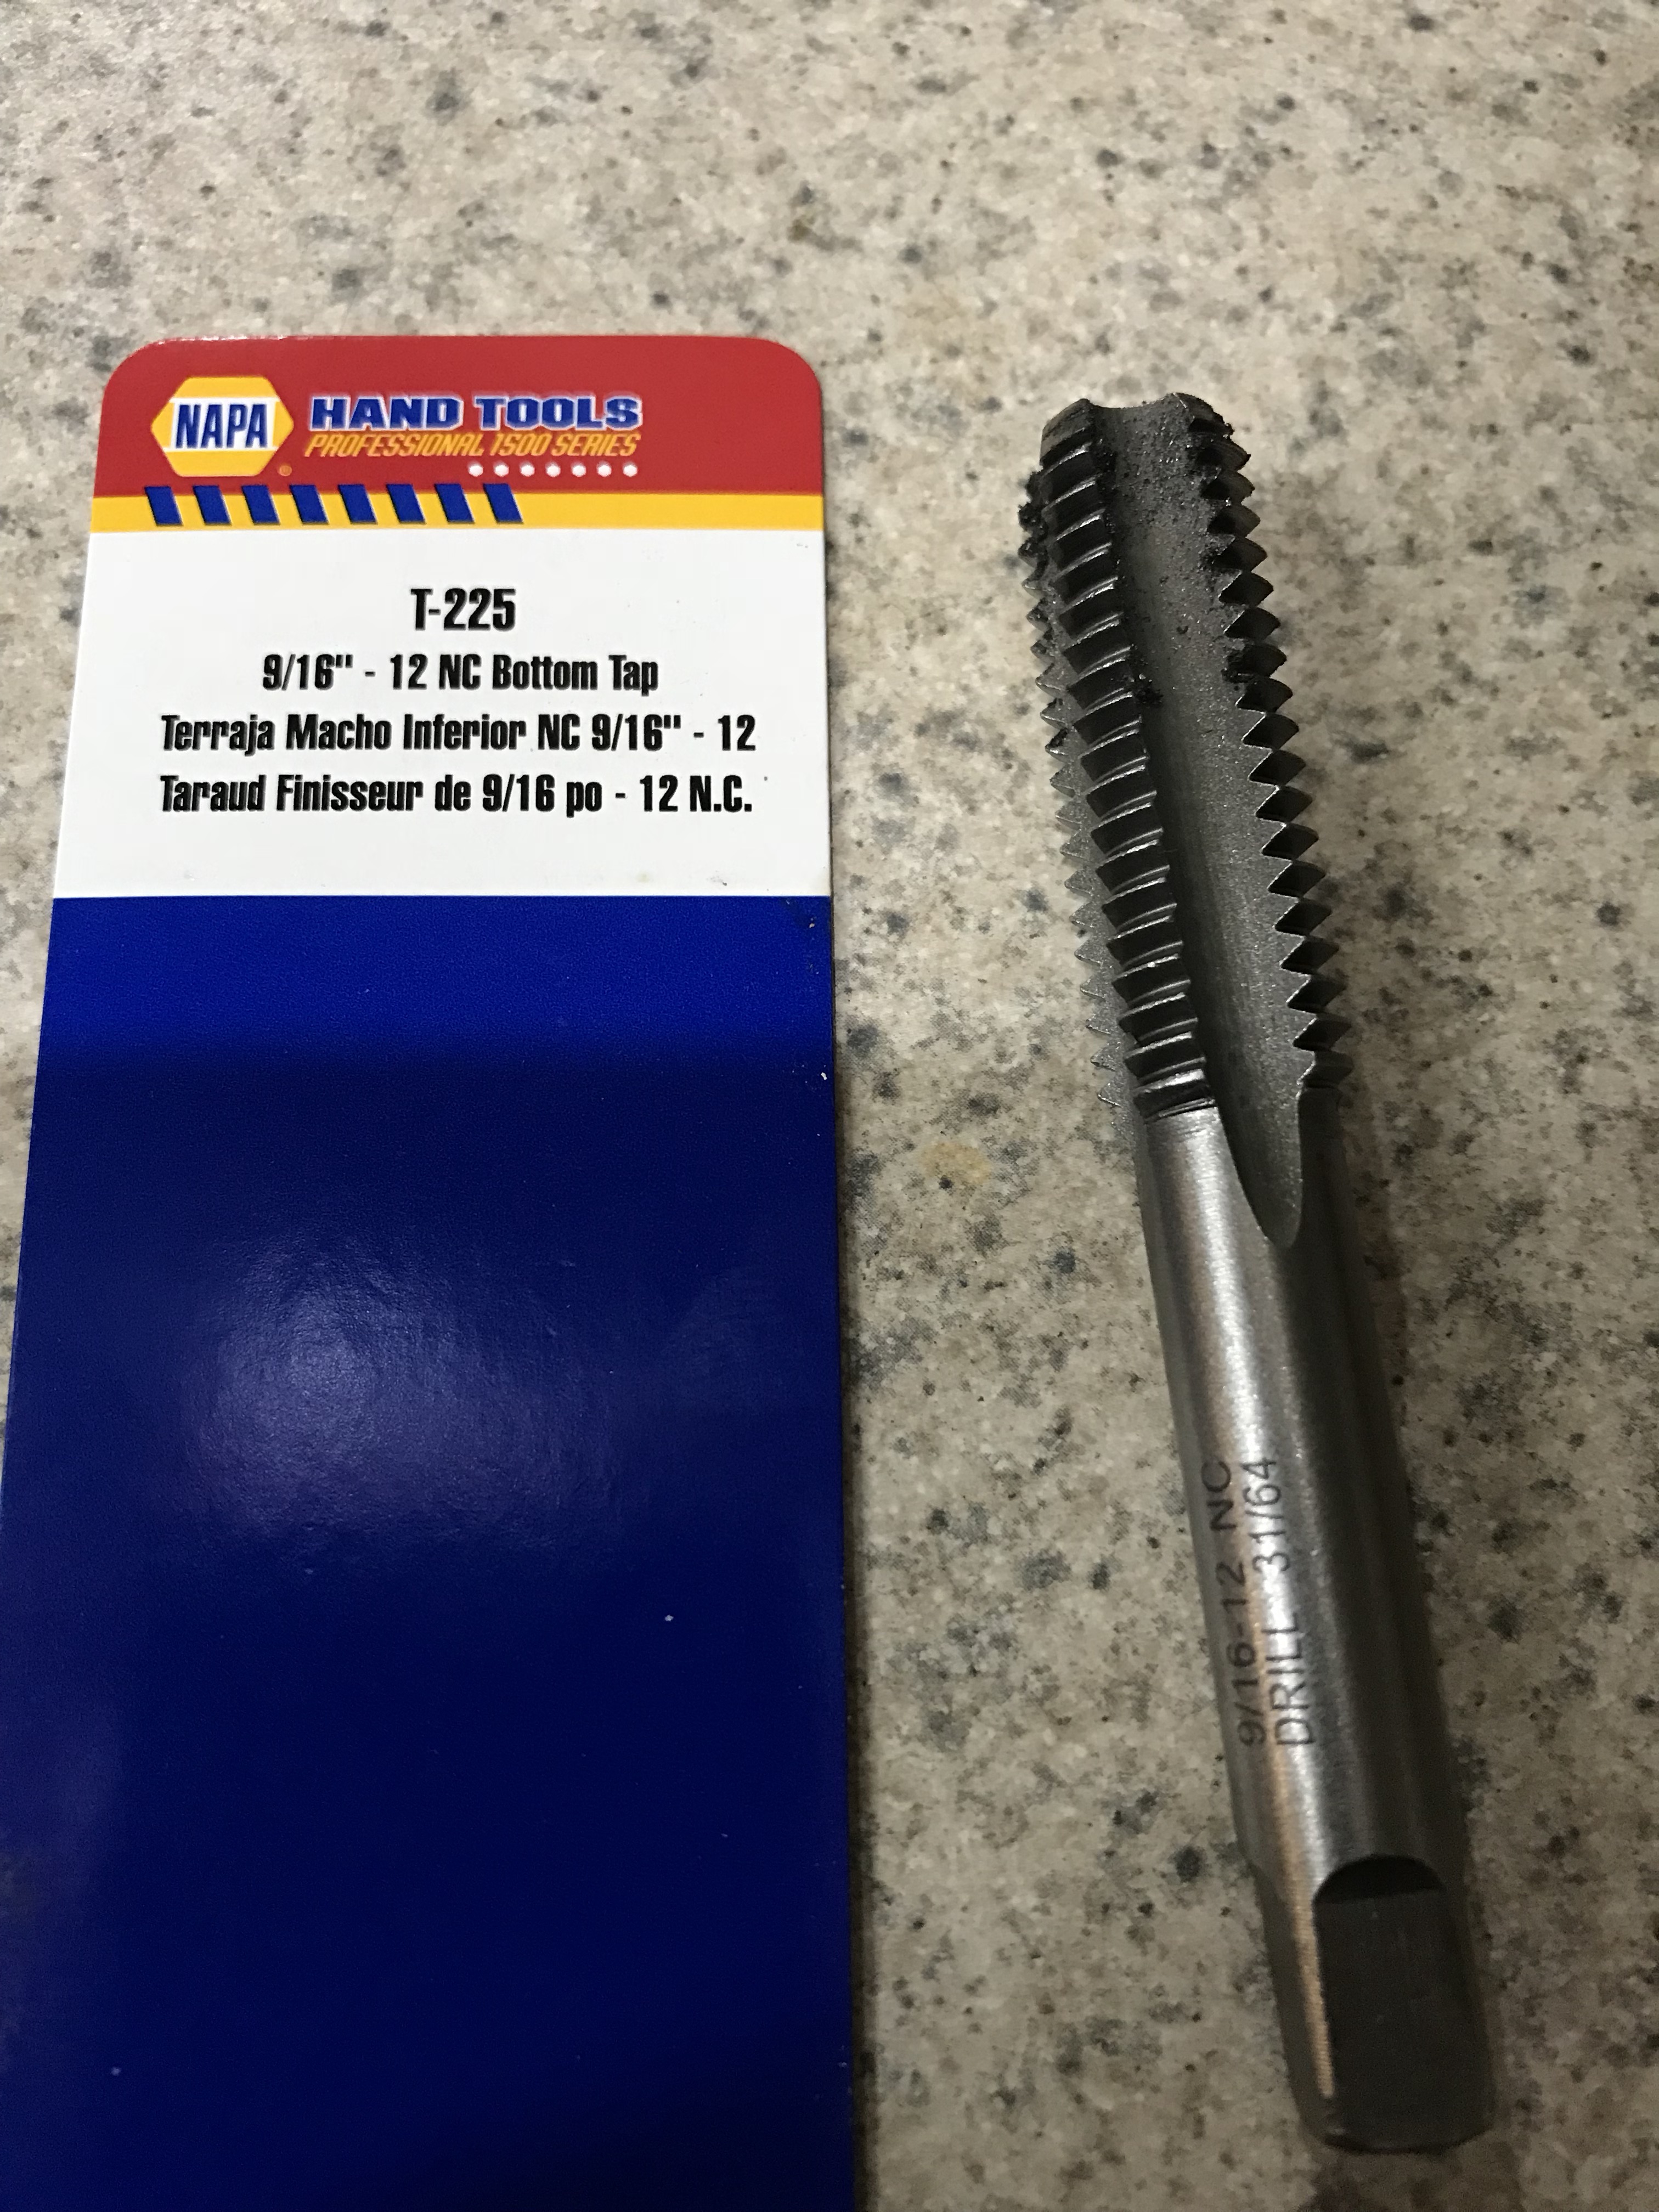 9/16-2 bottom tap to clean the head bolt threads
 Use a little Pb Blaster on the tap threads
 Set the headers in place before setting on the heads since it’s so tight


Must use the provided assembly lube with the ARP head bolts on underside of bolt head & washer too


driver side head set in place & quickly placed one bolt in finger tight to secure from falling off


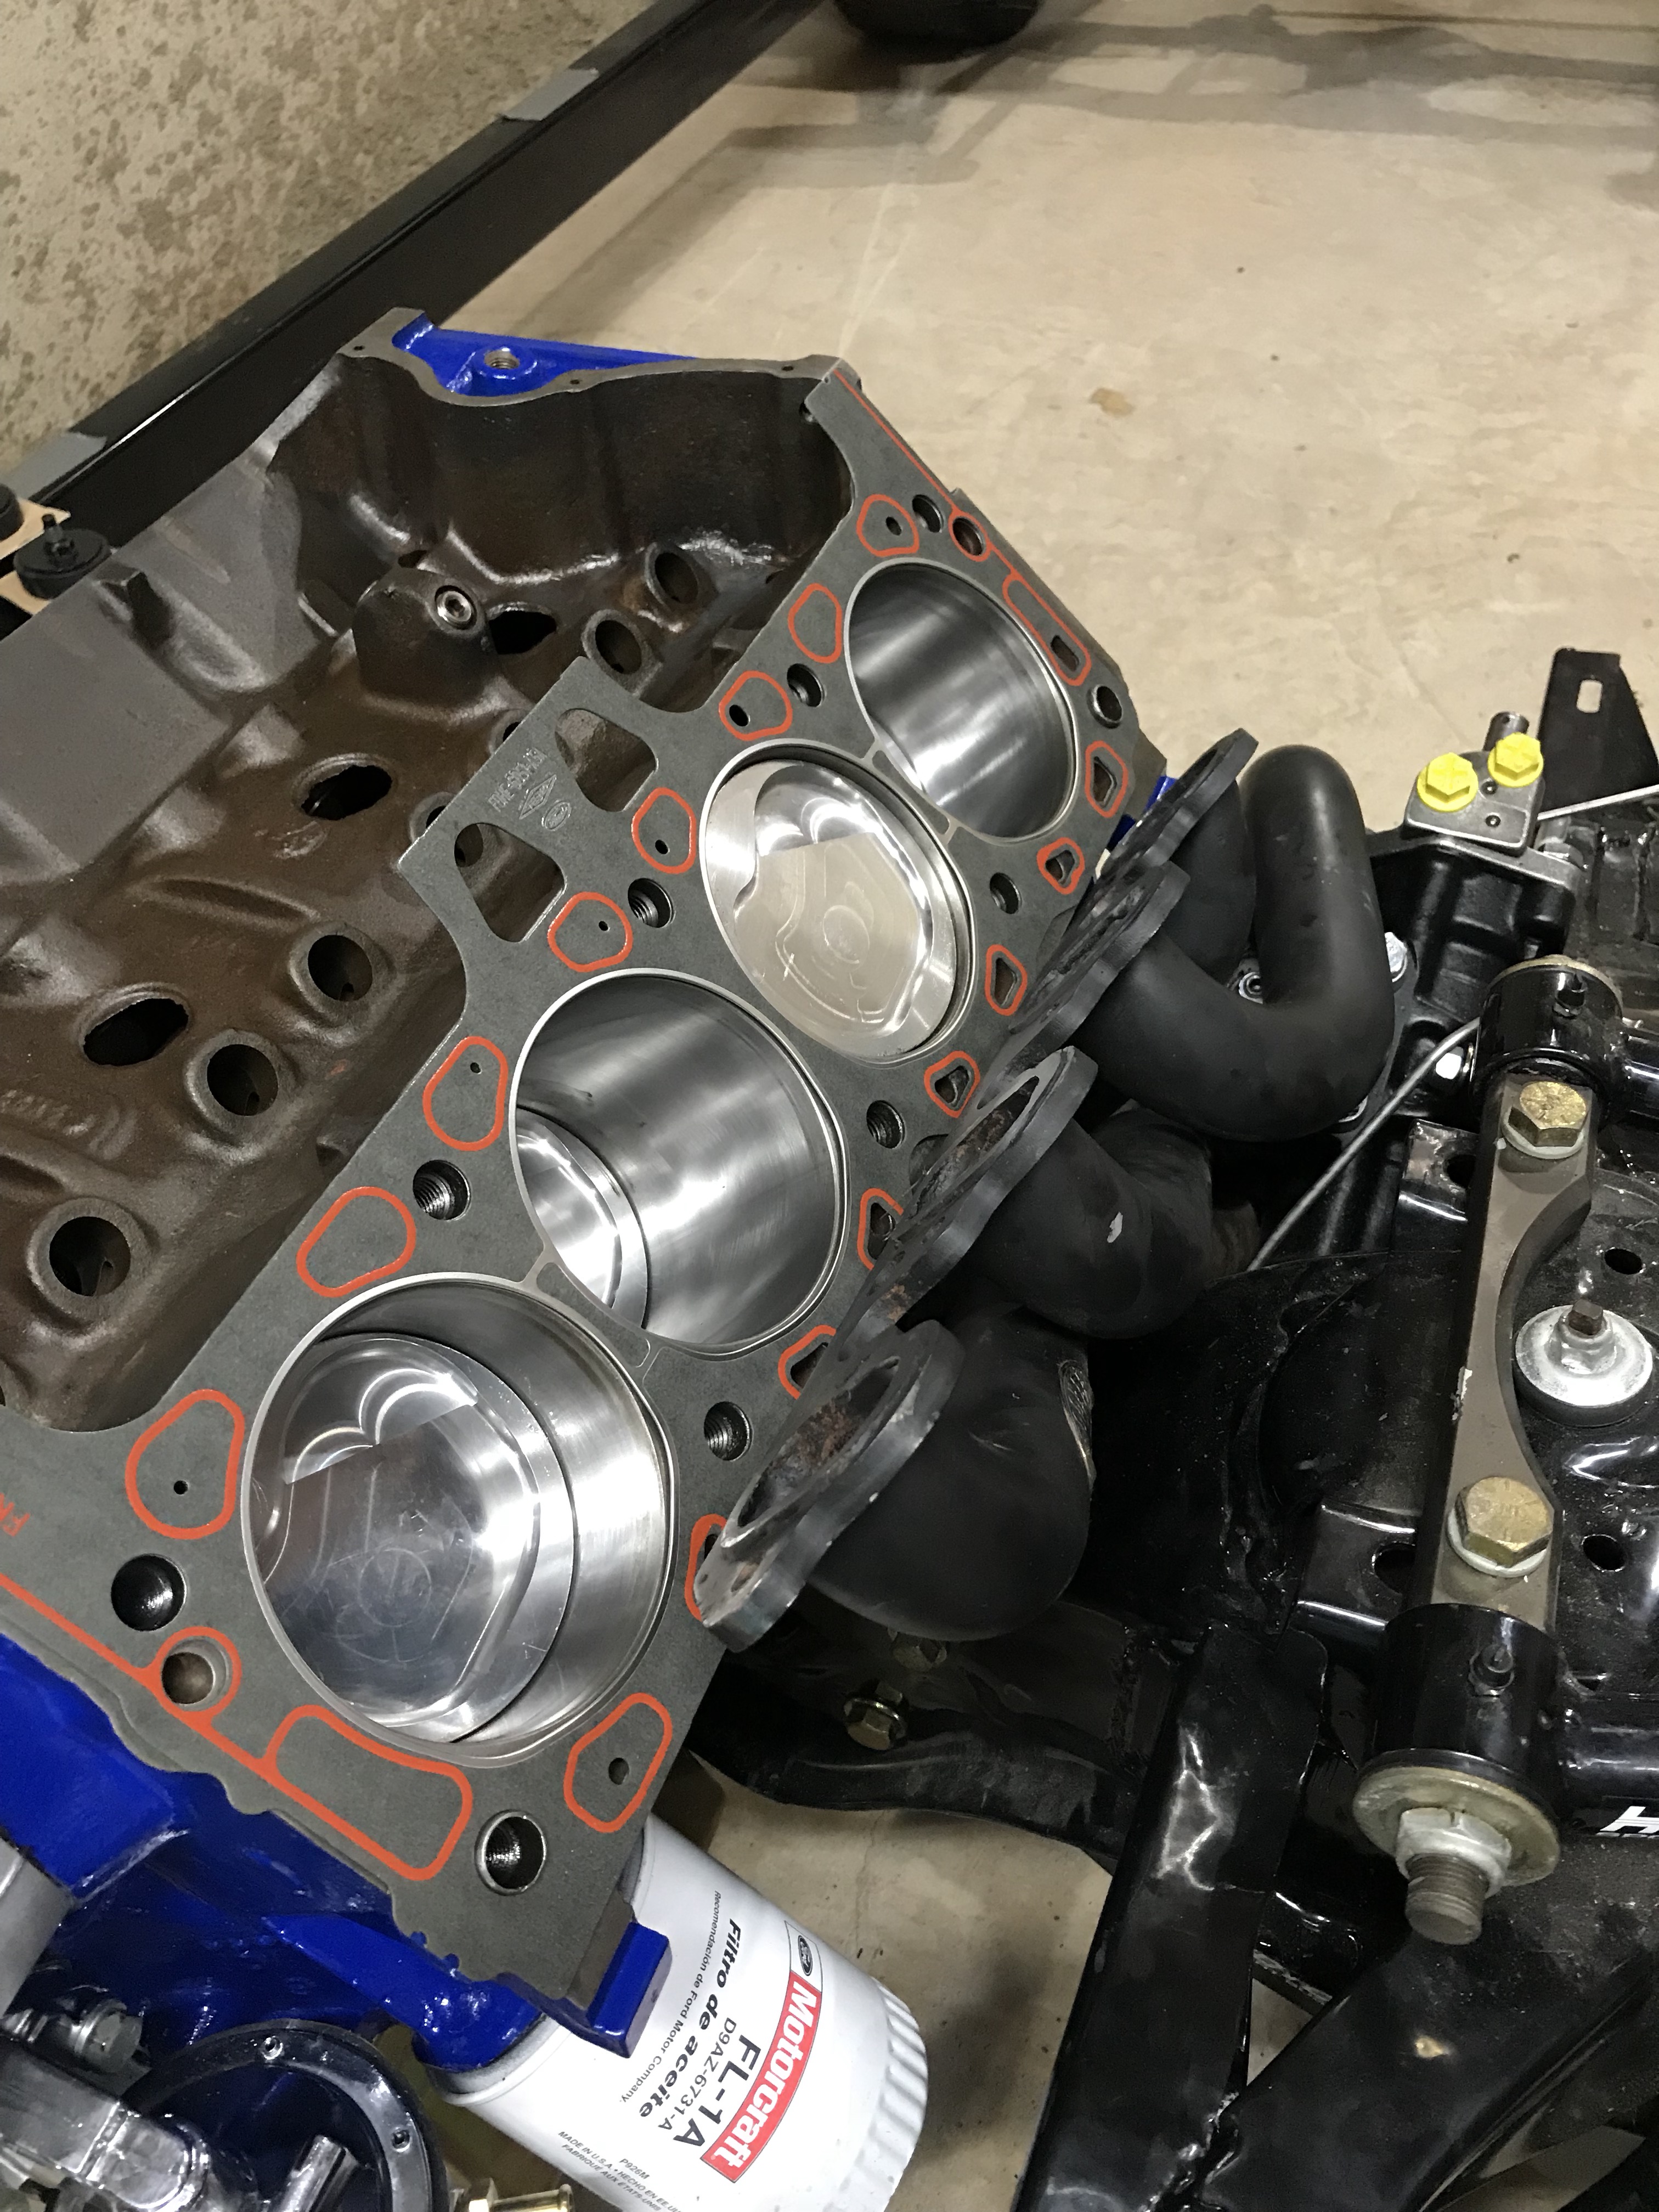
passenger side head gasket


Passenger side head set on


lifters are in – they overlap the cam lobes to promote lifter rotation – Used No. 105 lube on the lifter tips – motor oil on the lifter sides


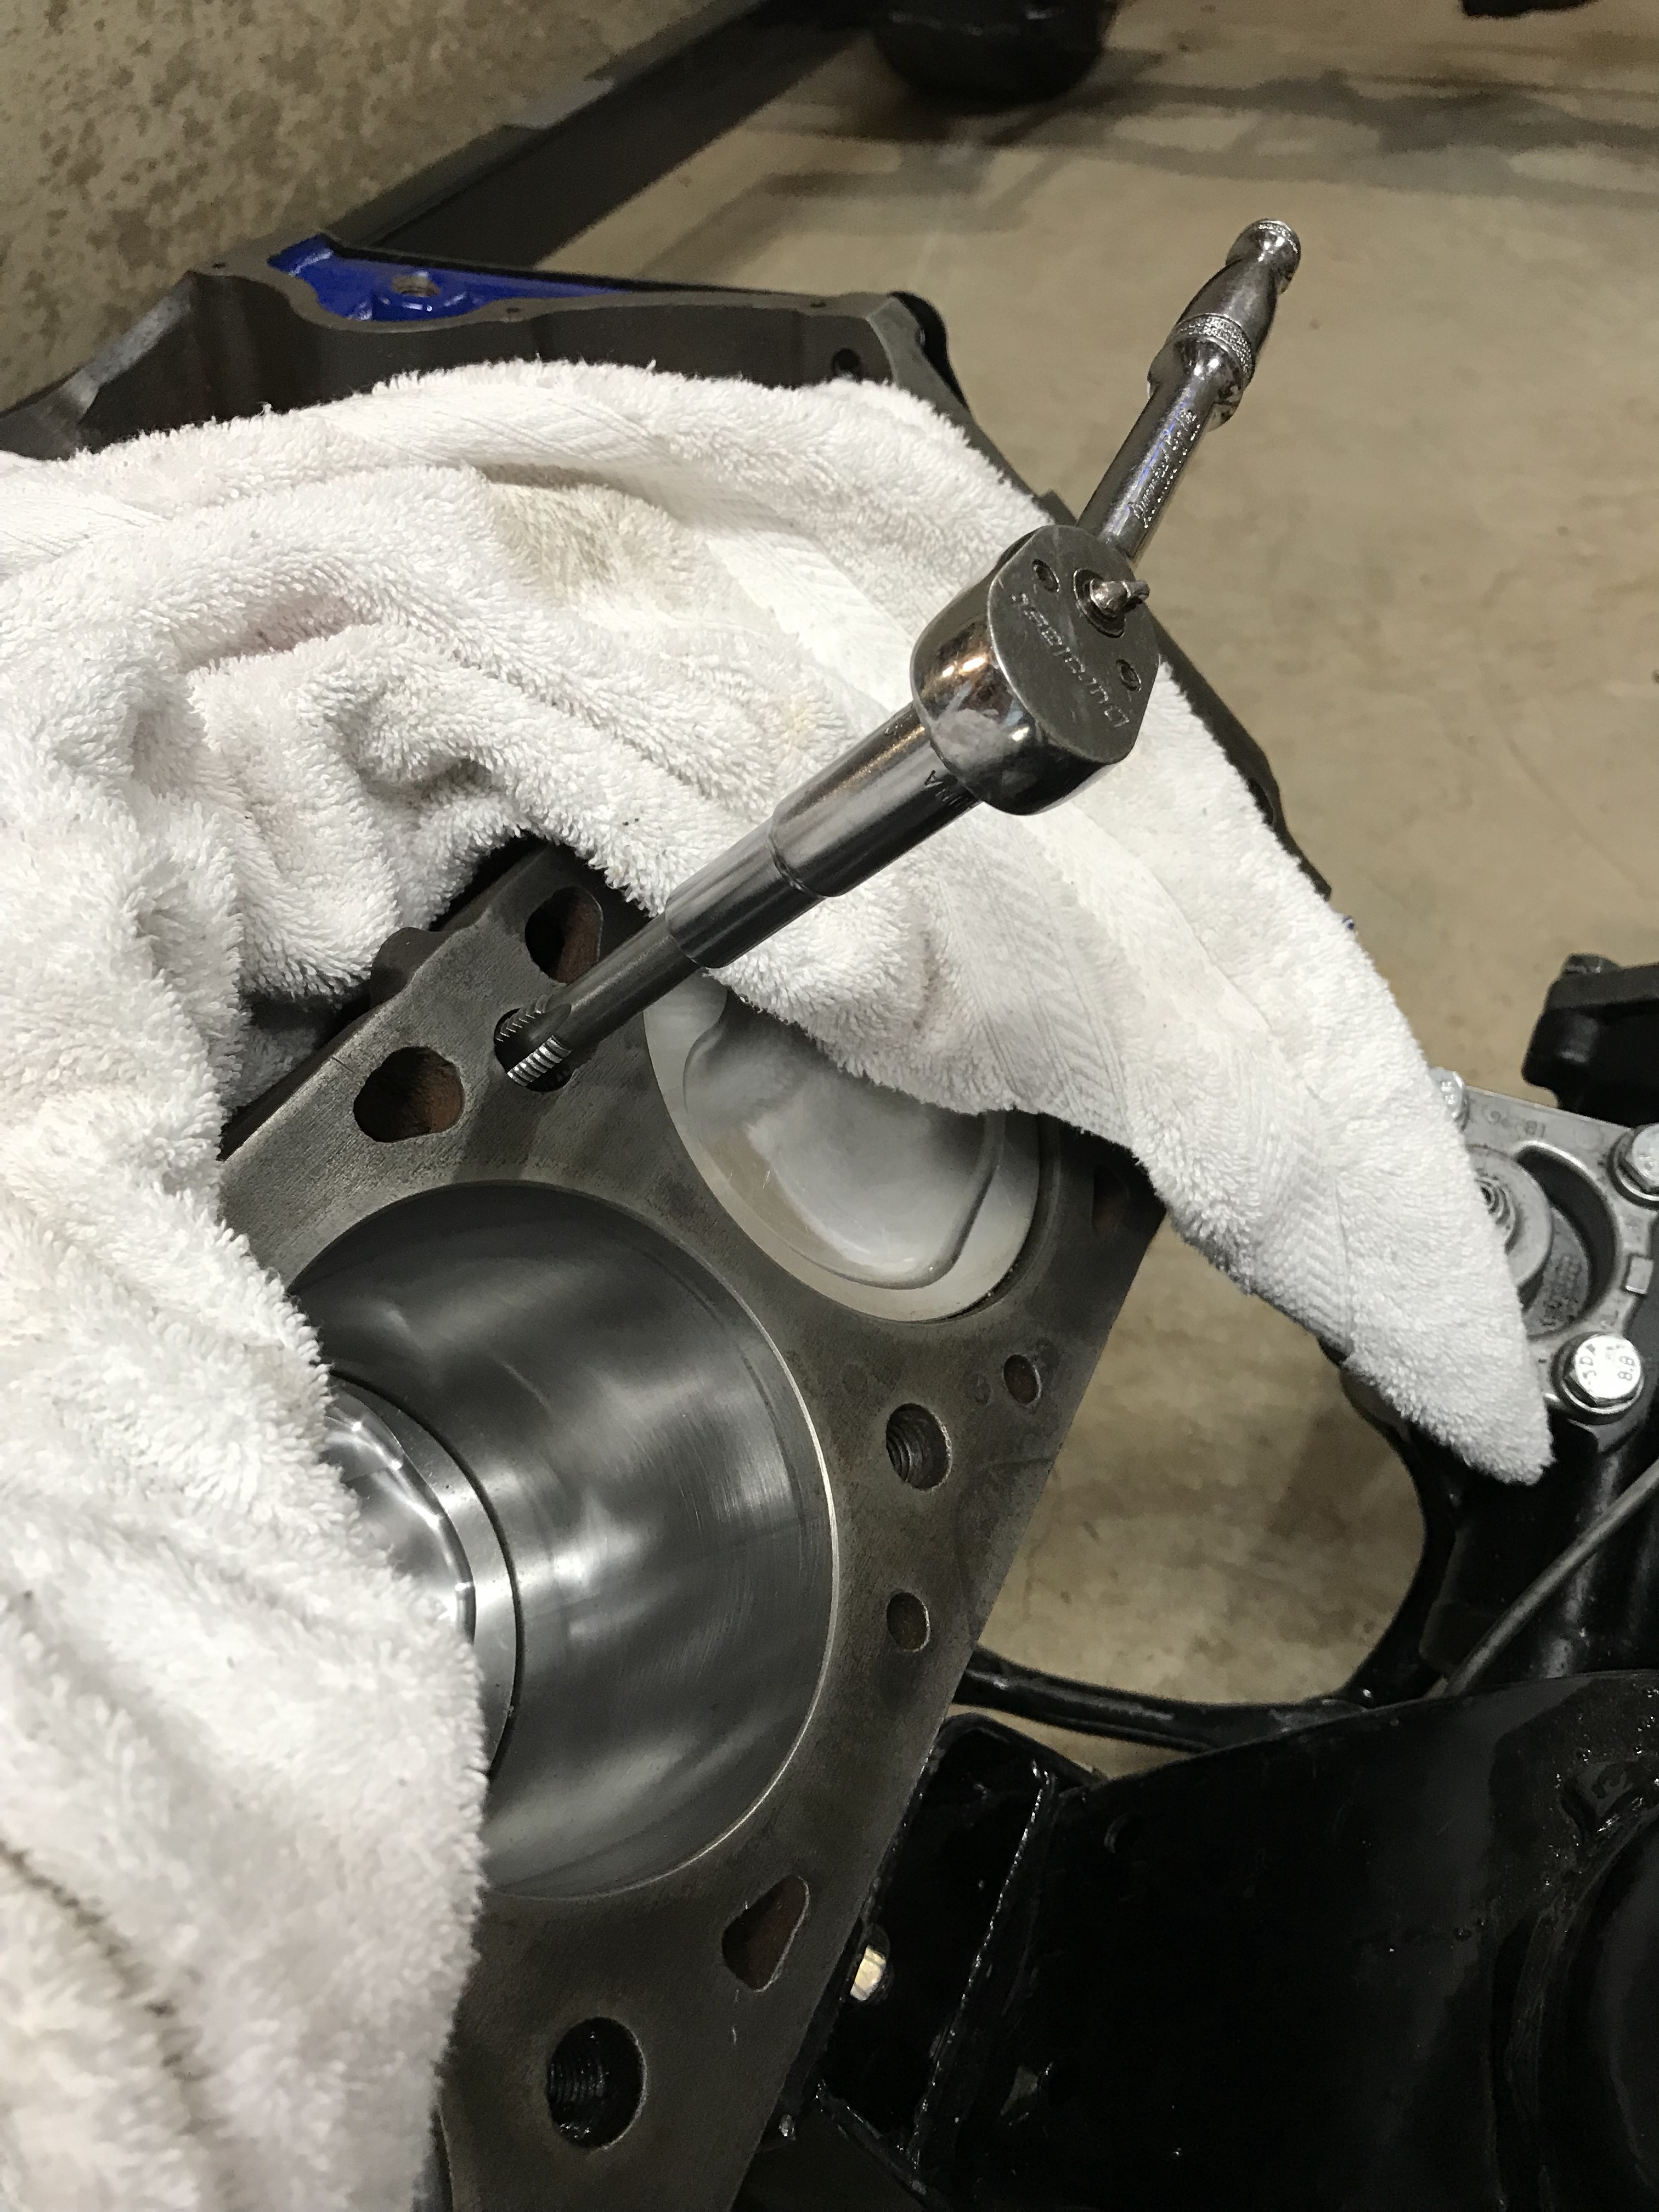
Torquing head bolts in 3 stages – Marked each bolt as I completed each torque sequence – different looking mark after each torquing


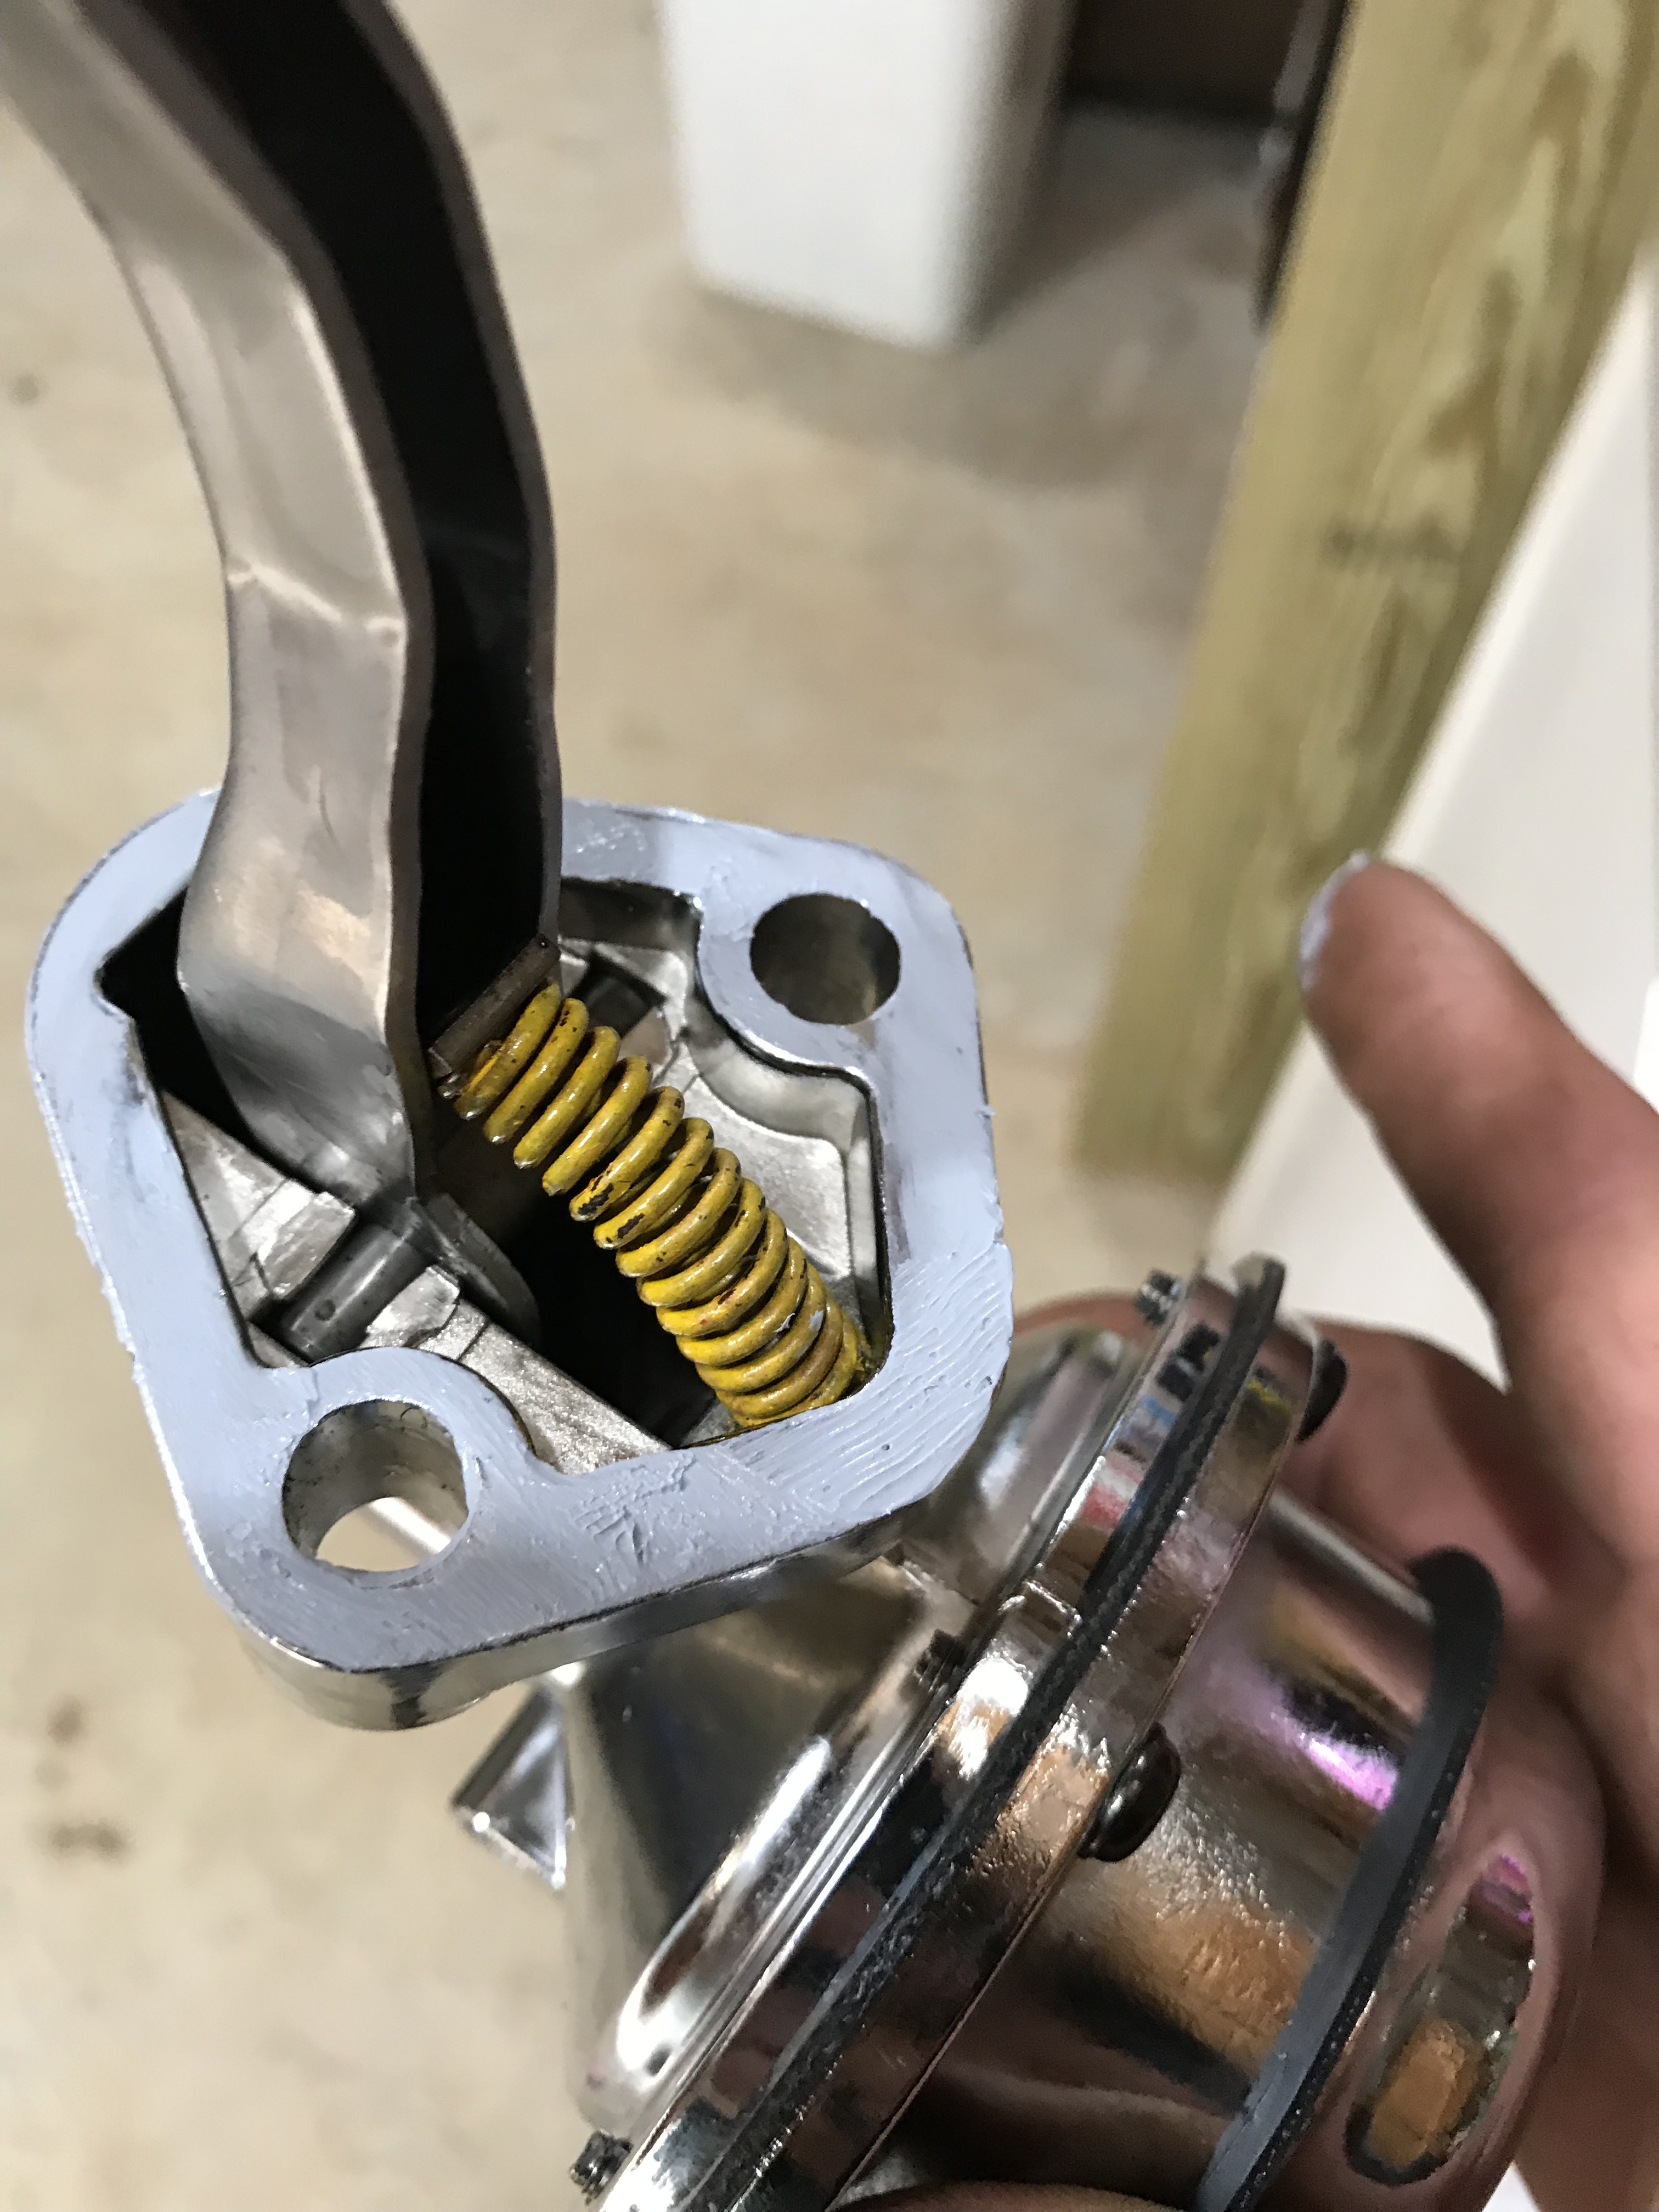
removing inner valve springs


measuring for pushrod length – use sharpie on top of valve head – install rocker arm and rotate engine one complete turn – wear mark should be center of valve head – adjust pushrod shorter if mark it too low or adjust longer if mark is too high


Cleaning & oiling the rockers & pushrods


Installing the push rods


Rocker arms on (finger tight)


Rocker arms installed finger tight – Adding oil to engine & covering the rocker arms


installing dampener


3/8-16 x 2-1/2 intake mount studs – 4 total – one on each corner


billet fuel line & gauge installed on carb


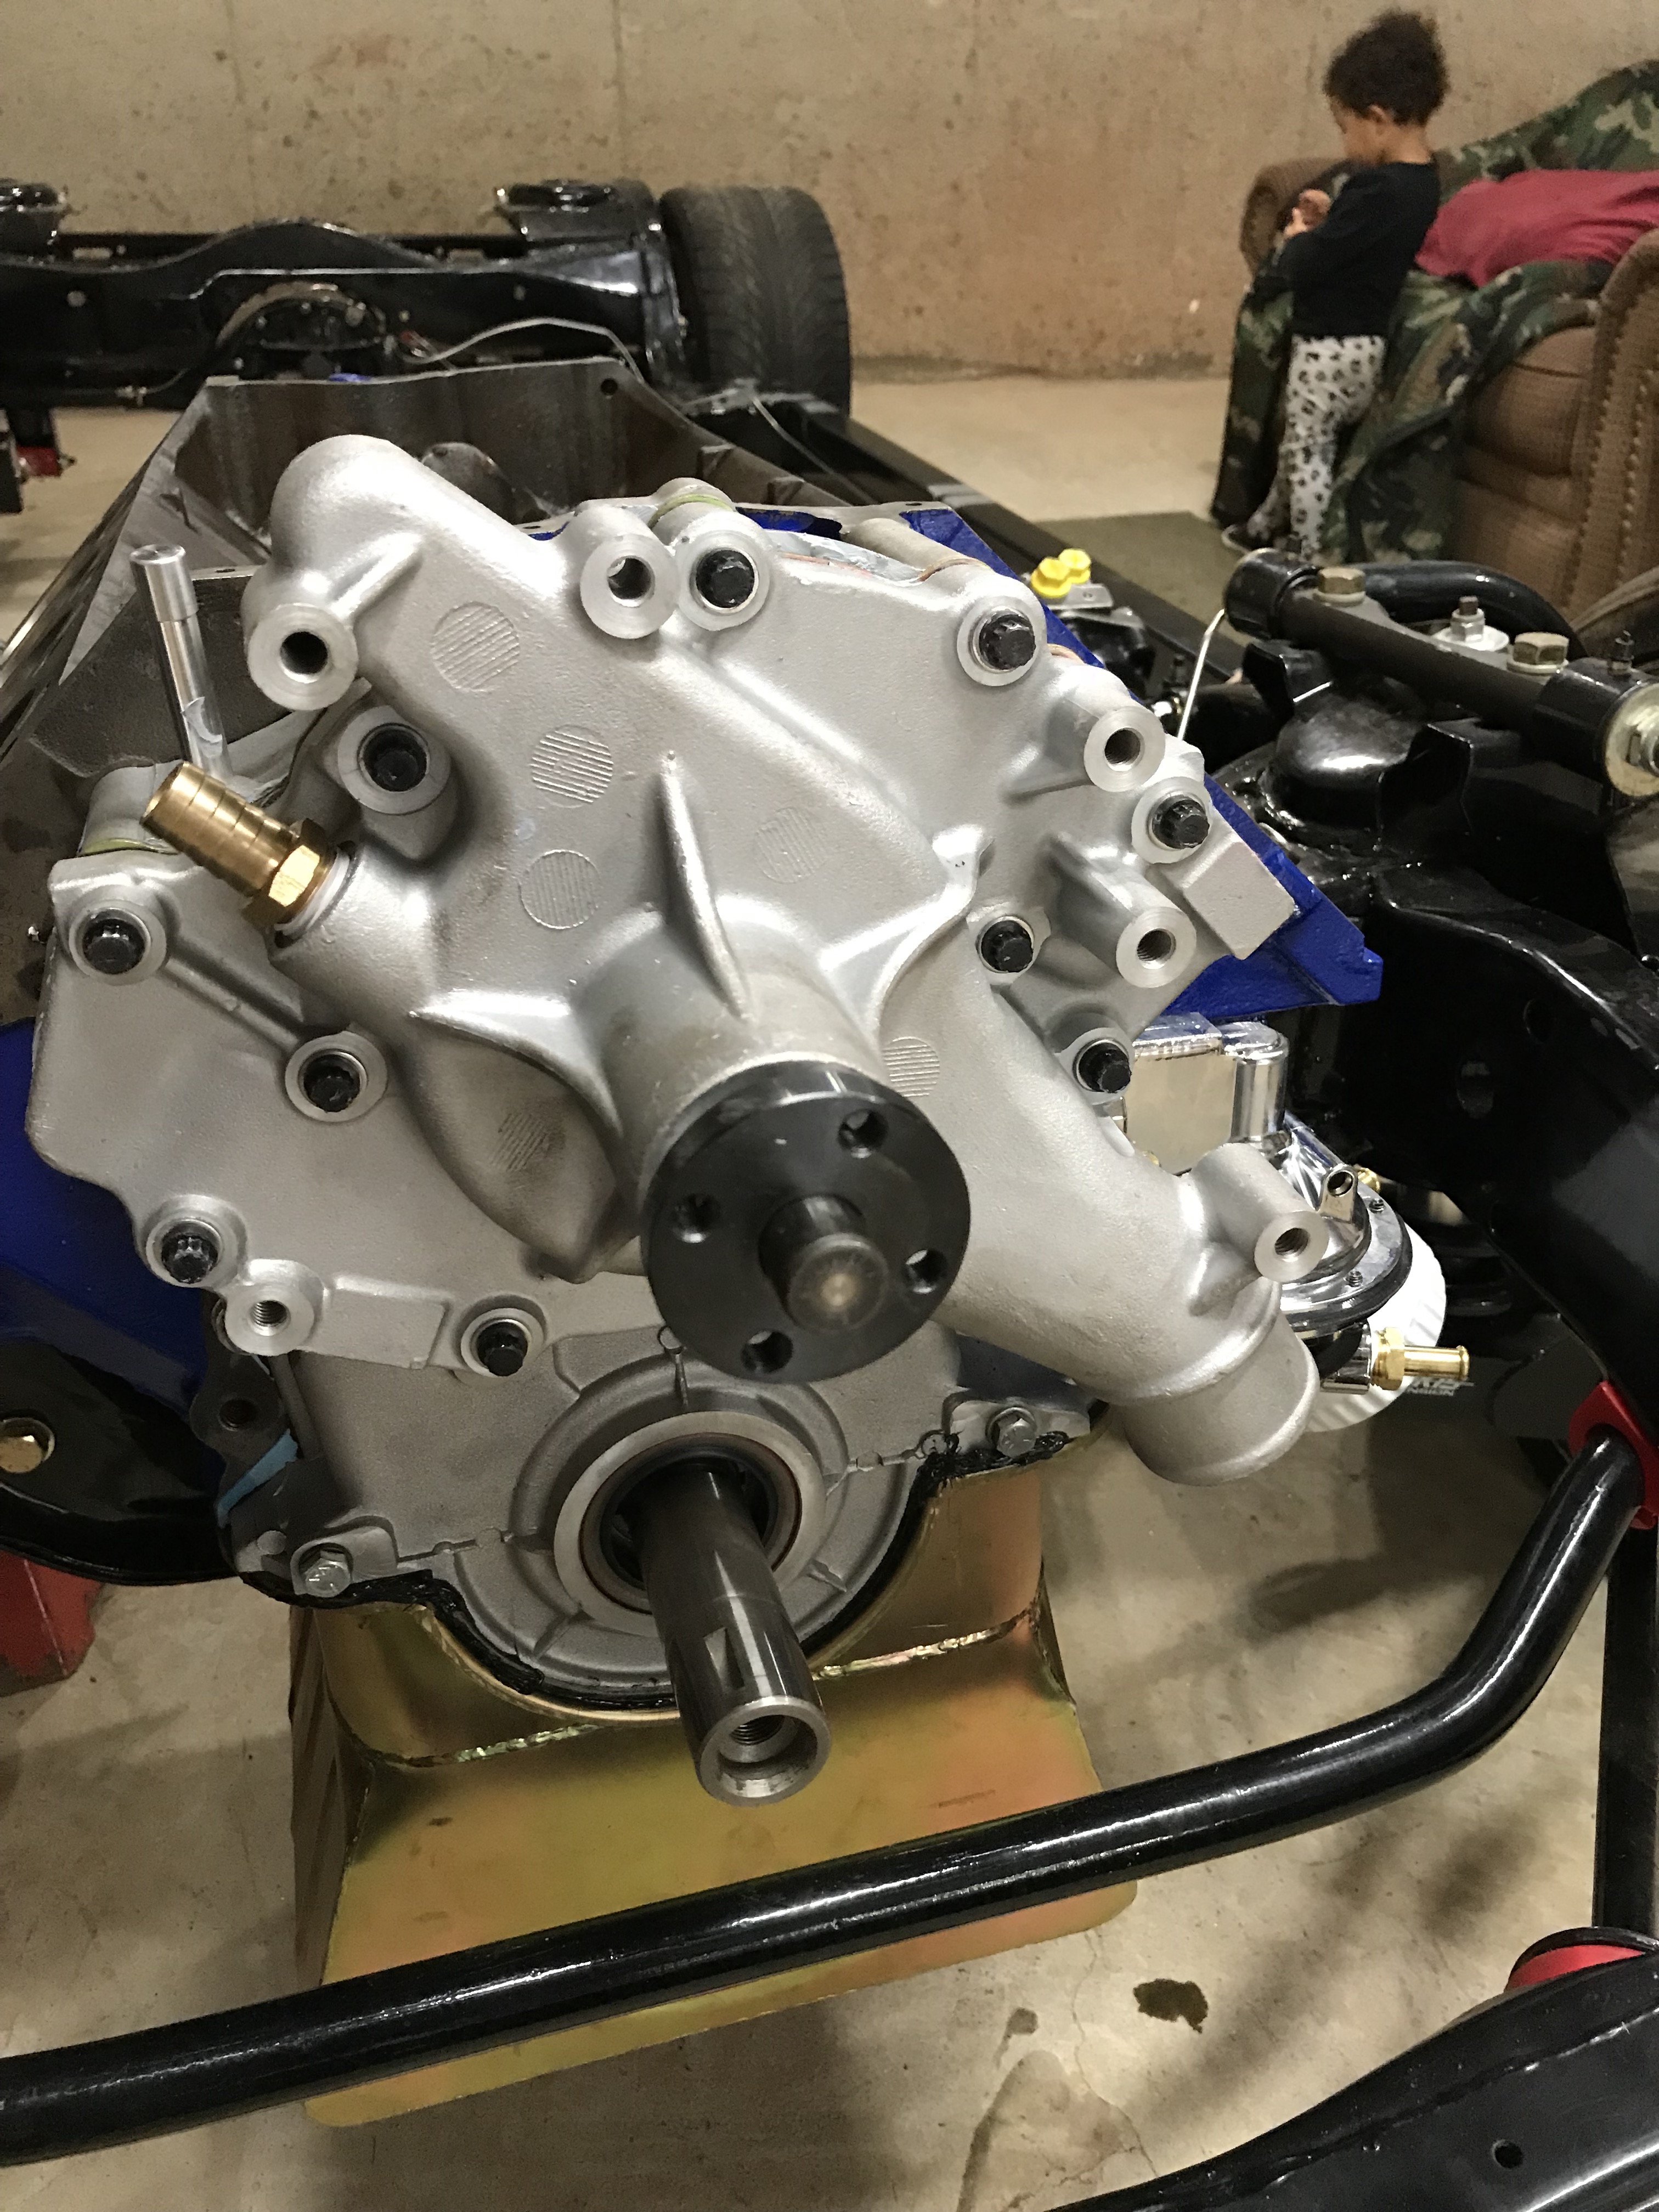
CVF serpentine belt kit installed


Setting valve lash


Priming the oil system for the first time


Oil pressure got up to 80 psi


preparing the cyl. head surface & intake gaskets with Edelbrock’s Gasgacinch


using high temp rtv around water jackets & 1/4″ bead on the ends (edelbrock does not recommend using gaskets on the ends)


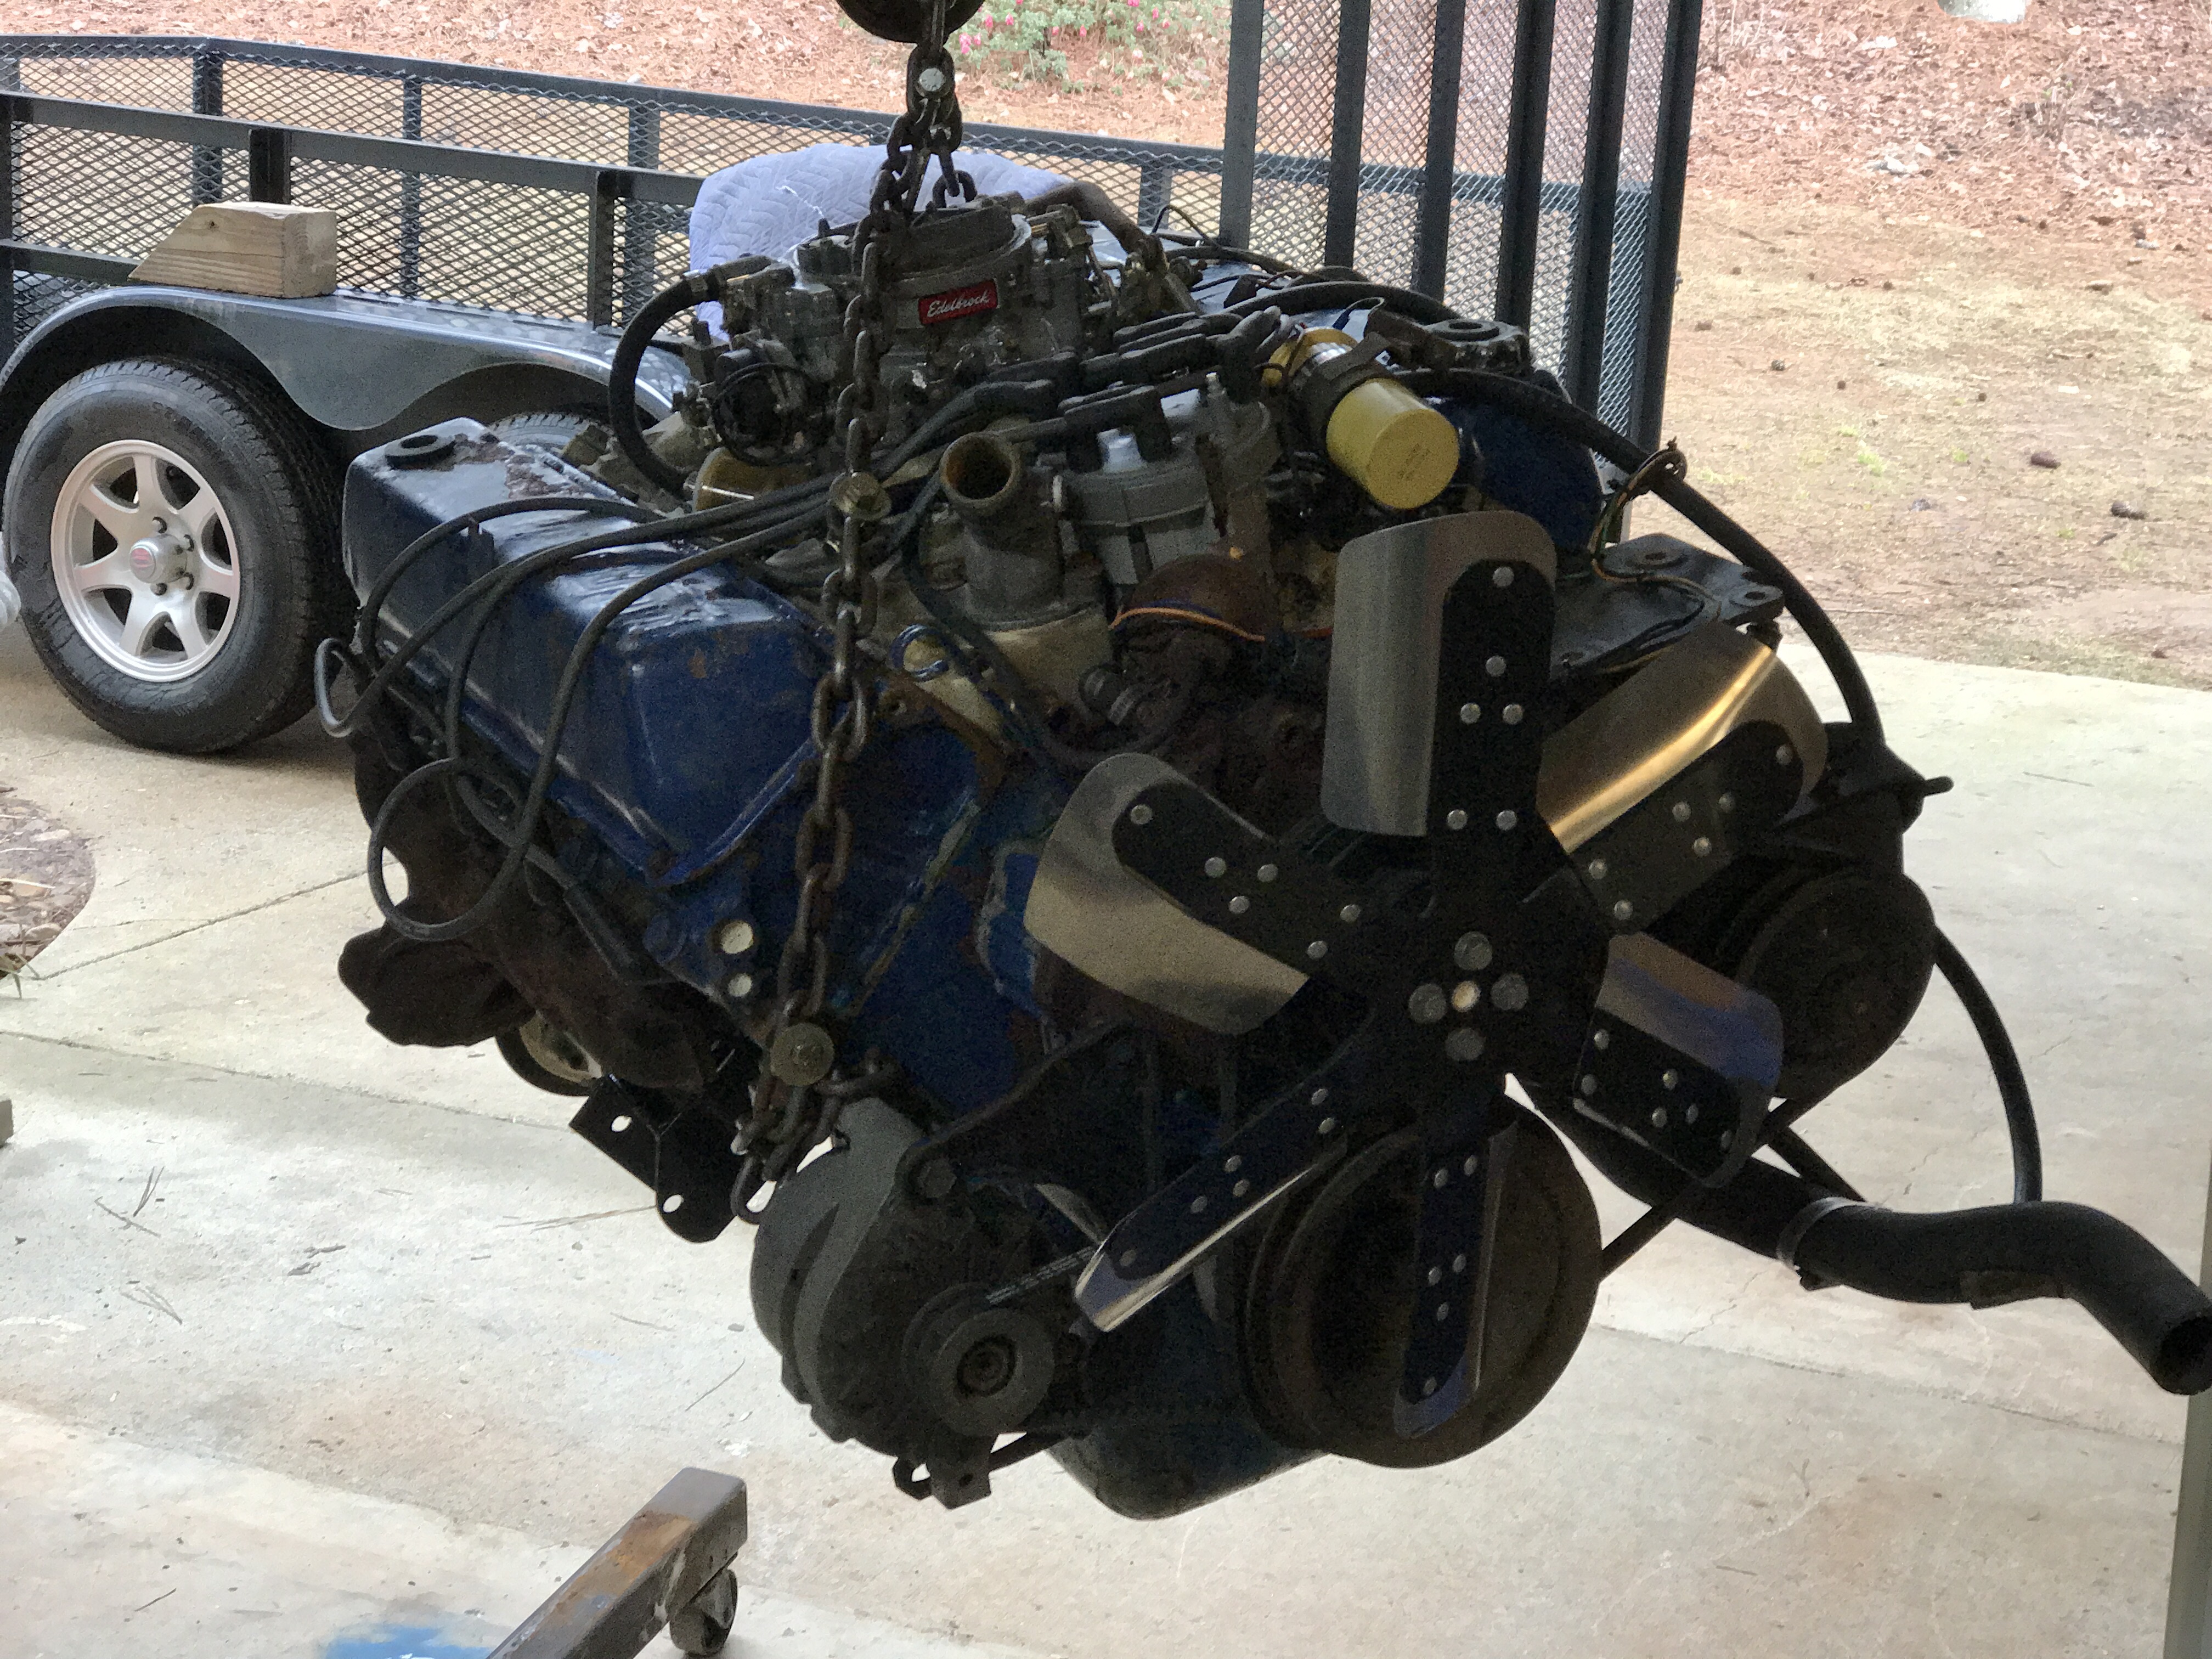
Intake manifold installed


Carburetor installed


Valve covers installed


Decided to upgrade the power steering pump at this point – Since I’m doing hydro-boost brakes now


Air cleaner on & Test fitting the distributor


plugs wires & coil installed
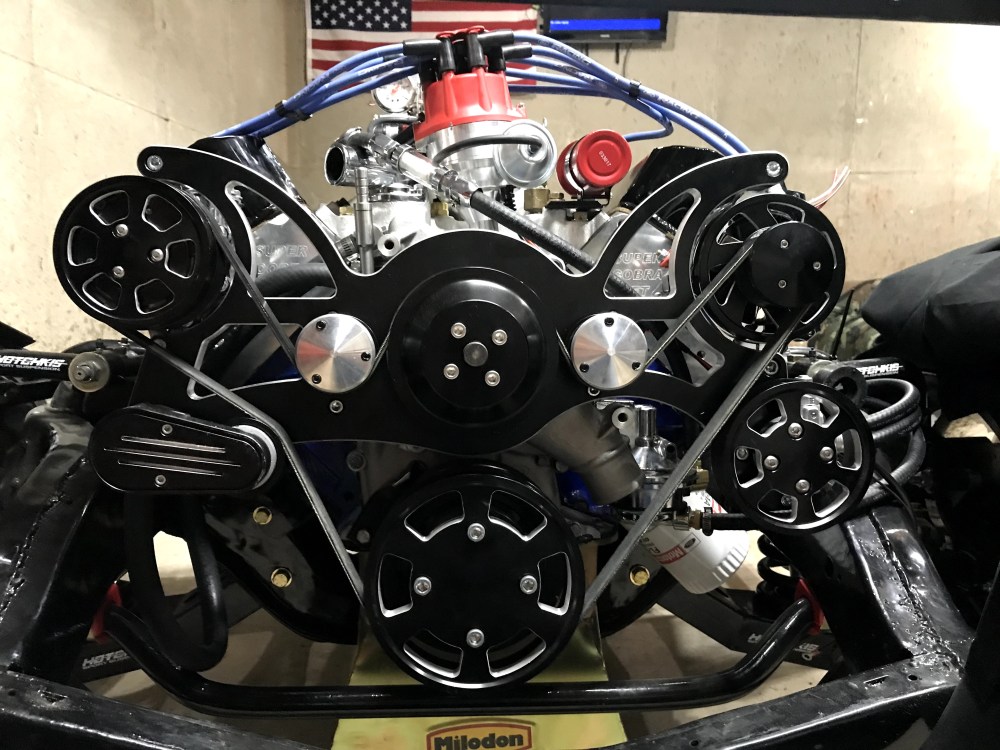 installed a shorter serpentinei belt to bypass the power steering pump. Don’t want to run it dry and cause possible damage during engine break-in

Just wanted to say one of the coolest looking 66 Galaxies I have seen. Looking for inspiration on my new to me 1966 galaxie 500 390bb c6 car. What is happening with it now?
LikeLike
Thanks for posting some updates Great to see the [progress
LikeLiked by 1 person
my pleasure
LikeLike
That’s looking good!!,,Pat in Huntsville here , haven’t checked on you in a while used to get notices when you would post something new??
I like the looks of that black diamond Serpentine kit from cvf I’ve had my eye on that kit for a while now…. spoke via email with one of their tech. last week. He told me the they are looking at doing Billet hinges for the Galaxie (65-68) possibly coming out sometime next year unless they get their hands on a R&D car sooner…Afford a hood and set of factory hinges, but he said that they need the car so they could 3D scan the fender/ bracket / hinge assembly…Would love to have a set to go with that Black Diamond Serpentine……..
LikeLike
Hey Pat! Good to hear from you. Unfortunately my car is been in the paint shop for the last year so I haven’t had much to update. But hopefully I get it back soon enough.
When I originally got the kit from CVS they did not do the black diamond. I had to buy the black kit and grind off the edges to make that look myself. Once I sent some pictures of it to them they started making it. Lol
I would love to have some billet hinges. I would be willing to donate something for them to do it with
LikeLike
Give them a call…they told me that they were looking for a R&D car to scan to start the processed.
I’m looking in to Hydro Boost for my brake system also, but I’m curious as to the length of a Hydro Boost. It’s either going to be that or I’m going to have to remove the bracket from the back of my booster so that I can bring the booster closer to the firewall
LikeLiked by 1 person
Lol…Forgot to Thank you for the Black Diamond kit …!!! They should send you a pair hinges..I just order the black diamond for a 65 impala looks like a little bracket modification and 1 Hood mounting hole modification it should pull it in tight to the fender and work.
LikeLiked by 1 person
Did you have to alter the transmission mount or cross member ?
LikeLike
For the crossmember I just flipped it around. For the mount I did alter it and made a hybrid between the factory mount in the c6 Mount
LikeLike
Greetings from South Africa. Very Nice website, has been helping me a shit load with building my 1968 Ford LTD (Galaxie). Parts and information is limited in this back yard shithole country. Thanks and keep it up.
LikeLike
Thanks Brandon. If you have any questions you can’t find answer feel free to email me at: 521galaxie@gmail.com
LikeLike
I have a 1966 Ford Galaxie with a 352 and a FMX transmission. I getting ready to convert everything over to a 460 with a C6 transmission. Just wondering about motor mounts and trans mounts. Any advice to make it sit level and for the fan to clear would be helpful. Thanks.
LikeLike
Hey Brian. Glad to hear of another 460 and C6 swap into a galaxie. Purchase the engine mounts from Crites Performance and then test fit the block with them. After you test fit mark where you need to drill your bolt holes. For the transmission you can use your stock crossmember but you just flip it around. All this information is on this website
LikeLike
Would the stock oil pan have worked?
LikeLike
Yes, I did a test fit with the stock pan and it fit fine
LikeLike